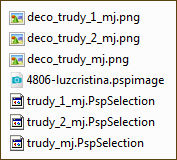
MATERIAL 
Tubes Nena Silva e Luz Cristina, agradeço.
*** Salvar as seleções na pasta Selections do PSP
PLUGINS
Fantastic Machines
Brush Strokes
Tramages
AAA Frames
Nik Color Efex Pro 1.0e - Plugin AQUI
___________________________________________________________________________________________________________________
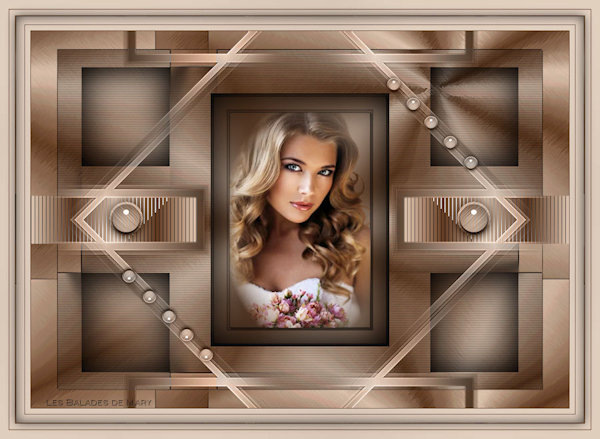
Foreground #5a410e - Background #bba777 - 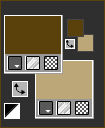
Gradientes - 
___________________________________________________________________________________________________________________
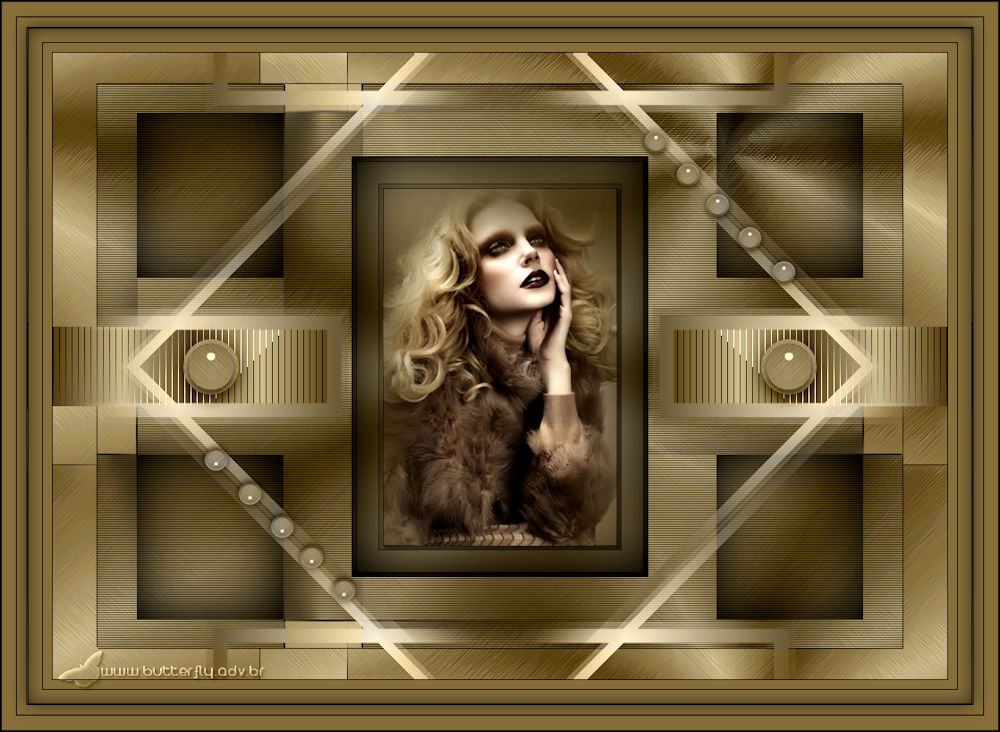
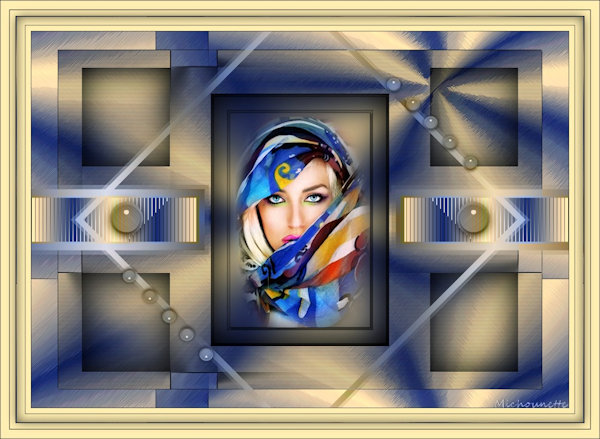
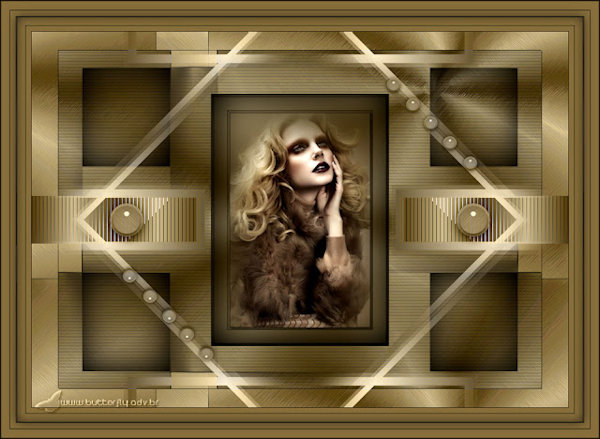
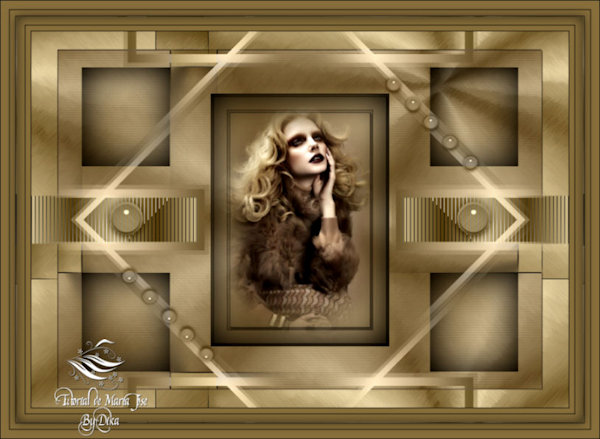
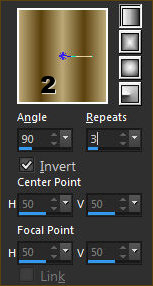
1.- Abrir transparência - 1000x700px - preencher com a gradiente1
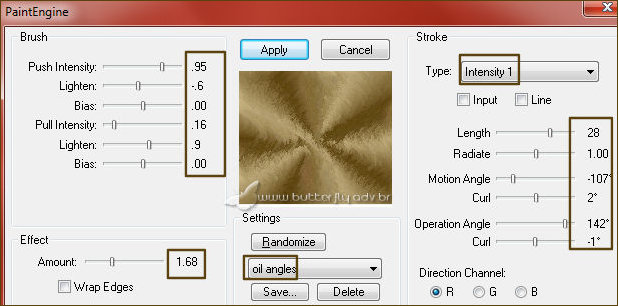
2.- Plugin - Fantastic Machines - PaintEngine
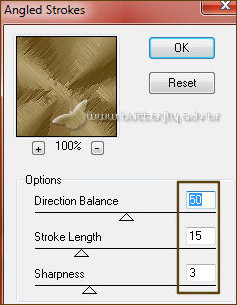
3.- Plugin - Brush Strokes - Angled Strokes - DEFAULT (aplicar 2 vezes)
4.- Layers - Duplicate - Image Resize 90% - all layers - DESCLICADO
5.- Effects- 3D Effects - Drop Sahdow 1, 1, 100, 1, preto
* Repetir (-1), (-1)
6.- Effects - Image Effects - Seamless Tiling - CORNER - Bidirectional

7.- Layers - Duplicate - Image Resize 90% - All Layers - DESCLICADO
8.- Effects- 3D Effects - Drop Sahdow 1, 1, 100, 1, preto
* Repetir (-1), (-1)
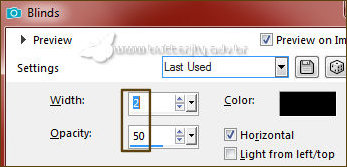
9.- Effects - Texture Effects - Blinds
___________________________________________________________________________________________________________________
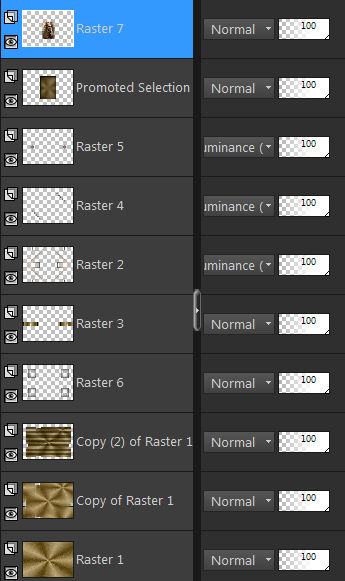
10.- Edit - Copiar/Colar como nova layer - deco_trudy_mj
* Blend Mode - Luminance (L)
11.- Effects- Image Effects- Seamles Tiling - DEFAULT
___________________________________________________________________________________________________________________
12.- Selections - Load Selection from Disk - trudy_mj
13.- Layers - Add New Layer - preencher com a gradiente 2
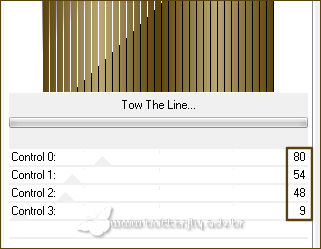
14.- Plugin - Tramages - Tow The Line... DEFAULT
SELECT NONE
15.- Layers - Duplicate - Image Mirror Horizontal
* Layers - Merge Down - Layers - Arrange - Move Down
___________________________________________________________________________________________________________________
16.- Edit - Copiar/Colar como nova layer - deco_trudy_1_mj
* Layers Arrange - Bring to Top
17.- Edit - Copiar/Colar como nova layer - deco_trudy_2_mj
* Blend Mode - Luminance (L) (itens 16 e 17)
___________________________________________________________________________________________________________________
* Ativar a Copy (2) of Raster 1
18.- Selections - Load Selection from Disk - trudy_1_mj
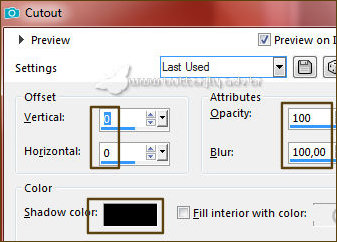
19.- Layers - Add New Layer - Effects - 3D Effects - Cutout
SELECT NONE
20.- Layers - Duplicate - Image Flip Vertical - Layers - Merge Down
21.- Layers - Duplicate - Image - Mirror Horizontal - Layers - Merge Down
___________________________________________________________________________________________________________________
* Ativar novamente a Copy (2) of Raster 1
22.- Selections - Load Selection from Disk - trudy_2_mj
* Promote Selection To Layer - Layers- Arrange - Bring to Top
23.- Adjust - Blur - Guassian Blur - Radius 20,00
24.- Layers - Add New Layer - Effects - 3D Effects - Cutout - mesma configuração
* Layers - Merge Down
25.- Plugin - AAA Frames - Foto Frame - (5) (50)
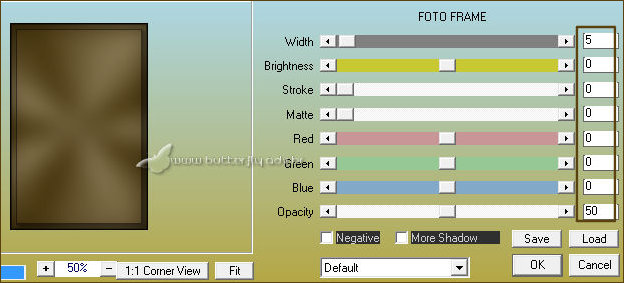
26.- Selections - Modify - Contract 30 - Repetir item 25 (foto frame)
27.- Selections - Modify - Contract 5
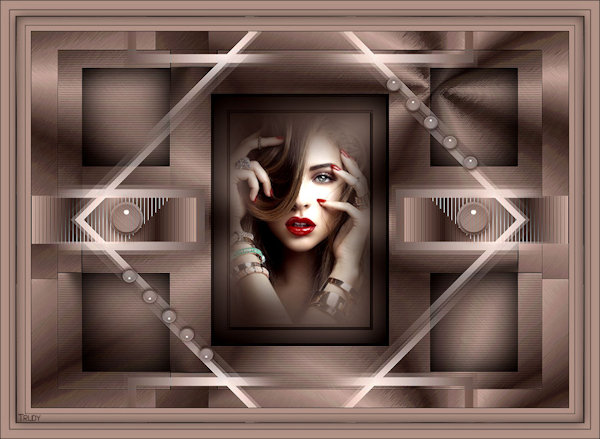
28.- Edit - Copiar/Colar como nova layer - tube personagem Luz Cristina
* Posicionar - Selections - Invert - DELETAR - SELECT NONE
___________________________________________________________________________________________________________________
LAYERS - Organizar - Layers- Merge Visible
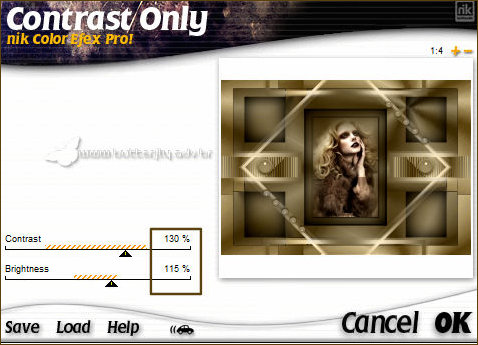
29.- Plugin - Nik Color Efex Pro 1 - Contrast Only
___________________________________________________________________________________________________________________
BORDERS
30.- Image - Add Borders - 1px - preto
* Image - Add Borders - 10px - #876e3b
* Image - Add Borders - 1px - preto
* Image - Add Borders - 15px - #876e3b
31.- Seletions - Select All - EDIT COPY
* Image - Add Borders - 30px - branco
32.- Select - Invert - Colar dentro da seleção imagem copiada item 31
* Drop Sahdow 0,0, 60, 30, preto
* Selections - Invert - Repetir o Drop Shadow
SELECT NONE
___________________________________________________________________________________________________________________
33.- Image - Add Borders - 1px - preto
34.- Assinar o seu trabalho - Layers Merge - Merge All Flatten
35.- Image - Resize - Width 1000px - Salvar em .jpg
Espero que apreciem, obrigada.
___________________________________________________________________________________________________________________
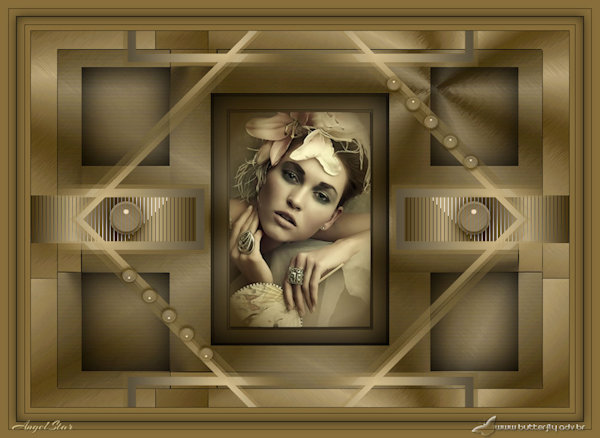
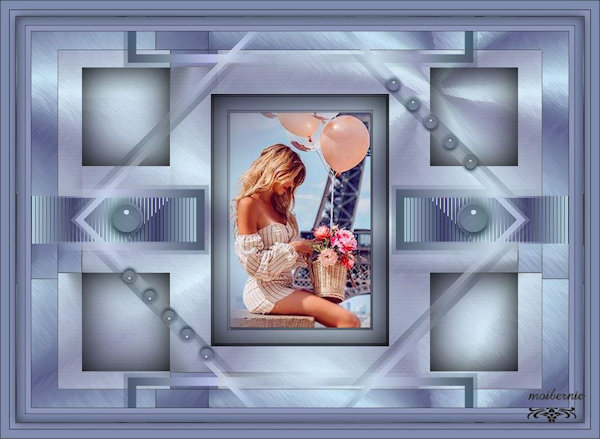
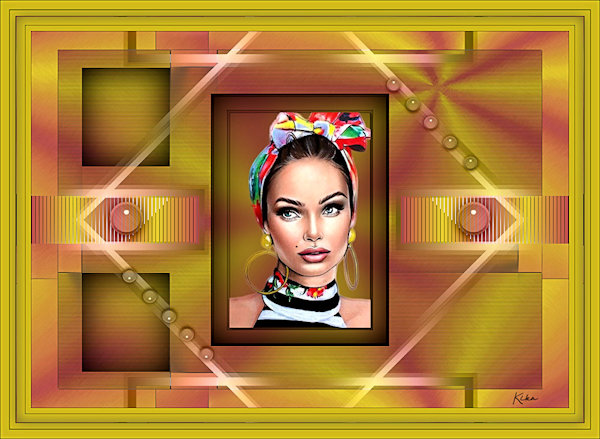
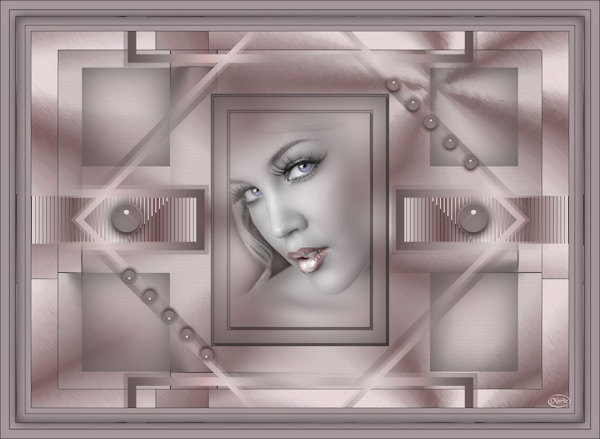
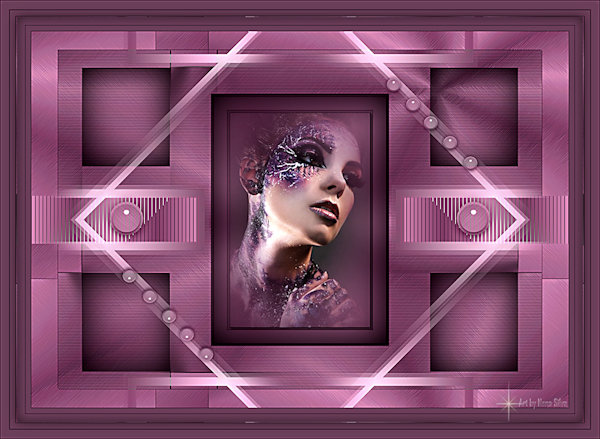
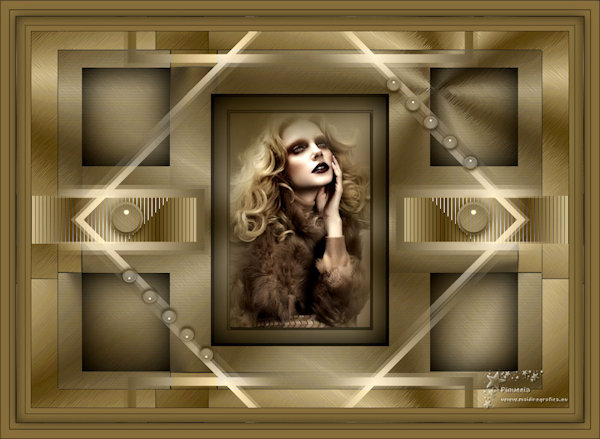
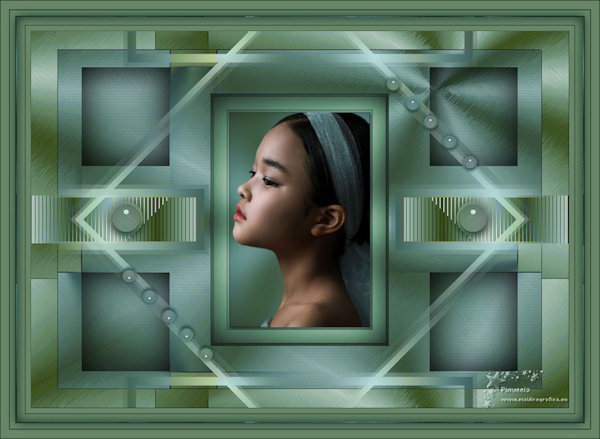
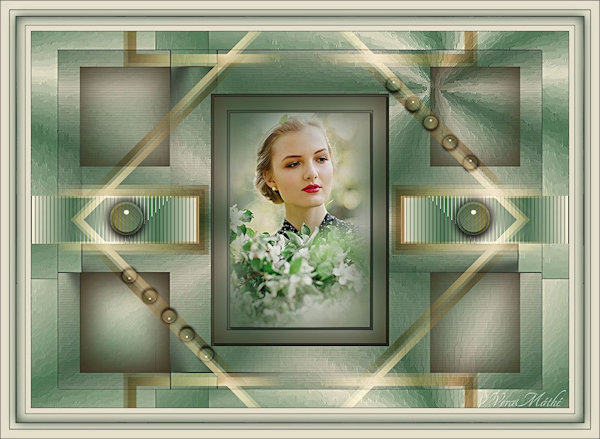
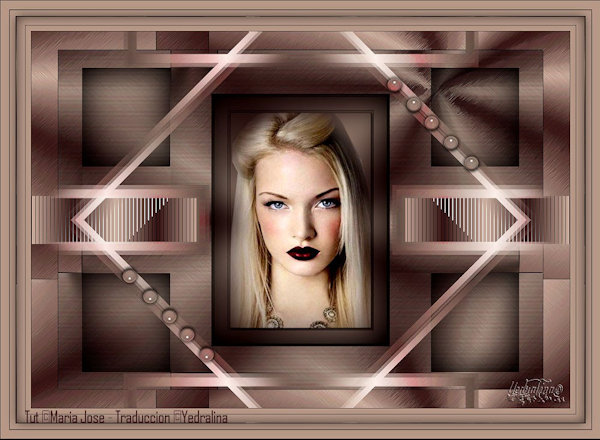
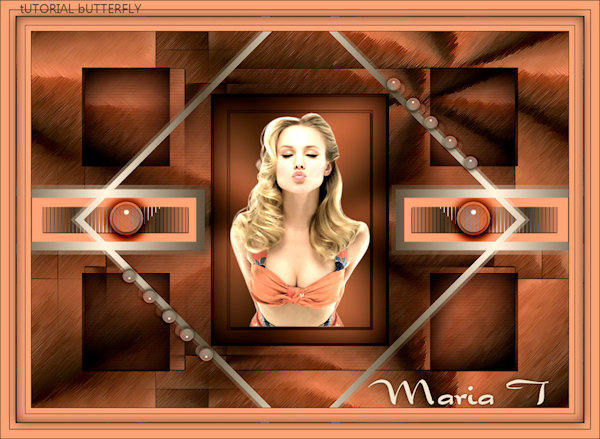
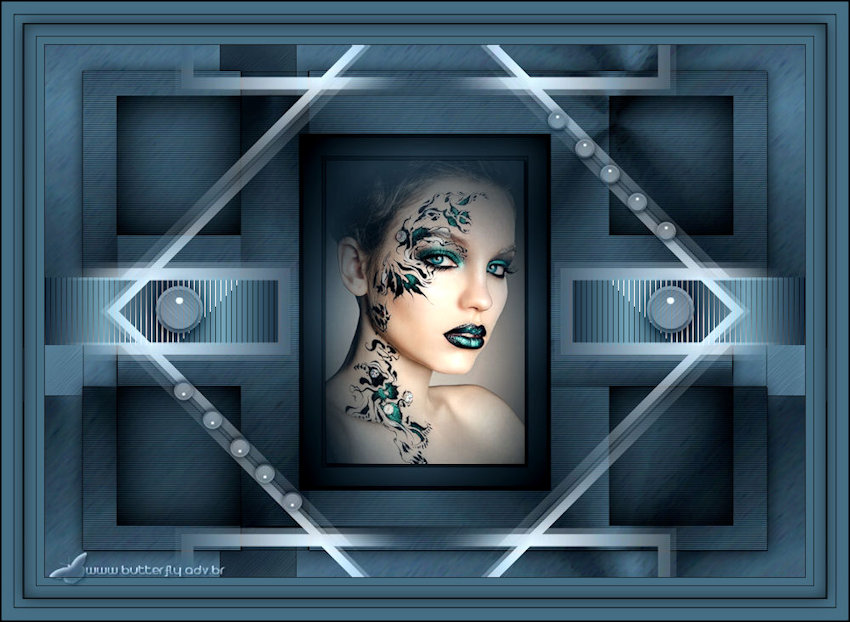
Outro modelo

Este tutorial foi criado em 22 de outubro de 2019 por Maria José Prado. É protegido por lei de Copyright e não poderá ser copiado, retirado de seu lugar, traduzido ou utilizado em listas de discussão sem o consentimento prévio e escrito de sua autora acima declinada.
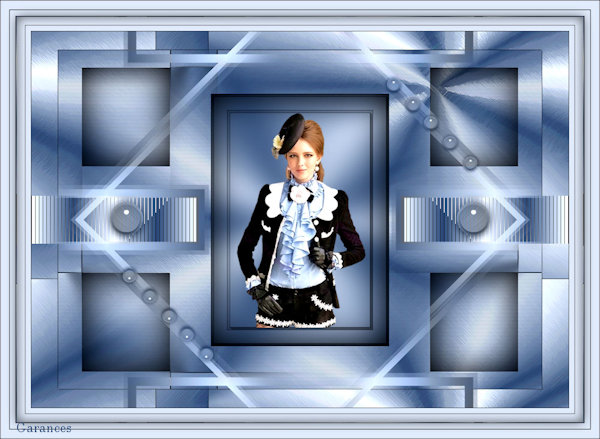
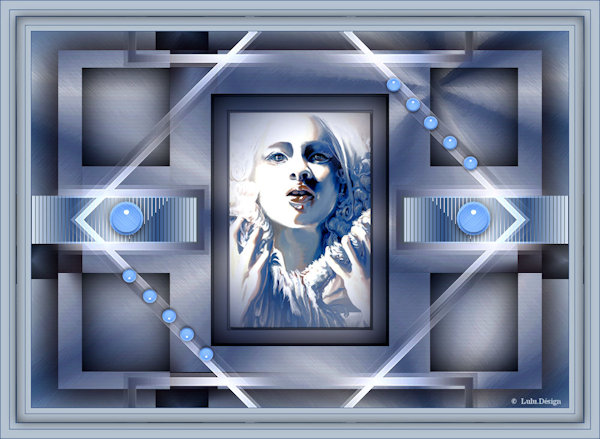
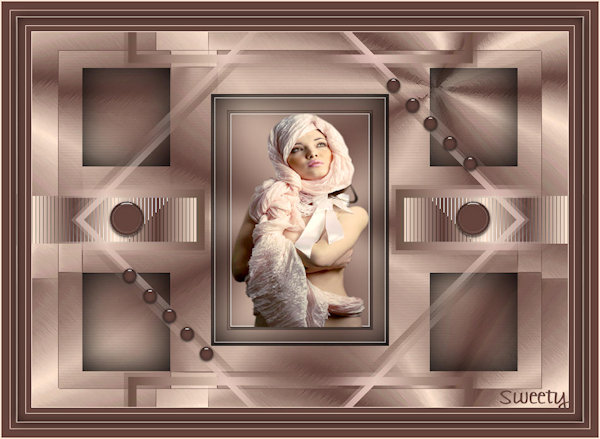
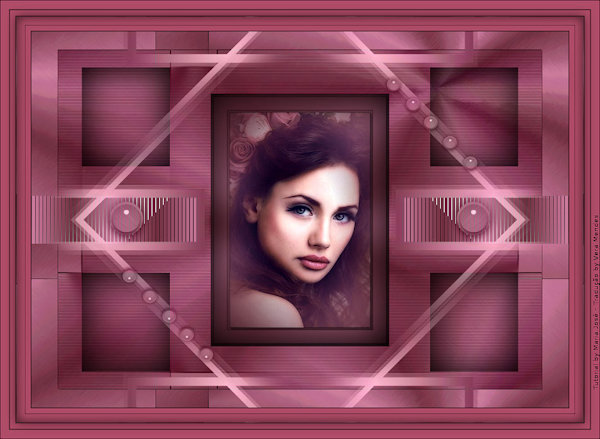
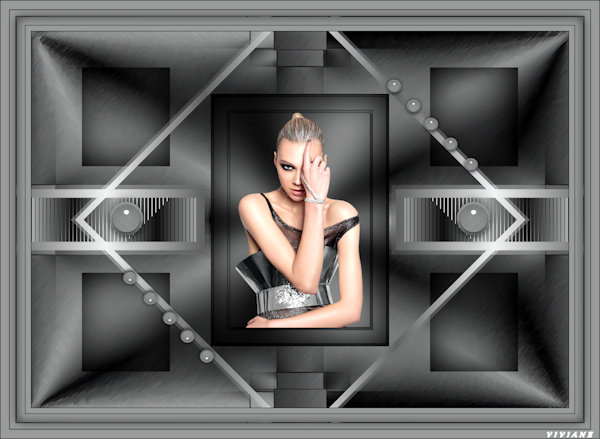
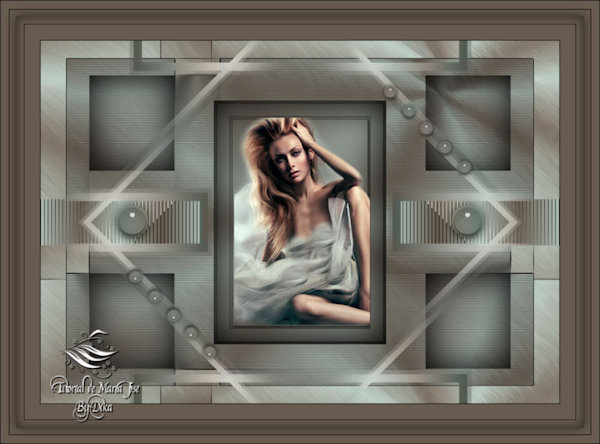
VARIANTES