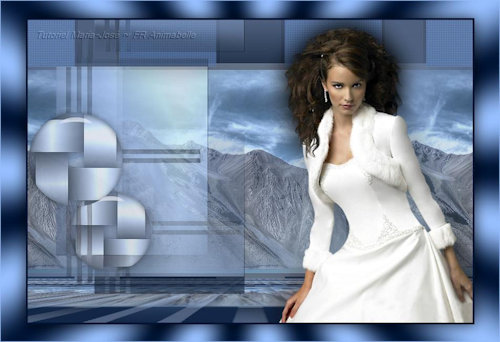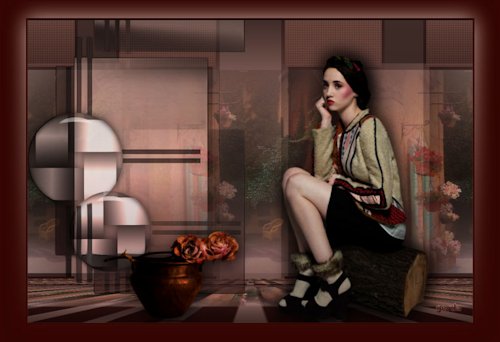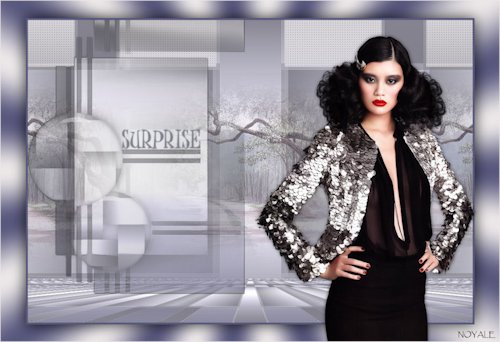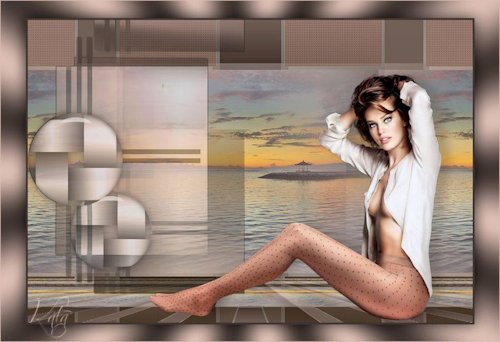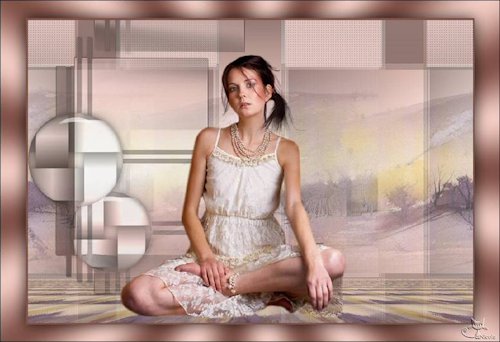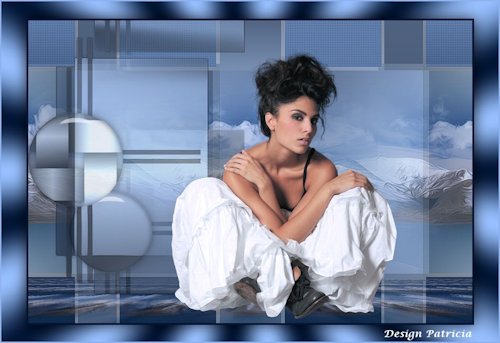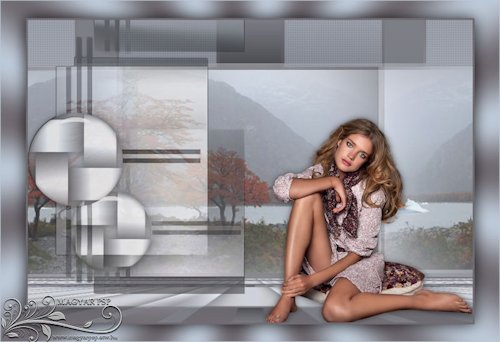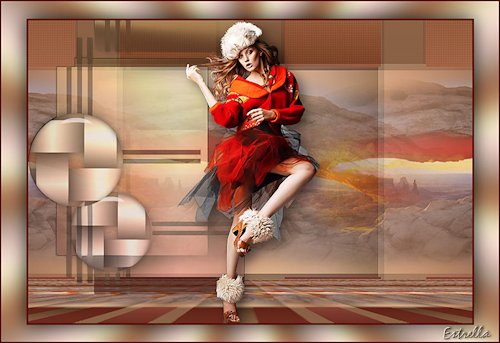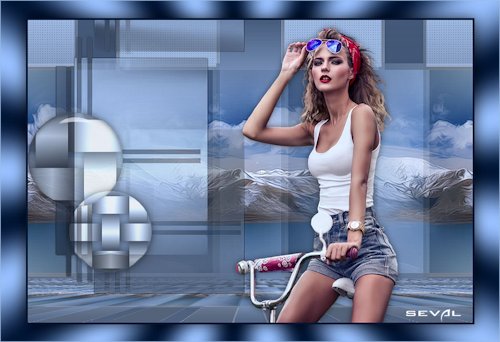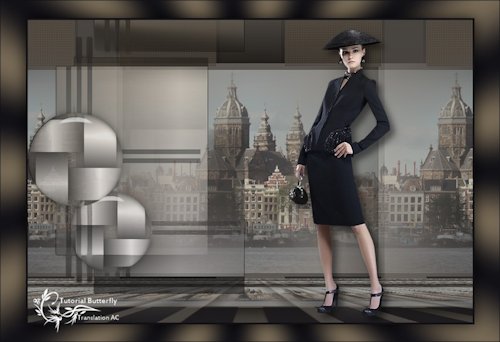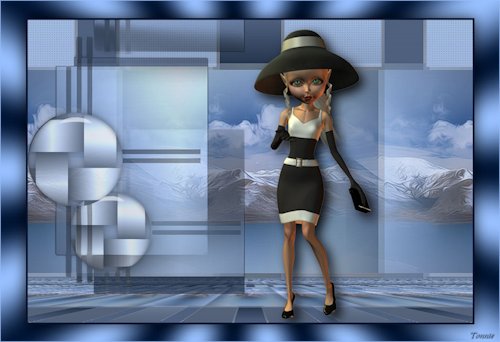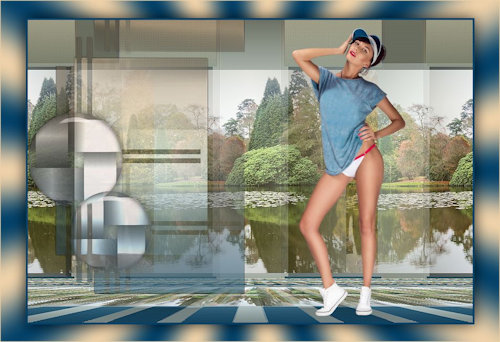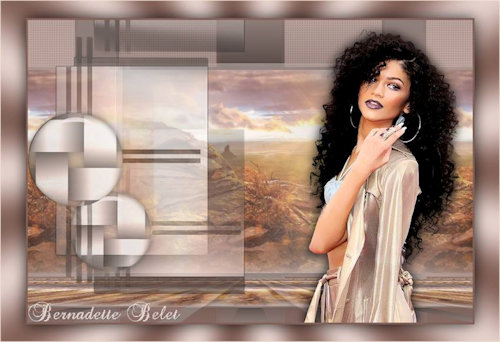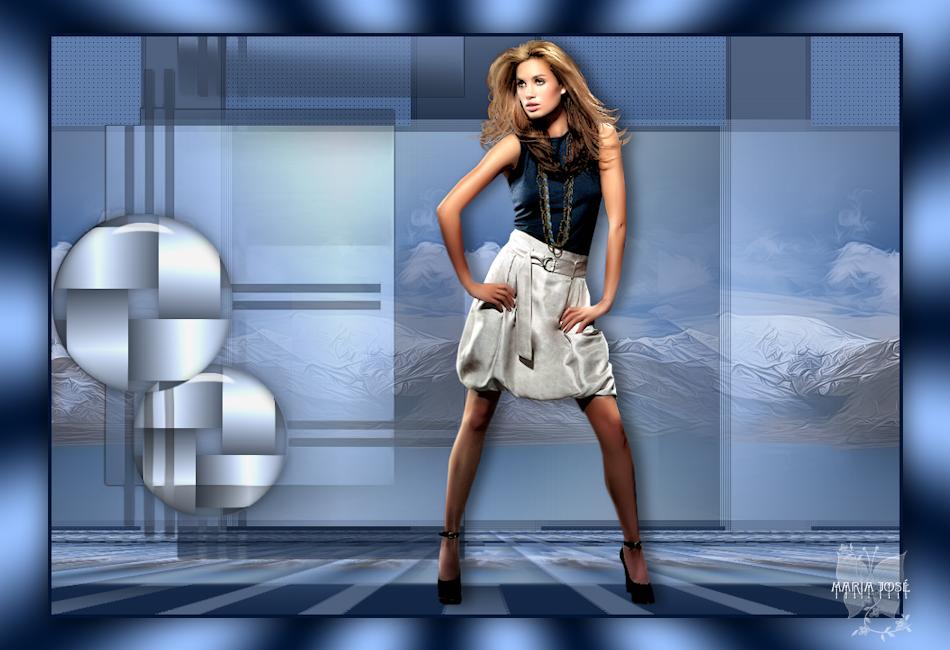
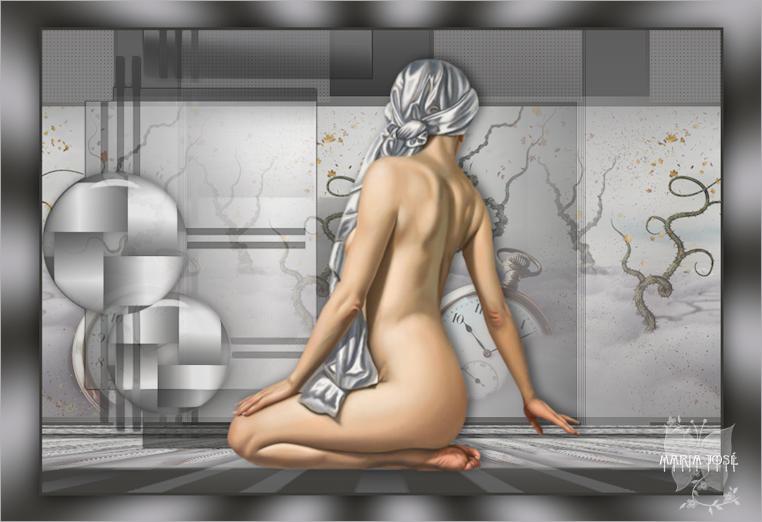
Outro modelo (tube e misted Nicole, agradeço)

MATERIAL
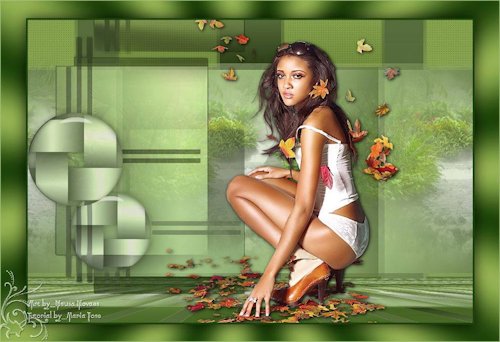
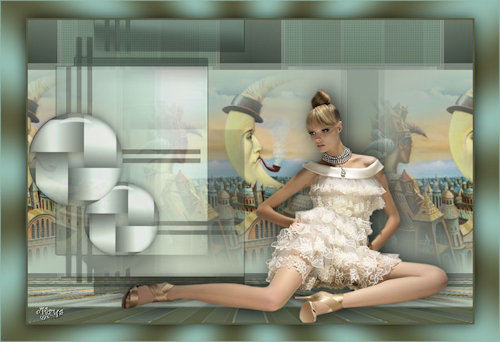
Um misted (pessoal)
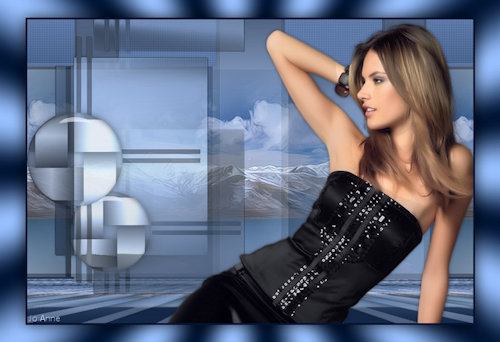
Um tube (Gabry, agradeço)
Cores deste tutorial - Foreground #97bffd - Background #011535
Demais materiais click abaixo

PLUGINS
VM Natural
Filtro Gallery Factory "M"
Simples
AP[Innovations]
Eye Candy 5 Impact
MuR'as Meister
Mehdi
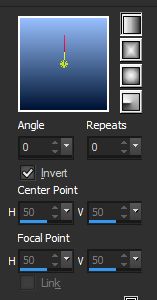
1. Preparar gradiente Linear - 2 cores do misted - Angle 0 - Repeats 0
2. Abrir imagem transparente de 950 x 650 px - preencher com a gradiente
3. Plugin - VM Natural - Weave No Distortion
4. Layers - Duplicate
Layers - New Layer Mask - imagem: a máscara camerontag
Layers - Merge - Merge Group
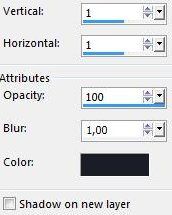
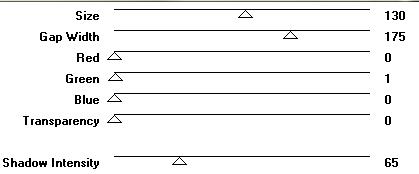
Effects - 3DEffects - Drop Shadow 1, 1, 100, 1, preto
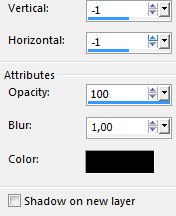
Repetir com valores negativos (-1), (-1)
Diminua a opacidade para 60%
5. Ativar a Raster 1 - de baixo
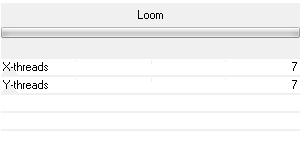
Plugin - Filtro Gallery Factory "M" - Loom
Adjust - Sharpness - Sharpen
Plugin - Simples - 4 Way Average
6. Layers - New Raster Layer - Preencher com a Gradiente
Layers - Arrange - Send to Bottom
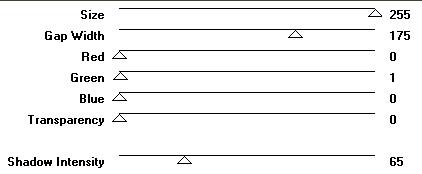
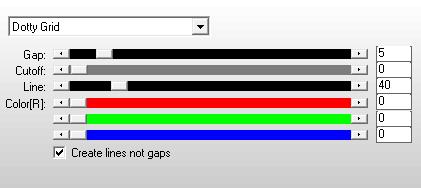
7. Plugin - AP[Innovations] - SilverLinning - Dotty Grid
8. Ativar a Layer Superior (da mask)
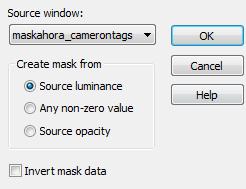
9. Selections - Load Selection from Disk - surprise_mj
Promote Selection To Layer
10. Plugin - VM Natural - Weave No Distortion
11. Plugin - Eye Candy 5 Impact - Glass - surprise_mj preset
Deselecionar tudo
12. Novamente - Ativar a Group Copy (da mask)
Selections - Load Selection from Disk - surprise_1_mj
Promote Selection To Layer
Repetir os ítens 10 e 11 - Deselecionar tudo
Ativar a layer superior - Merge Down
13. Baixar a opacidade para 75%
Effects - 3DEffects - Drop Shadow - 0, 0, 50, 20, preto
Layers - Merge Down - Tirar a sua Visibilidade
14. Ativar a Raster 1 (layer central)
Selections - Load Selection From Disk - surprise_2_mj
15. Edit - Copiar e Colar como nova layer o misted - ajustar como gostar
Selections - Selections - Invert - DELETAR - deselecionar tudo
16. Effects - Image Effects - Seamless Tiling - horizontal
Baixar a opacidade - 70%
17. Layers - Merge Down 2 vezes - Layers Duplicate
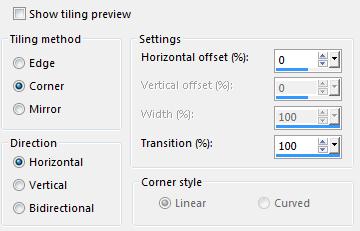
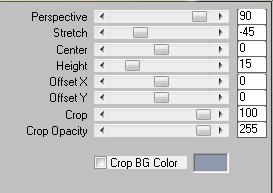
18. Plugin - MuR'as Meister - Perspective Tiling
Tornar visível a layer superior
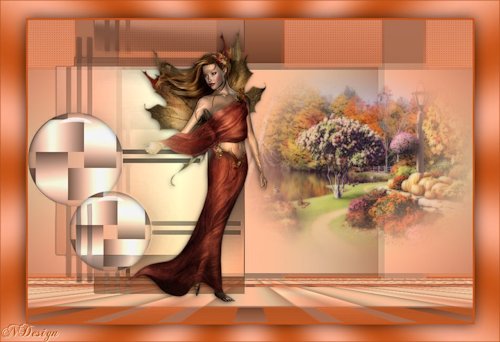
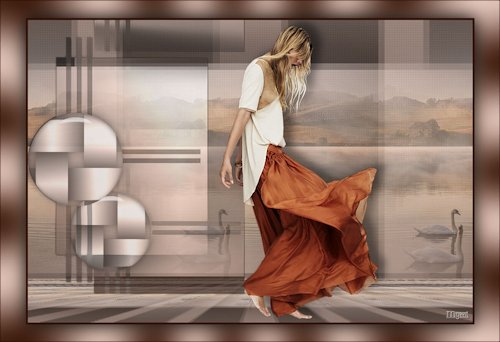
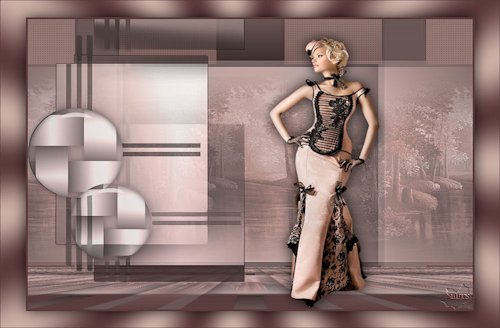
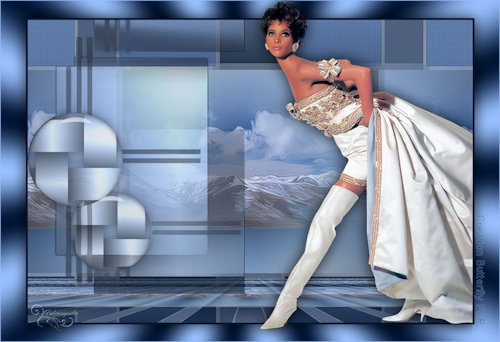
19. Edit - Copie e cole como nova layer o tube - ver Modelo
Drop Shadow tem seu gosto
LAYERS DEVEM ESTAR ASSIM
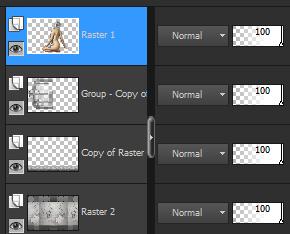
20. Layers - Merge visible
21. Layers - New Layer - Preencher com a cor escura
22. Selections - Select All - Selections - Modify - Contract 4px - DELETAR
23. Deselecionar tudo - Layers - Merge visible
24. Image - Resize 90% - All layers desclicado
25. Ferramenta Magic Wand - Selecionar a transparência
26. Effects - Plugins - Mehdi - Wavy Lab 1.1
27. Selections - Invert - Drop Shadow - 0, 0, 80, 40, preto
Deselecionar tudo
28. Image - Add Borders - 1px - cor clara - assinar - salvar .jpg
Espero que apreciem, obrigada.
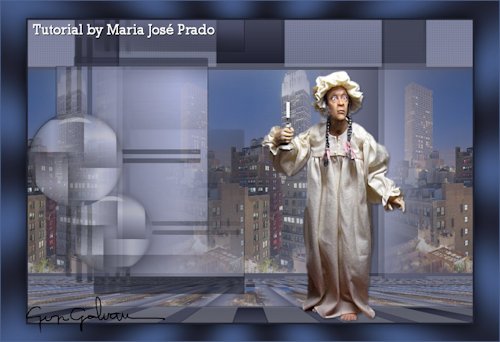
Este tutorial foi criado e publicado em 05 de setembro de 2015 por Maria José Prado. É protegido por lei de Copyright e não poderá ser copiado, retirado de seu lugar, traduzido ou utilizado em listas de discussão sem o consentimento prévio e escrito de sua autora acima declinada.
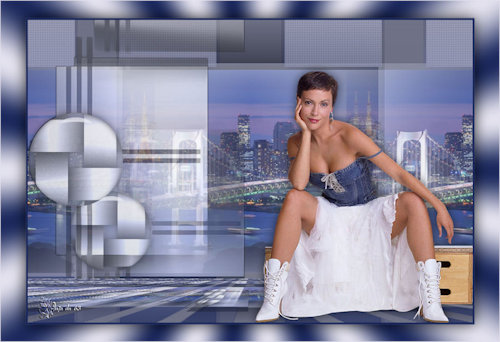
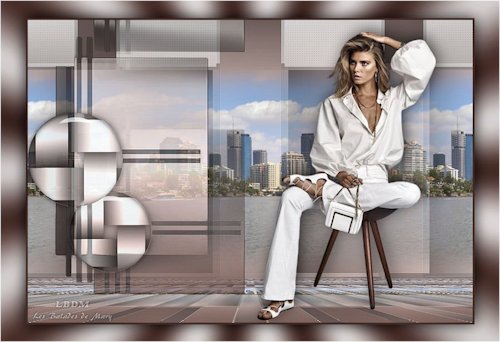
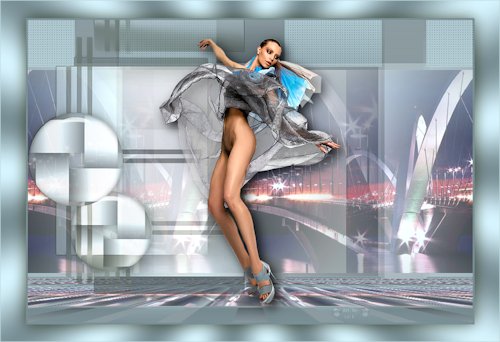
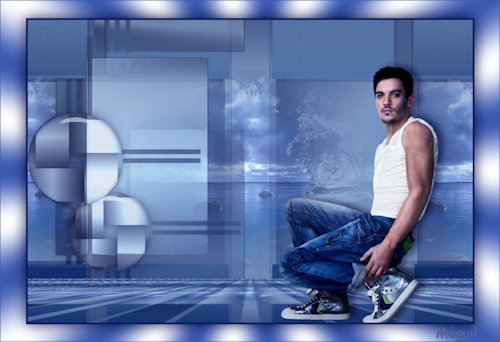
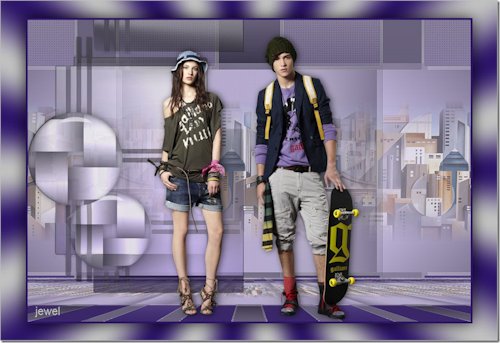
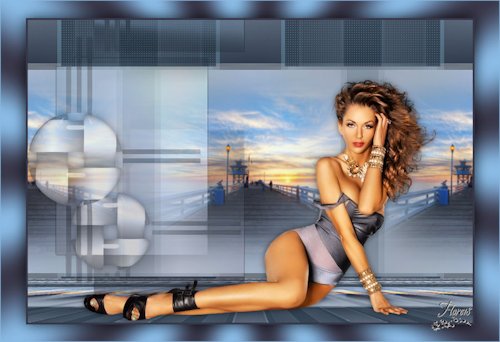
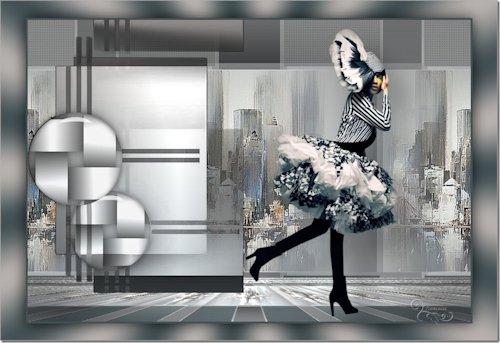
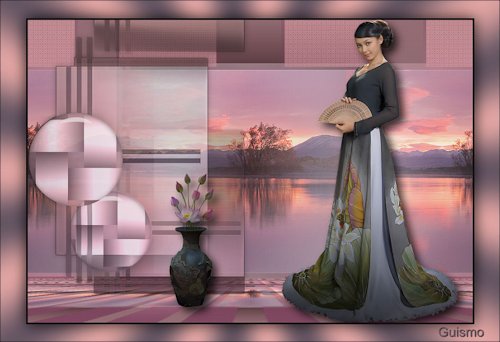
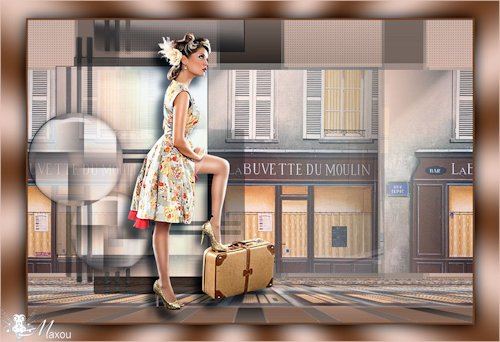
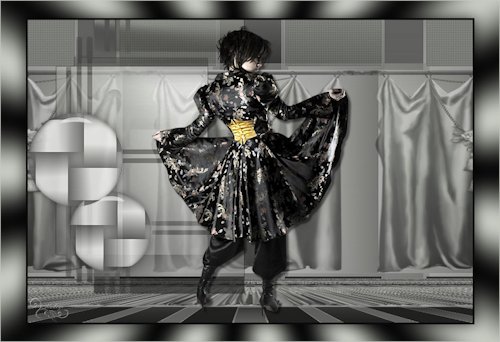
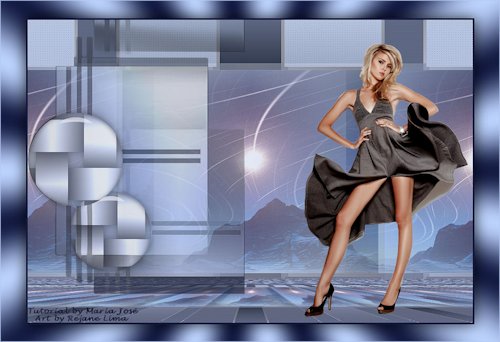
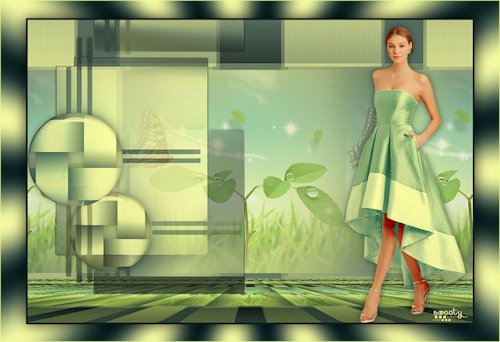
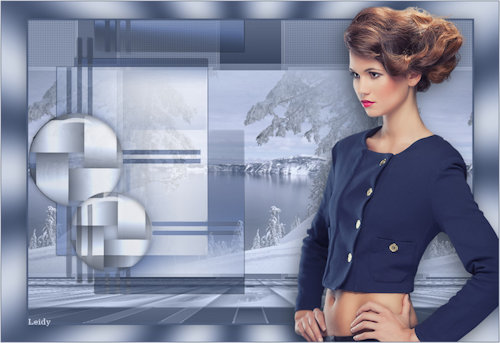
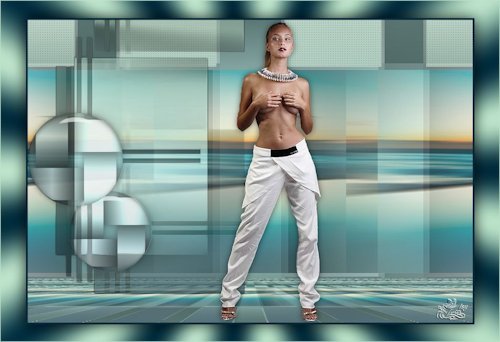
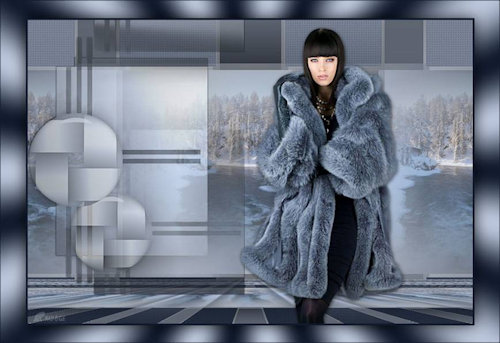
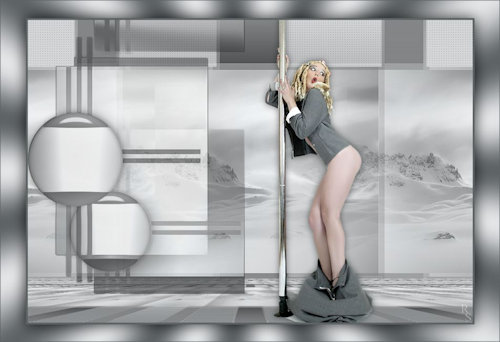
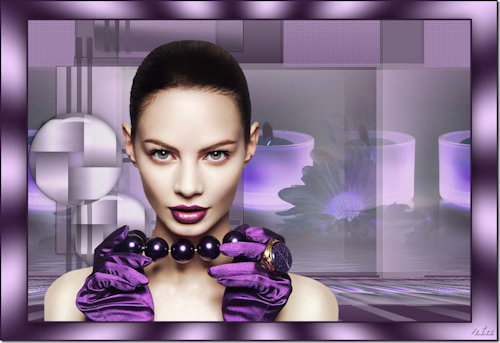
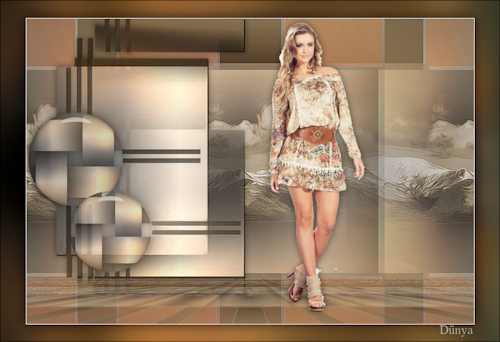
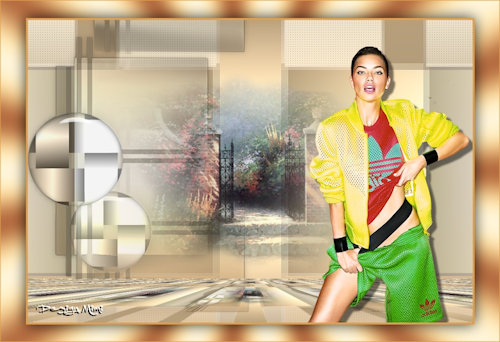
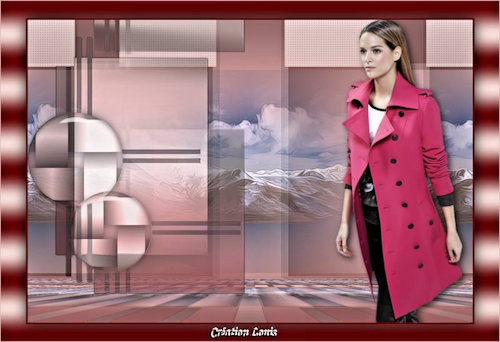
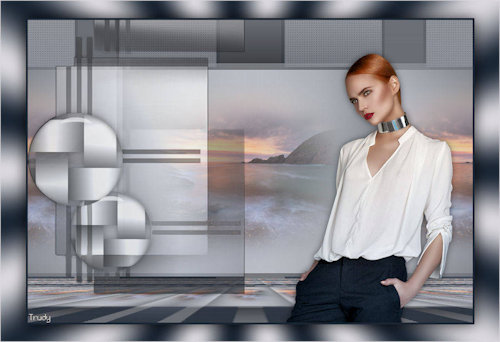
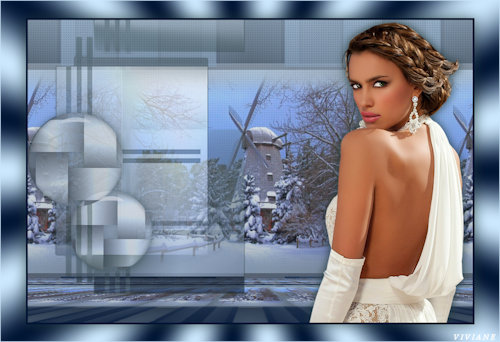
VARIANTES
|