 |
TOP GEOMÉTRICO
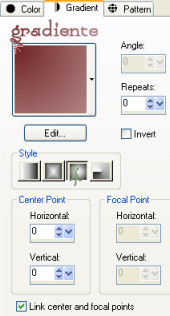
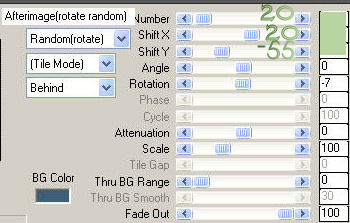
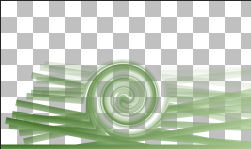
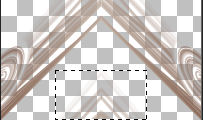
Material 1.- Abrir uma transparência 1000x600px - preencher assim: 2.- Ferramente deformation ou pick - assim: 3.- Plugin - MurA's Meister - assim: 4.- Ferramenta Warp brush, ver prints: 5.- Geometric Effects - Skew - Vertical - 45 - Wrap; 6.- Plugin Simple - Left Right Wrap; 7.- Effects - reflection - Rotating Mirror - H 0 - Rotation 180; 8.- Ferramenta seleção em retangular - selecionar como no print e deletar; 9.- Geometric Effects - Spherize - 100 - Elipse clicado; 10.- Geometric effects - Cylinder Vertical - 50; 11.- Geometric Effects - Pentagon - Repeat; 12.- Layers - duplicate - image flip - mergir visível; 13.- Layers - add new layer - send to bottom; 14.- Image - canvas size 1000x650px - 50 px bottom; 15.- Preencher com a gradiente mudando o center pointer H para 50; 16.- Plugin Penta - color & dot - default; 17.- Selection - select all - add new layer; 18.- Ativar o misted - copiar e colar dentro da seleção; 19.- Select none - mudar a blend para soft light - merge down; 20.- Aplicar mask border - layers merge group; 21.- Layers - add new layer - send to bottom; 22.- Preencher com a cor mais clara da gradiente ou como gostar; 23.- Ativar a layer merged - drop shadow - 0, 0, 60, 30, preto; 24.- Layers - mergir visível; 25.- Ativar o tube - copiar - colar; 26.- Ajustar a imagem - mergir as layers - assinar - salvar em JPG.
Este tutorial foi criado e publicado em 20 de junho de 2009 por Maria José Prado. É protegido por lei de Copyright |
