 |
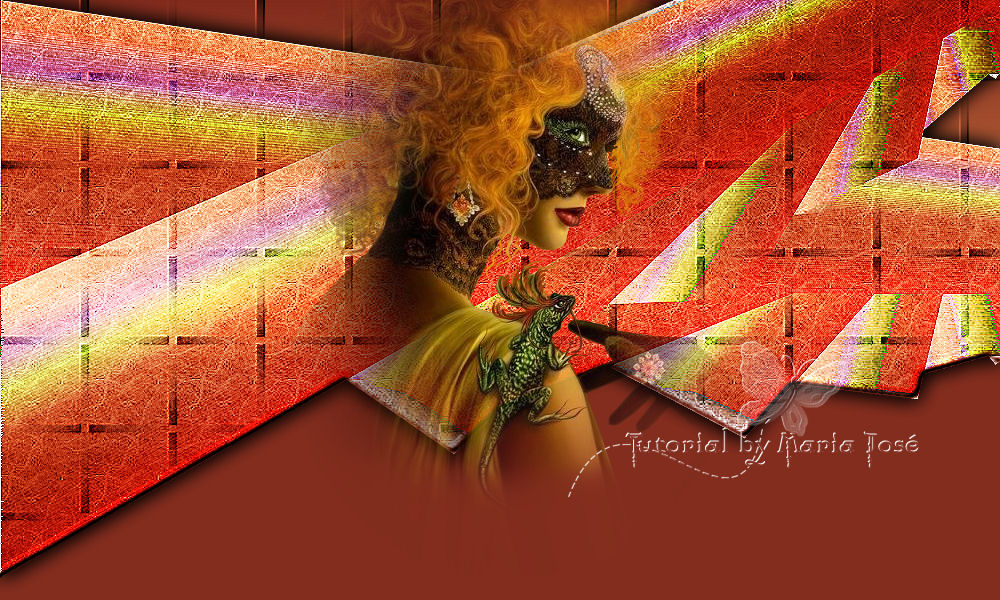
TOP VITÓRIA
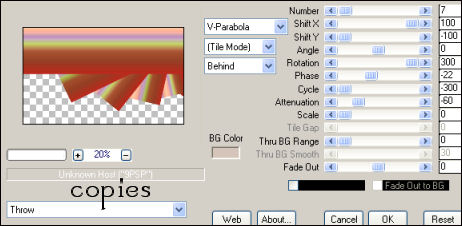
Material 1.- Abrir uma transparência 1000x600px; 2.- Preencher com uma gradiente - Linear - A 0 - R 1 - cor clara central - 3.- Effects - Texture - Soft Plastic - 20 - 7 - 23 - A 206 - branco; 4.- Plugin - MurA's Meister - Copies - assim: 5.- Effects - Geometric - Perspective H - 50 - transparente; 6.- Layers - duplicate; 7.- Effects - Geometric - Skew - 30 - transparente; 8.- Layers - Mergir Visivel; 9.- Plugin VMExtravaganza - Plastic Surgery - Default; 10.- FilterUnlimited 2 - Paper Texture - Fibrous Paper Coarse - default - Emboss 3; 11.- Magic Wand Selecionar a parte inferior - transparente; 12.- Selection - Modify - Expand - 10px; 13.- Adjust - Inner Bevel - critério pessoal; 14.- Selection - Select Invert; 15.- Layers - Add New Layer - Arrange - Send to Bottom; 16.- Pintar com uma das cores do trabalho - select none; 17.- Efects - Texture - Weave - 80 - 8 - 100 - Preto - Gap cor do top - fill desclicado; 18.- User Defined Filter - Emboss 3 - drop shadow 0,0,100,30,preto; 19.- Na raster merged - Baixar a opacidade para 50% - repetir drop shadow; 20.- Layers - mergir visível; 21.- Layers - Add New Layer - Arrange Send to Bottom; 22.- Preencher esta layer com a cor usada no item 16; 23.- Ativar o tube - copiar e colar; 24.- Mergir as layers - assinar - Salvar em JPG. Este tutorial foi criado e publicado em 03 de junho de 2009 por Maria José Prado. É protegido por lei de Copyright e não poderá ser copiado, retirado de seu lugar, traduzido ou utilizado em listas de discussão sem o consentimento prévio e escrito de sua autora acima declinada. |

