1.- Abrir alphachannel_vania, fechar o original, vamos trabalhar na cópia Selection, select all
Edit, copy no gráfico e colar dentro da seleção, deselecionar tudo
2.- Effects, Seamless Tiling, Default
Plugin Carolaine & Sensibility CS-Linear-H
3.- Layers, Duplicate
Image, Resize 85%, all layers desclicado
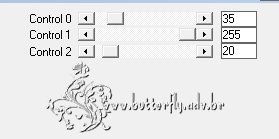
Plugin Simple, Blintz
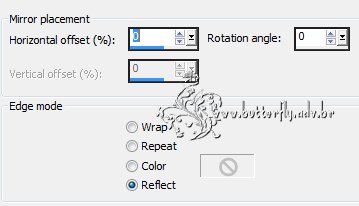
Effects, Reflections Effects, Rotating Mirror
4.- Selections, Load Selection alphachannel, selection #1
Deletar, Deselecionar tudo
5.- Selections, Load Selection alphachannel, selection #2
Deletar, Manter a Seleção
6.- Ativar a Raster 1
Adjust, Blur, Gaussian Blur, radius 50
Deselecionar tudo
7.- Duplicar a Raster 1
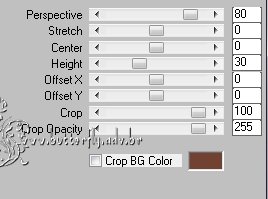
Plugin MurA's Meister, Perspective Tiling, Emboss3
8.- Selections, Load Selection alphachannel. selection #3
Promote selection to layer
Adjust, Blur, Gaussian Blur, Radius 50
Effects, Texture Effects, Weave

Plugin MurA's Meister, Perspective Tiling, DEFAULT
Adjust, Sharpness, Sharpen More
Selection, Invert
Drop Shadow 0, 0, 60, 30, preto
Deselecionar tudo
9.- Layers, Add New Layer, Rodar Script
Scriptnubes002-ketpsp9.PspScript_1
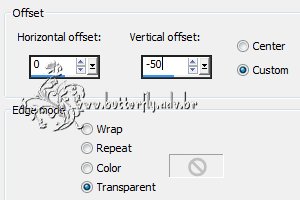
Effects, Image Effects, Offset, H 0, V 50, Custom, Transparent
10.- Selections, Load Selection alphachannel novamente, selection #2
Selections, Invert, Deletar
Drop Shadow, 0, 0, 60, 30, preto
11.- Selection, Invert, copie e cole o misted como nova layer
Ajustar, Arrange, Move Down
Selections, Invert, Deletar, Deselecionar tudo
12.- Vejam como devem estar as layers
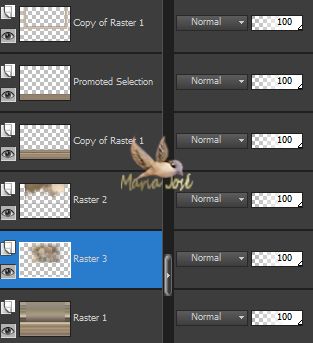
Layers, Merge Visible
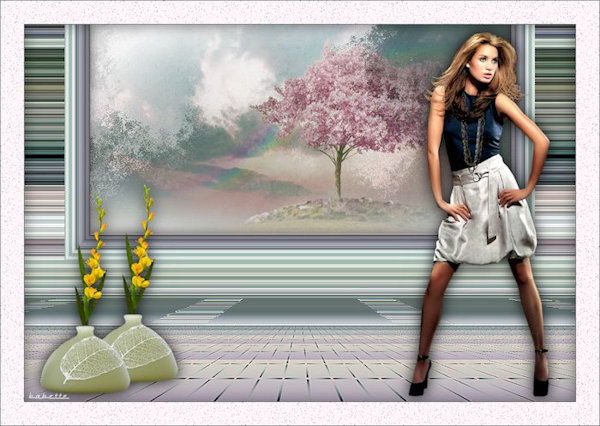
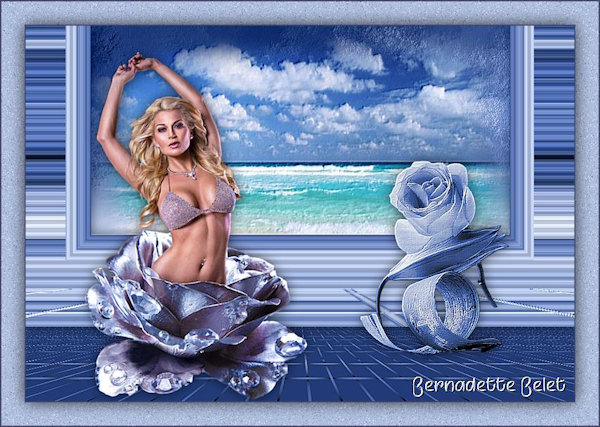
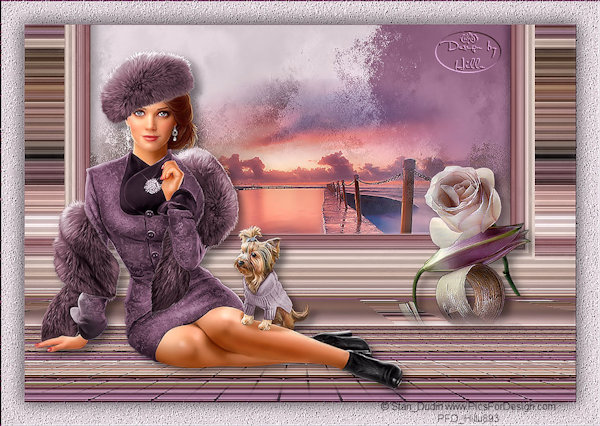
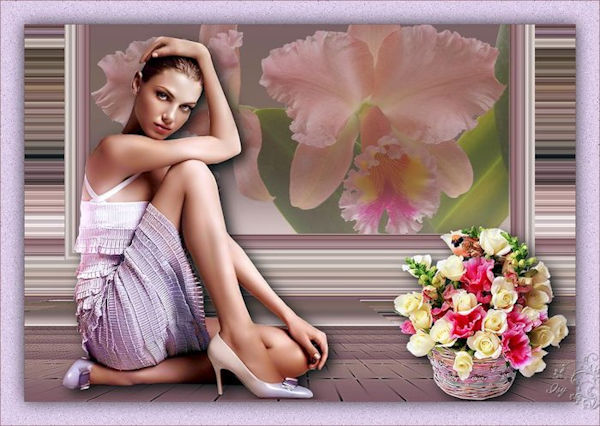
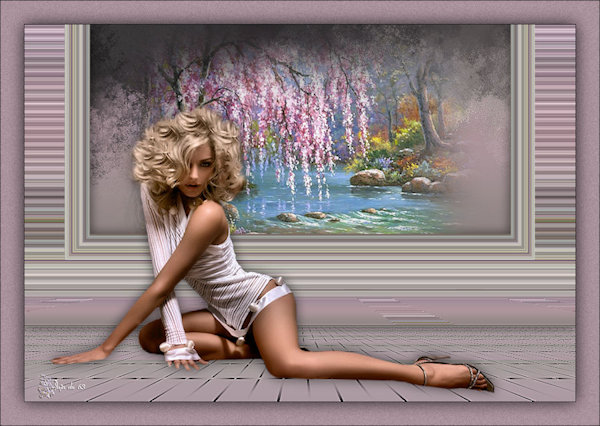
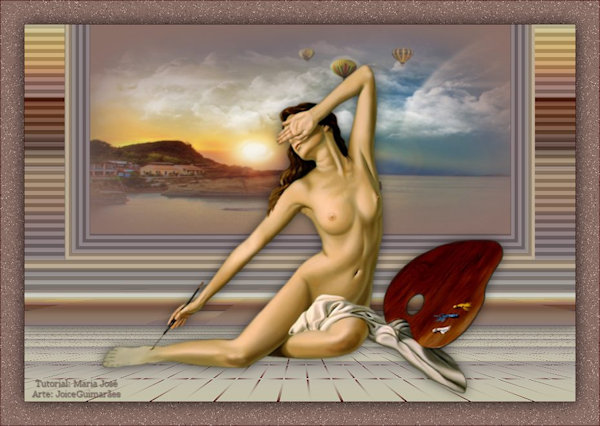
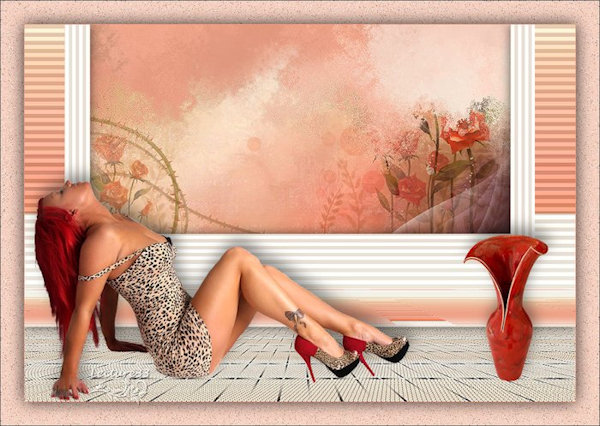
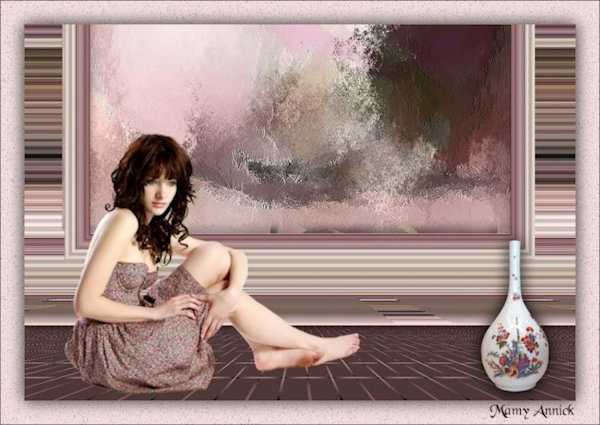
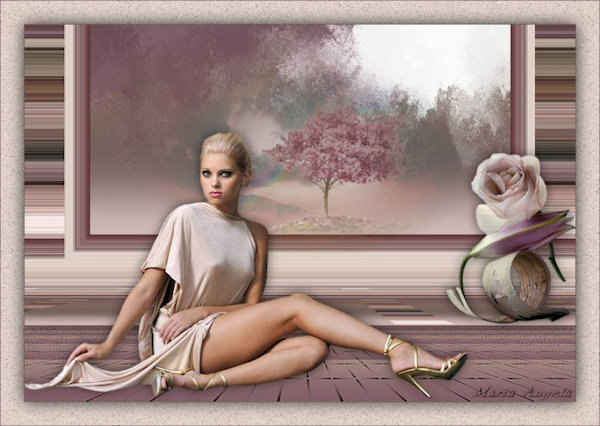
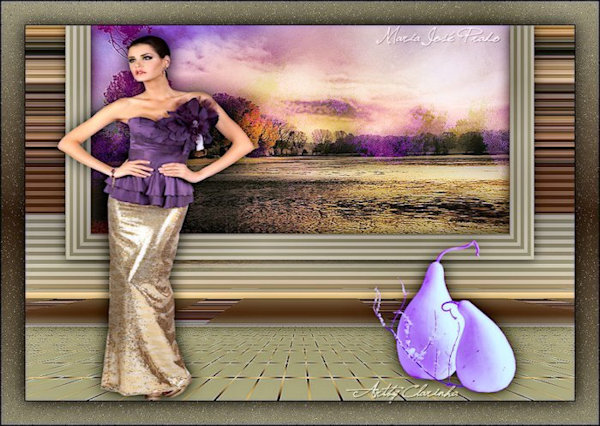
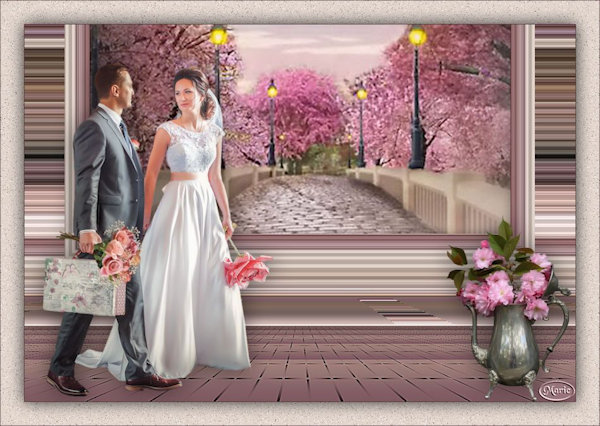
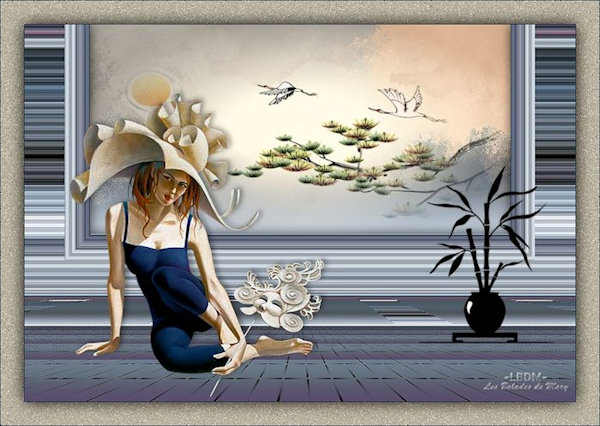
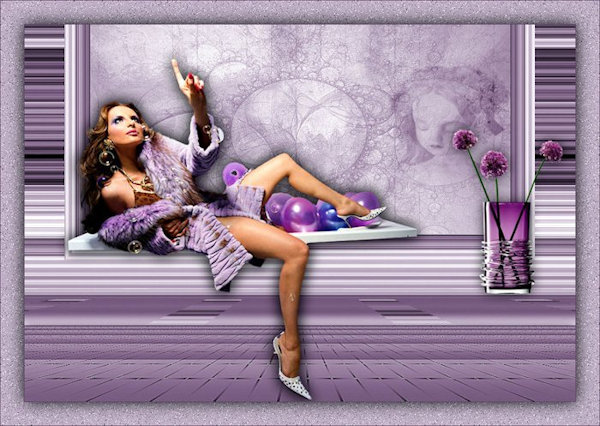
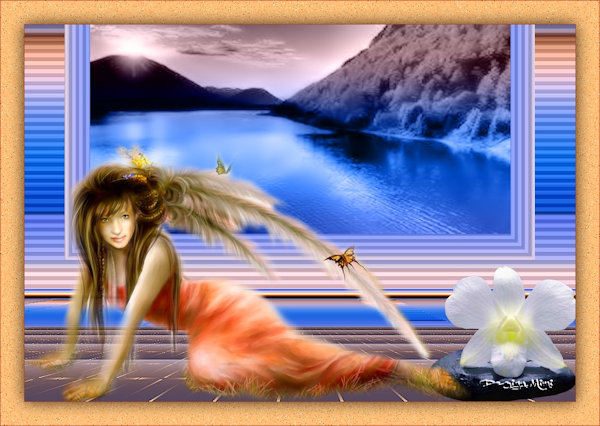
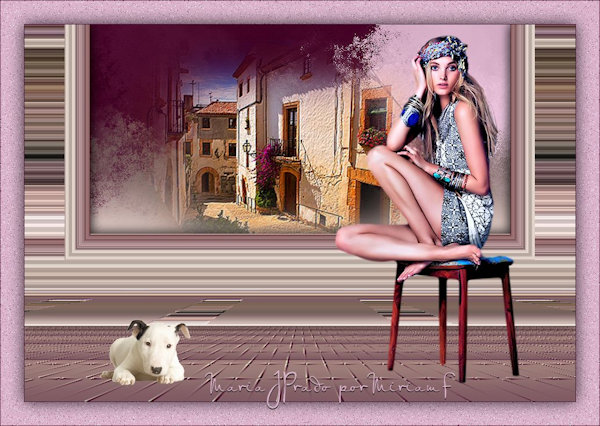
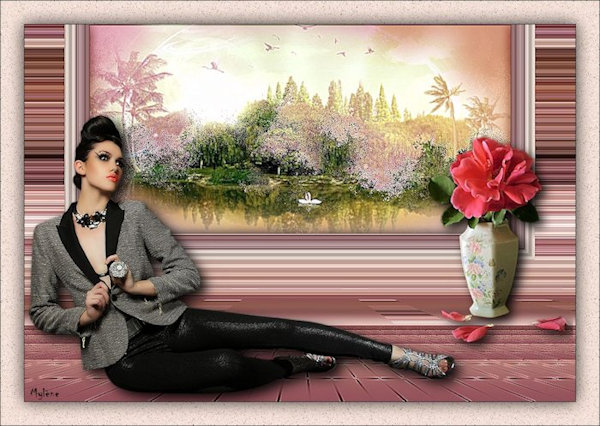
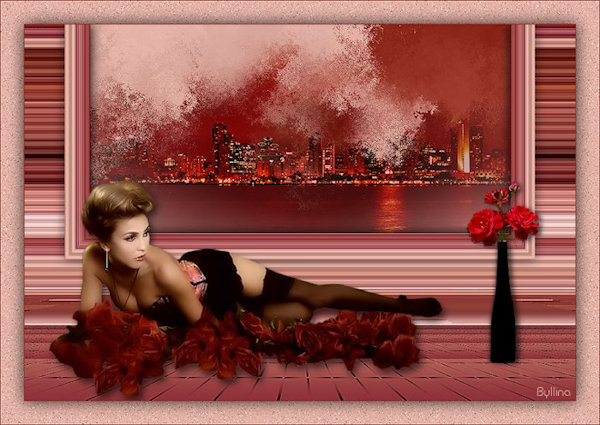
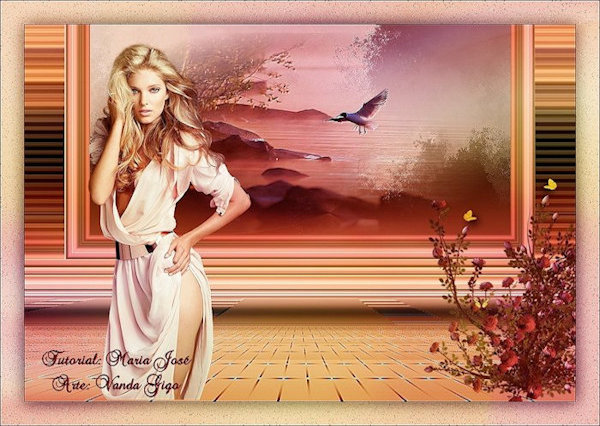
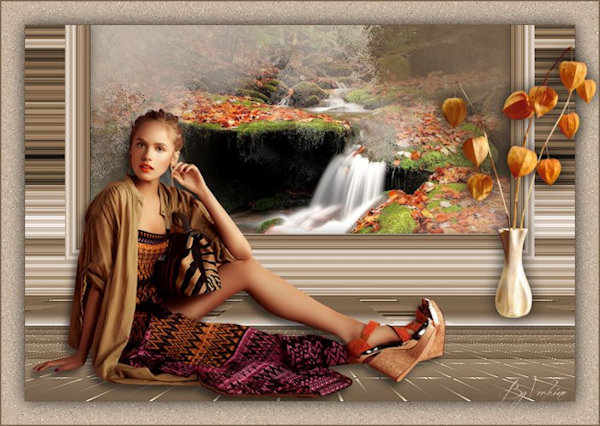
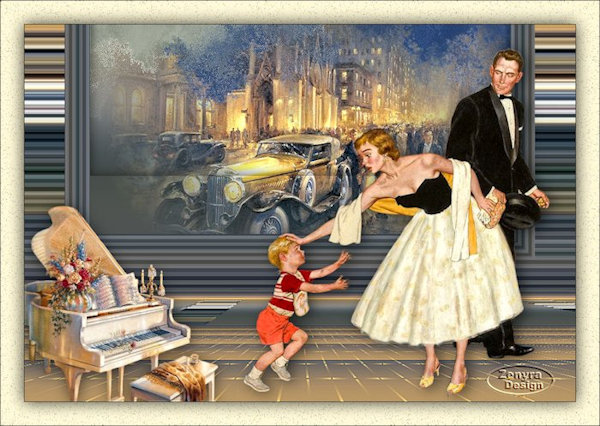
13.- Ativar os tubes, copiar e colar como nos modelos
Drop Shadow a seu gosto
14.- Image, Add Borders 1px, cor escura
Image, Add Borders, 40, cor clara
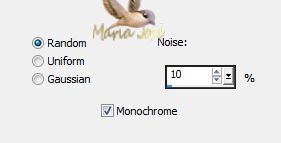
15.- Magic Wand, selecionar as bordas
Adjust, Add Noise, Randon, 10, mono clicado
16.- Selections, Invert, Drop Shadow 0, 0, 80, 40, preto
Deselecionar tudo
17.- Image, Add Borders 1px, cor escura
Image, Resize 950px width, all layers clicado
Assinar e salvar em .jpg