Material

|
Plugins
VM Extravaganza
Filters Unlimited2, Background Designers
AAA Frame
Eye Candy 5, Impact
|
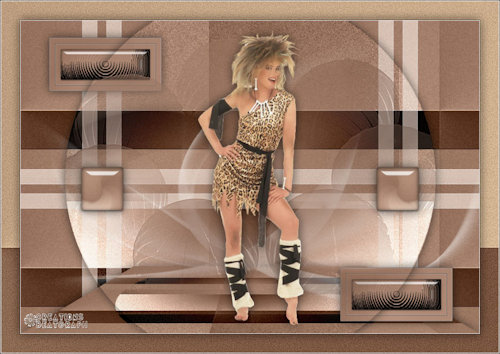
Tubes Annelies e nossa saudosa ANA RIDZI, eu agradeço
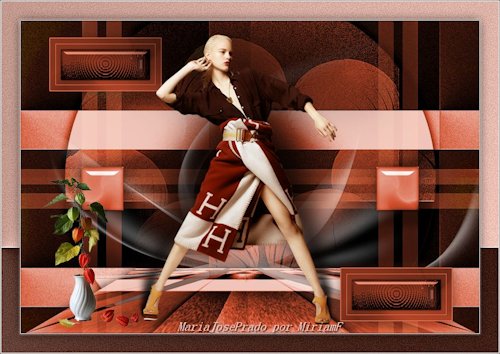
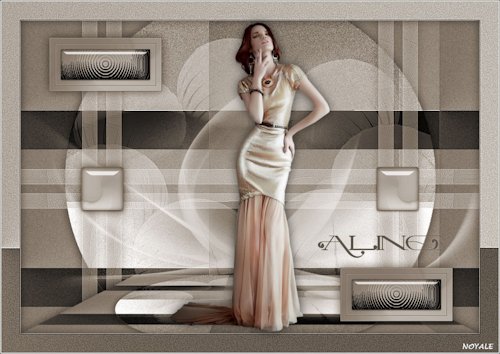
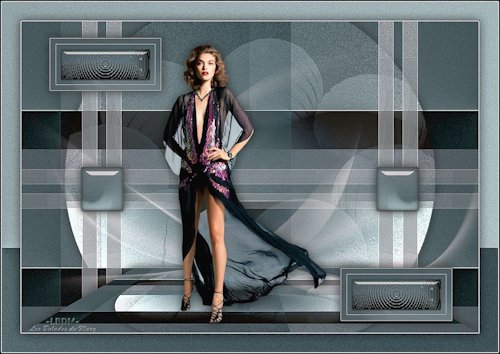
Cores deste tutorial Foreground #ecd5ac - Background #5e4f2f
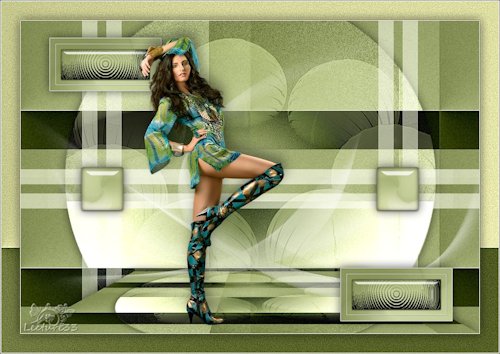
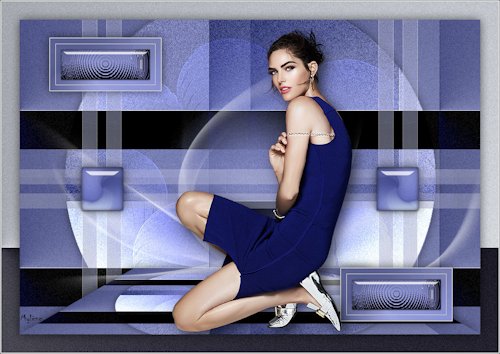
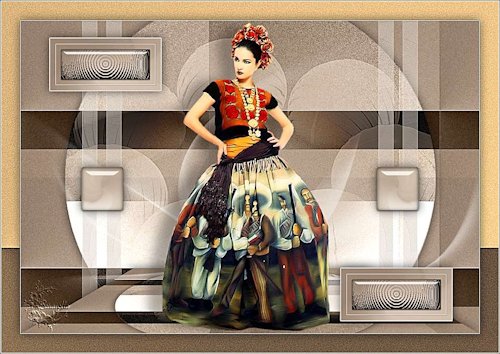
O resultado vai depender das cores escolhidas
******************
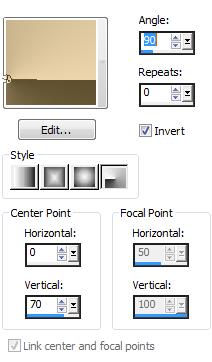
1.- Preparar gradiente com duas cores do seu tube, configuração abaixo
2.- Abrir alphachannelaline, faça uma cópia, fechar o original
Vamos trabalhar na cópia, preencher com a gradiente
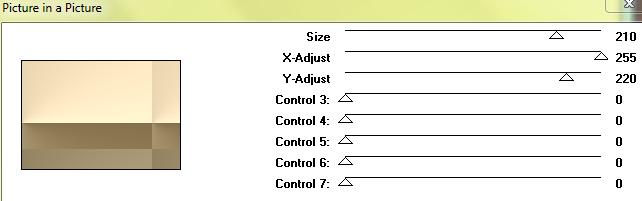
3.- Plugin VM Extravaganza, Picture to Picture
Effects, Edge Effects, Enhance
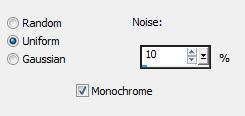
Adjust, Add/Remove Noise
4.- Filters Unlimited2, Background Designers, Bkg Kaleidoscope, CAKE MIX 169, 169
5.- Selections, Load Selection from alphachannel Selections # 1
Promote selection to layer
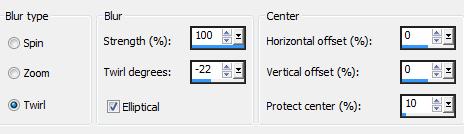
Adjust, Blur, Radial Blur, como abaixo
6.- Layers, New Mask Layer, from image, mask2-bubbles-24
Adjust, Sharpness, Sharpen More, Layers, Merge Group
Deselecionar tudo, Mudar a Blend para SCREEN, Layers, Merge Visible
Novamente Load Selection from alpha channel Selections # 1
Drop Shadow, 0, 0, 60, 30, preto, Deselecionar tudo
7.- Selections, Load Selection from alphachannel Selections # 2
Promote selection to Layer
Adjust, Blur, Radial Blur, mesma configuração
8.- Plugin AAA Frame, Foto Frame
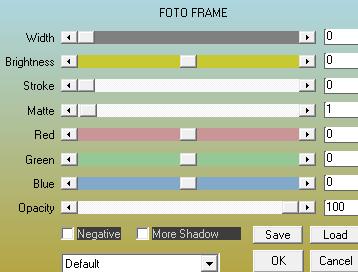
a.- Selections, Modify, contract 20, repetir Foto Frame
b.- Selections, Modify, contract 20, repetir Foto Frame
9.- Filters Unlimited2, Background Designers
Bkg Designers sf10I, CIRCUS MAXIMUS, Circles 0
Eye Candy 5, Impact, Glass, preset majo_glass_1
Deselecionar tudo, Image Resize 60%, all layers DESCLICADO
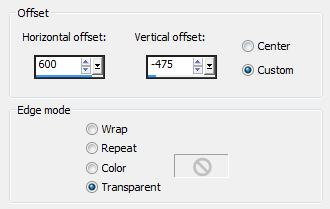
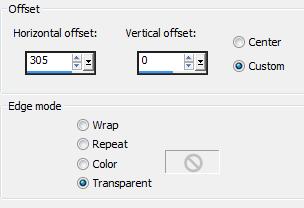
10.- Effects, Image Effects, Offset

Layers, Duplicate, Effects, Image Effects, Offset
Layers, Merge Down, Drop Shadow 0, 0, 60, 30, preto
11.- Ativar Layer Merged, Selections, Load Selection from alphachannel, Selections # 3
Promote Selection to Layer, Deselecionar tudo
Filters Unlimited2, Background Designers, Bkg Designers sf10I, CRUNCHER, 20, 20
Effects, Edge Effects, Enhance
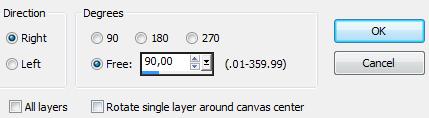
12.- Image, Free Rotate como abaixo
Effects, Image Effects, Offset
Layers, Duplicate, Image Mirror, Layers, Merge Down
(caso necessário, mudar a blend para Screen)
13.- Novamente Layer Merged, Selections, Load Selection from alphachannel, Selections # 3
Promote Selection to Layer, Move Up, Deselecionar tudo
Filters Unlimited2, Background Designers, Bkg Designers sf10I, CRUNCHER, 20, 20
Effects, Edge Effects, Enhance (mudar a blend, se necessário para SCREEN)
Layers, Merge Down
14.- Na Layer Merged, Selections, Load Selection from alphachannel, Selections # 4
Promote Selection to Layer, Move Up
Adjust, Blur, Radial Blur, mesma configuração
Eye Candy 5, Impact, Glass, preset majo_glass_1
Deselecionar tudo, Layers Duplicate, Image Mirror
Layers, Merge Down, Drop Shadow 0, 0, 60, 30, preto
15.- Ativar a Layer Merged, Layers Duplicate, Move Up
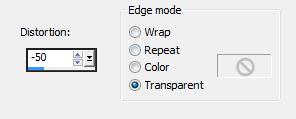
Effects, Geometric Effects, Perspective Vertical
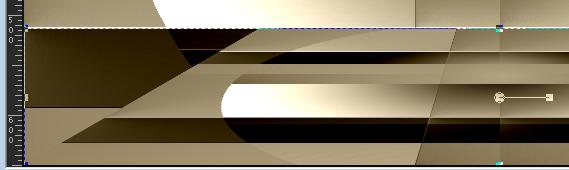
Ferramente Pick (letra K) ajuste como abaixo (letra M)
Drop Shadow 0, 0, 60, 30, preto
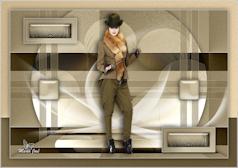
16.- Copiar e colar deco_aline como nova layer, não mexer
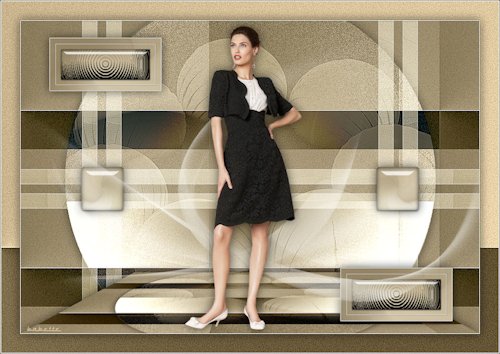
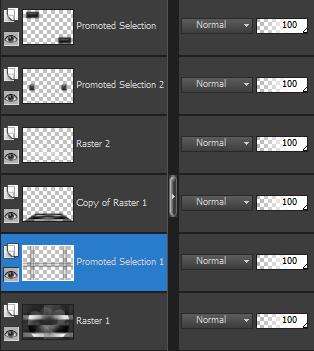
AS LAYERS DEVEM ESTAR ASSIM
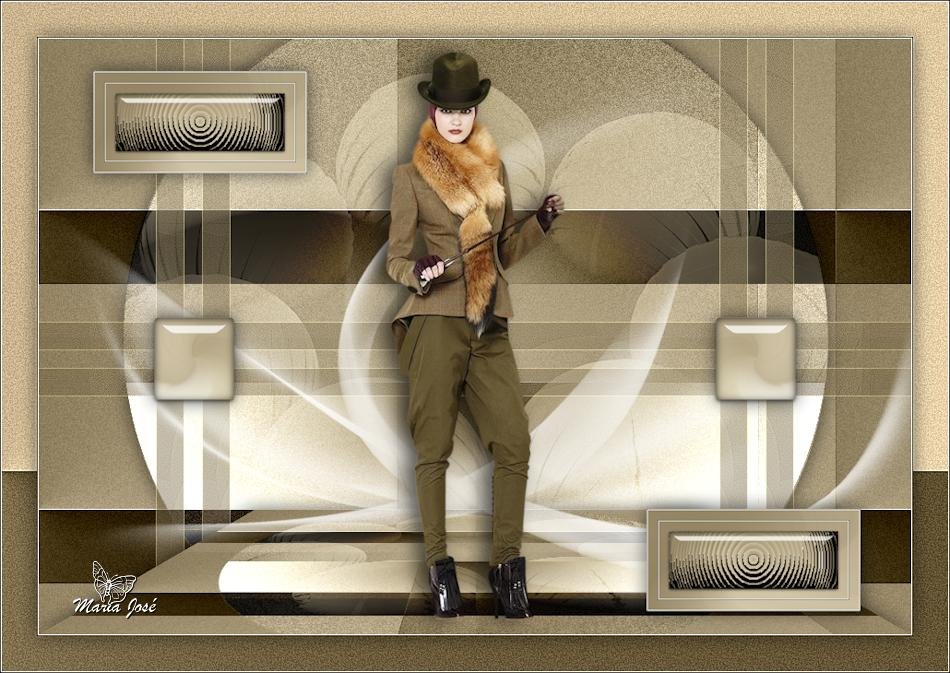
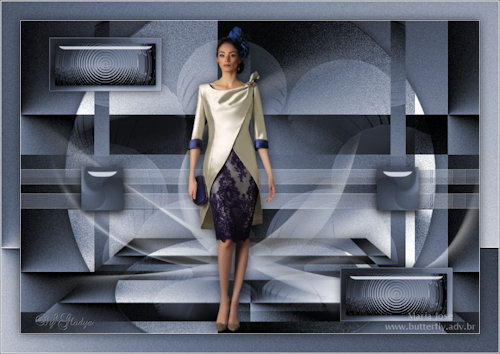
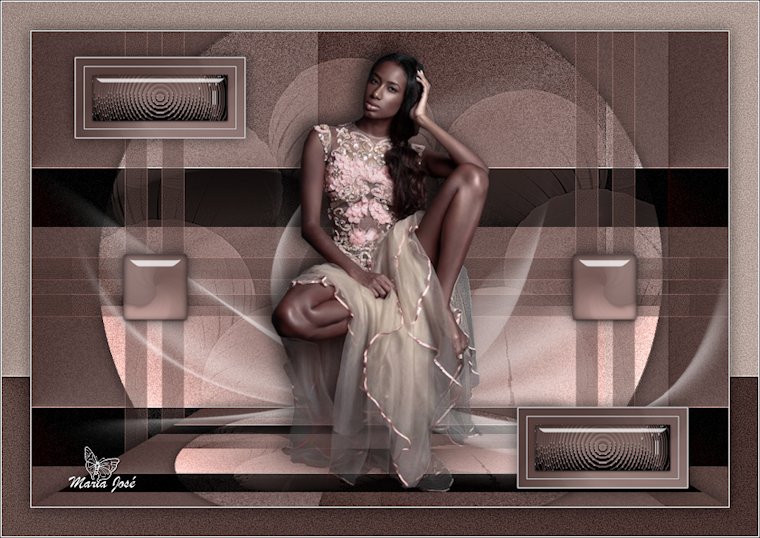
17.- Copiar e colar como no modelo o tube principal, Move Up 2 vezes
Drop shadow critério pessoal
18.- Layers, Merge Visible, Plugin AAA Frame, Foto Frame mesma configuração
19.- Image, Add Borders, 40, cor contrastante
Magic Wand, Selecionar as bordas, preencher com a gradiente
20.- Adjust, Add Noise como acima, Adjust Sharpness, Sharpen More
21.- Selection Invert, Drop Shadow 0, 0, 60, 30, preto
22.- Deslecionar tudo, Repetir Plugin AAA Frame
23.- Layers, Merge All Flatten, Image Resize, 950px Width, assinar, salvar em .jpg
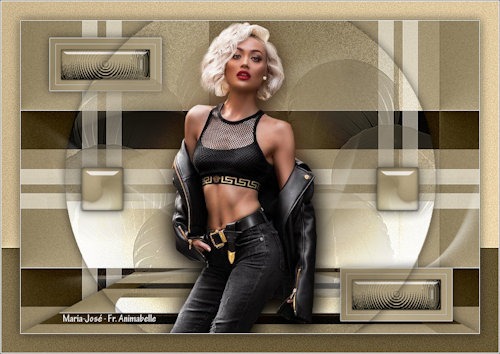
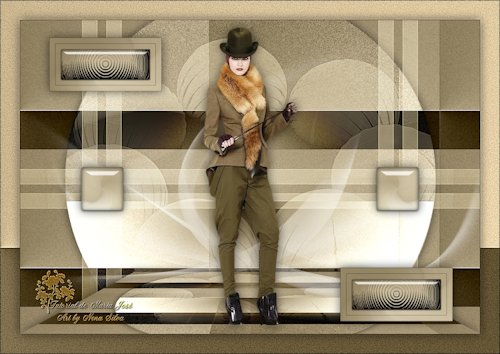
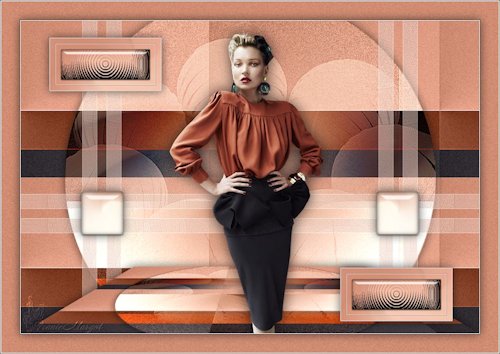
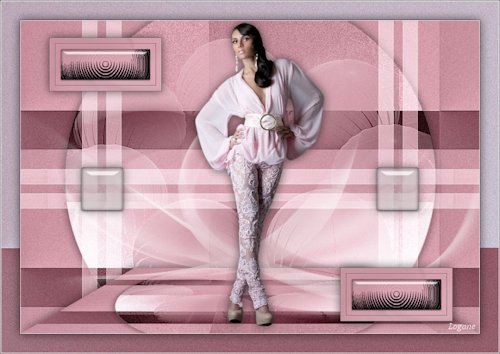
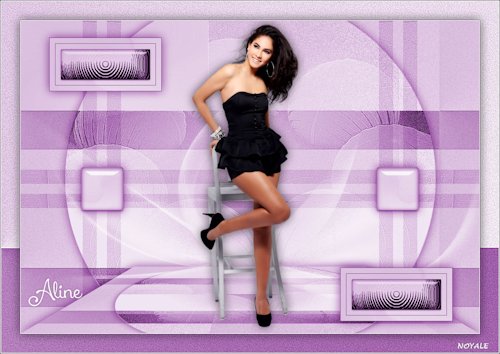
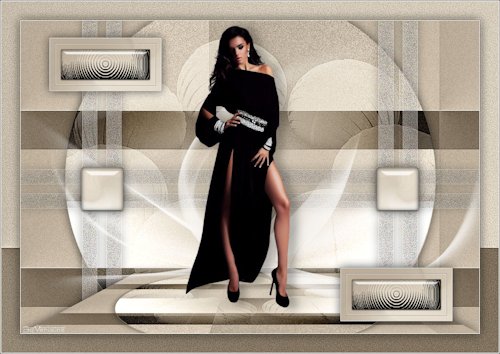
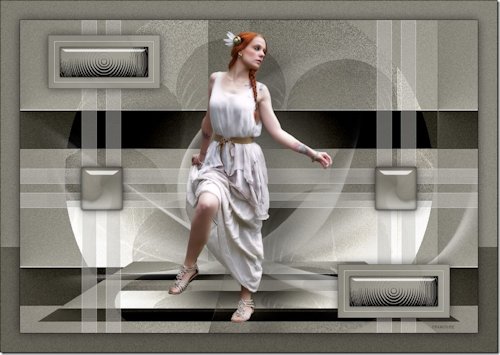
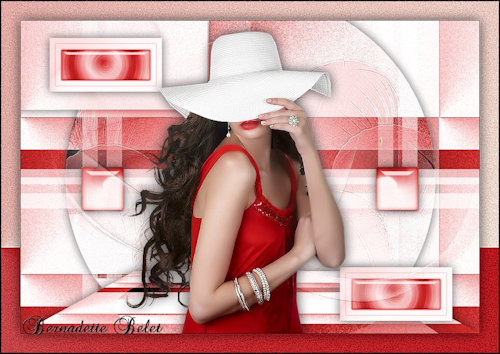
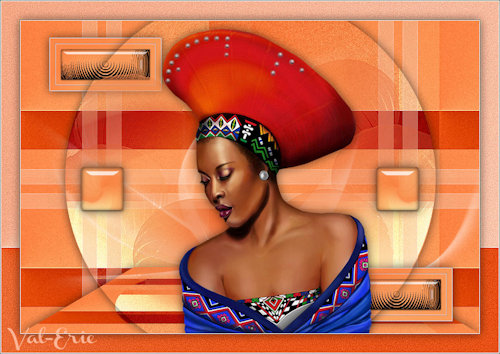
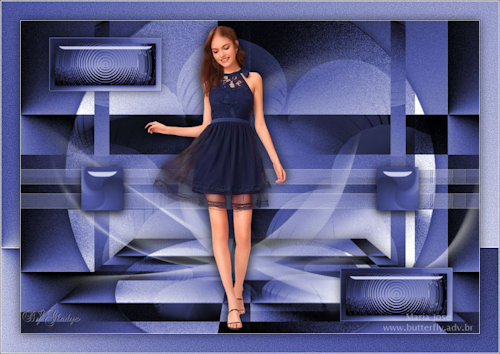
Outro exemplo
Este tutorial foi criado em 30 de janeiro de 2015 por Maria José Prado. É protegido por lei de Copyright e não poderá ser copiado, retirado de seu lugar, traduzido ou utilizado em listas de discussão sem o consentimento prévio e escrito de sua autora acima declinada.
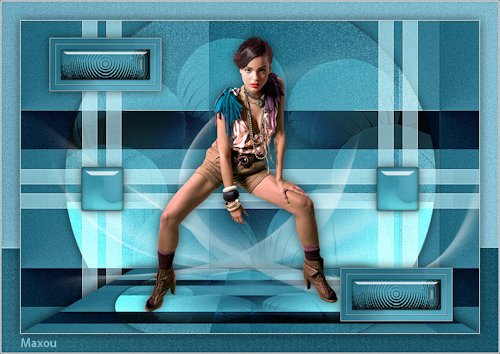
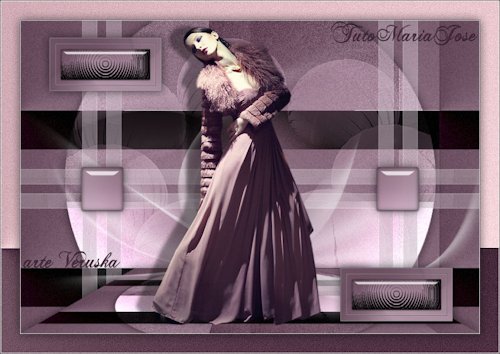
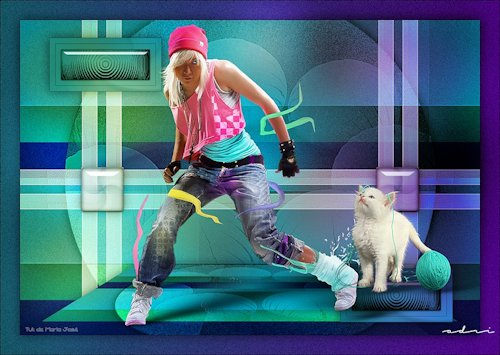
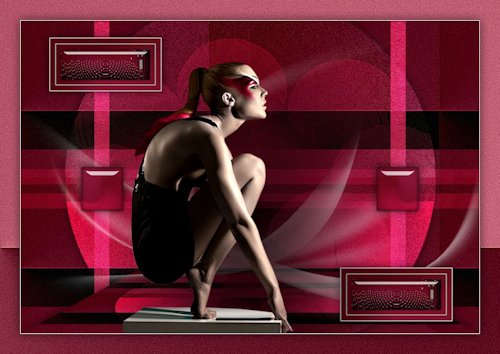
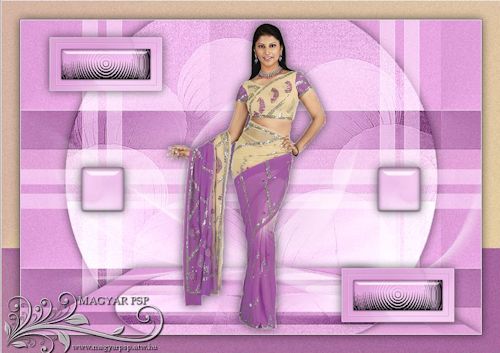
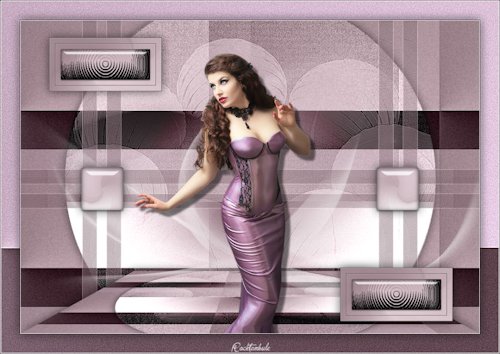
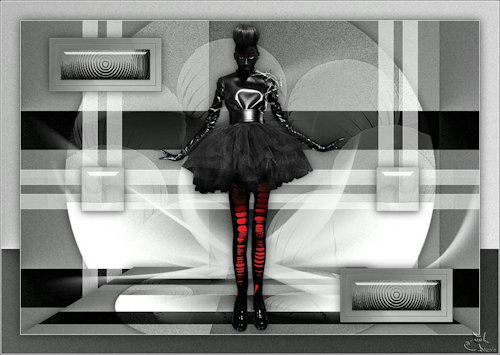
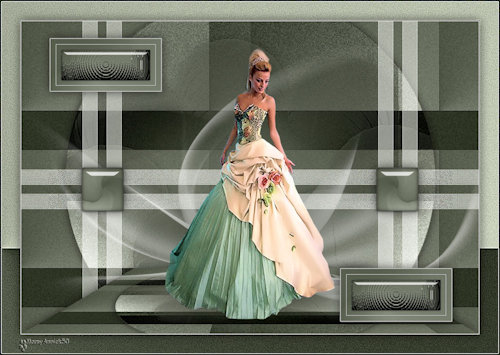
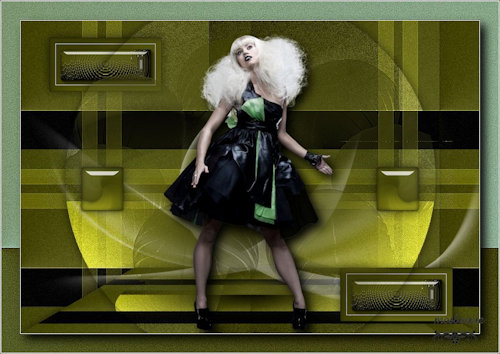
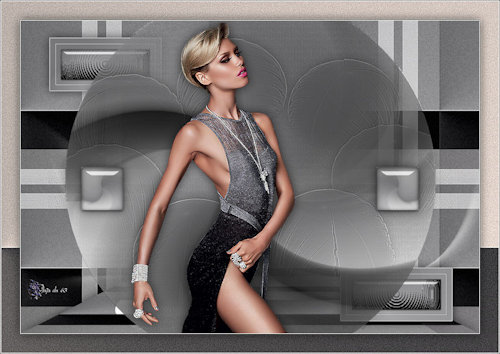
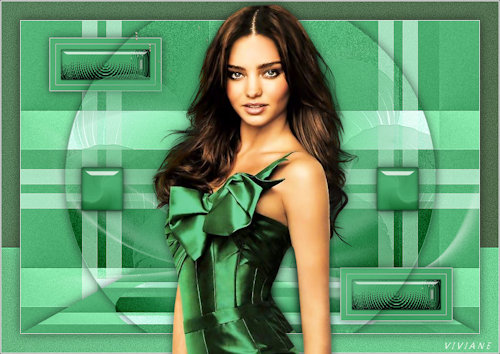
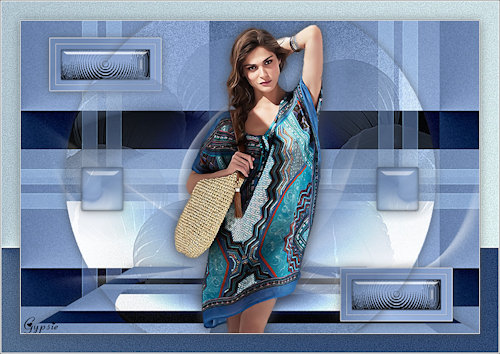
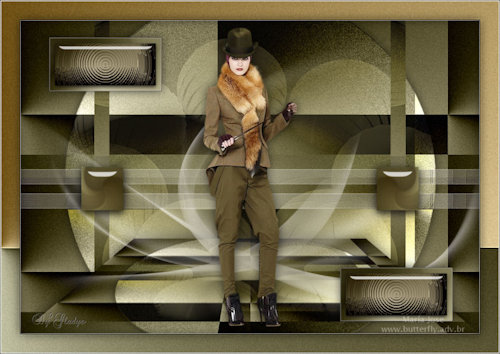
VARIANTES
|