MATERIAL
Um misted (pessoal)
Um tube (Tocha, que agradeço)
Cores deste tutorial - Foreground #d78b8d - Background
#450d03
Demais materiais click abaixo

PLUGINS
Mehdi
Carolaine & Sensibility
Filters Unlimited2
AP [Innovations] Lines, SilverLining
Todies
AAA Frames
Alf's Border FX
**************************
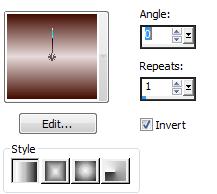
1.- Preparar gradiente com duas cores do misted, LINEAR, ANGLE 0, REPEATS 1
2.- Abrir transparência 900x600px, preencher com a gradiente
Selections, Select All
3.- Copiar e colar o misted dentro da seleção, DESELECIONAR TUDO
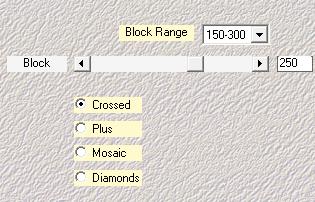
4.- Plugin Mehdi, Sorting Tiles
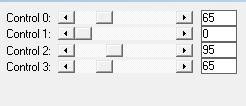
Plugin Mehdi, Edges FX

Effects, Edge Effects, Enhance
Plugin Carolaine & Sensibility, CS_Halloween
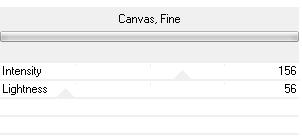
Filters Unlimited2, Paper Texture, Canvas Fine
5.- Layers, New Layer Raster, preencher de branco
Layers, New Mask Layer, mask_escritos_mj
Adjust, Sharpness, Sharpen, Layers Merge Group
6.- Ativar a Raster 1, Selections, Load Selection from Disk, sepia_mj
Promoted Seleciton to layer, Arrange, Bring To Top
DESELECIONAR TUDO
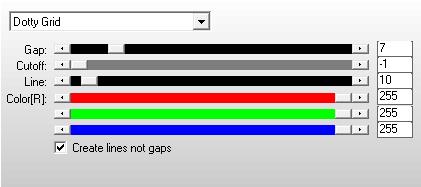
7.- Plugin AP [Innovations] Lines, SilverLining
Drop Shadow, 0, 0, 60, 30, preto
Layers Duplicate
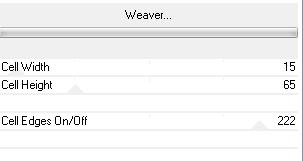
Plugin Todies, Weaver
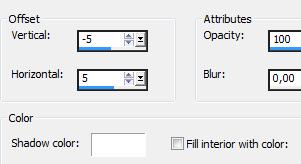
Effects, 3D Effects, Cutout
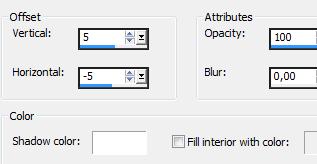
Repetir o Cutout
8.- Layers, Merge Down, Repetir o Drop Shadow
9.- Layers, Duplicate, Image Mirror (H), Image Flip (V)
10.- Layers, Merge Down
Novamente, Layers, Duplicate, Merge Down
11.- Ativar a Raster 1, Selections, Load Selection from Disk, sepia_1_mj
Promoted Seleciton to layer, Arrange, Bring To Top
Plugin AP [Innovations] Lines, SilverLining como acima
Drop Shadow como acima
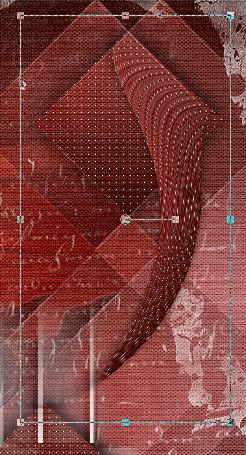
12.- Layers, Duplicate, Image, Resize 90%, All Layers, DESCLICADO
Effects, Distortion Effects, Twirl, Degrees 600
Com a ferramente Pick, ajustar como no modelo
Layers, Merge Down, Layers, Duplicate, Image Mirror (H), Image Flip (V)
Layers, Merge Down
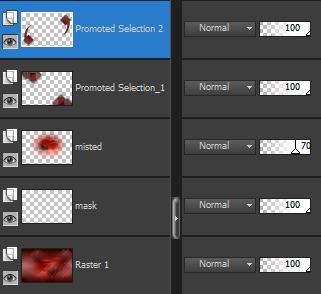
13.- Copiar e colar o misted, no centro, como no modelo, baixar opacidade para 70
AS LAYERS DEVEM SE APRESENTAR ASSIM
14.- Layers, Merge Visible, Layers, Duplicate, Image Resize 85%, all layers, DESCLICADO
15.- Selections, Select All, Selections Float, Selections Defloat
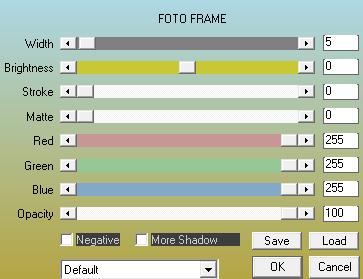
16.- Plugin AAA Frames, Foto Frame
Deselecionar tudo
Com a Magic Wand, Selecionar as bordas branca e preencher com a cor escura
Deselecionar tudo, Drop Shadow 0, 0, 80, 40, preto
17.- Ativar a Layer Merged
Plugin Carolaine & Sensibility, CS_Linear-H
18.- Copiar e colar deco_sepia
19.- Image, Add Borders, 1px, cor clara
Image, Add Borders, 3px, cor escura
Image, Add Borders, 1px, cor clara
20.- Selections, Select All, Edit Copy
21.- Image, Add Borders, 50px, cor branca
Selection Invert, colar dentro da seleçao a imagem copiada
22.- Adjust, Blur, Gaussian Blur, Radius 50
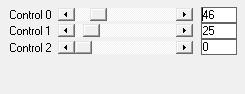
23.- Plugin Carolaine & Sensibility, CS_Halloween, como acima
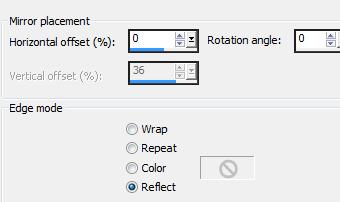
24.- Effects, Reflection Effects, Rotating Mirror
25.- Selections Invert, Drop Shadow 0, 0, 80, 40, preto
Deselecionar tudo
26.- Layers, Merge Visible
27.- Selections, Selecct All, Selections Modify, Contract 15px
Selections, Invert
28.- Plugin Alf's Border FX, Mirror Bevel, Default (128, 64)
29.- Adjust, Sharpness, Sharpen, Drop Shadow 0, 0, 80, 40, preto
Deselecionar tudo
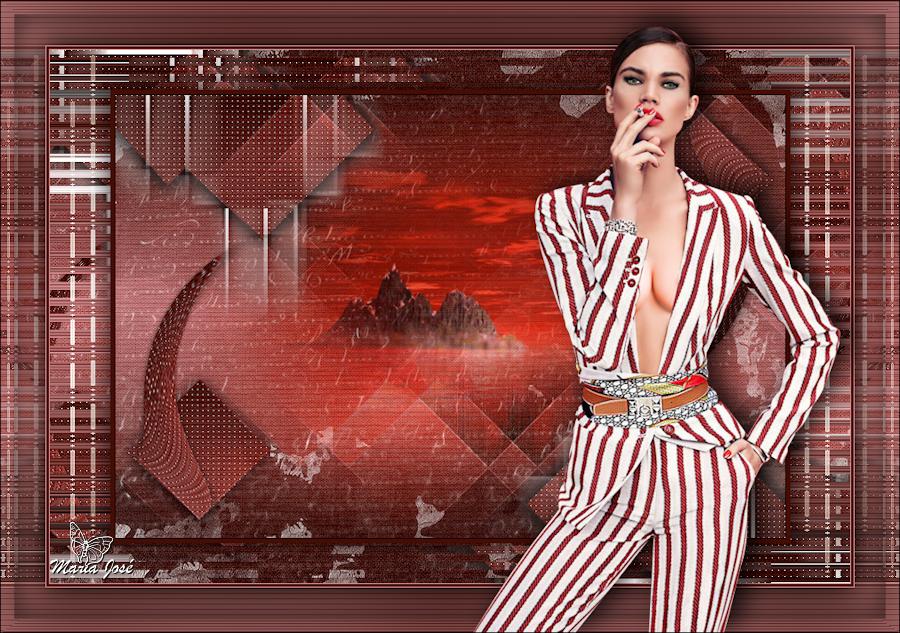
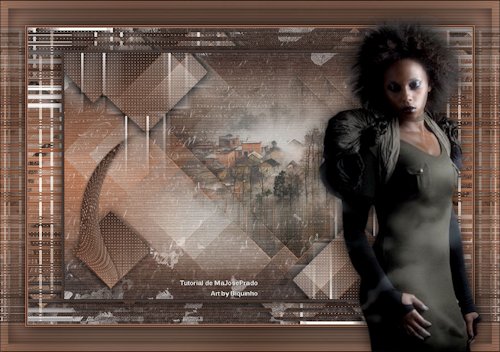
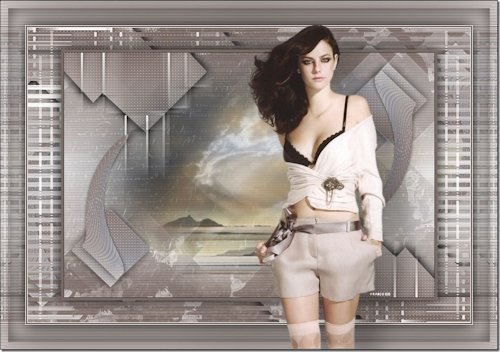
30.- Copiar e colar o tube principal, como no modelo, Drop Shadow pessoal
31.- Image, Add Borders 1px, Preto
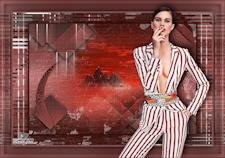
32.- Image, Resize 900px Width, Assinar, salvar em .jpg
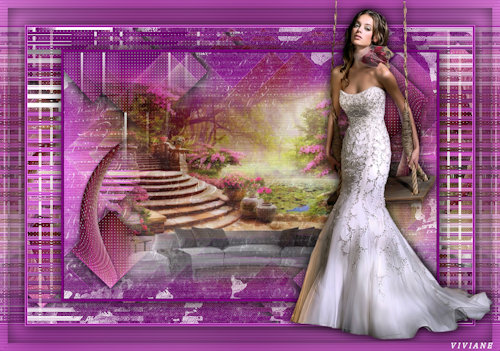
Espero que apreciem
Este tutorial foi criado em 19 de abril de 2015 por Maria José Prado. É protegido por lei de Copyright e não poderá ser copiado, retirado de seu lugar, traduzido ou utilizado em listas de discussão sem o consentimento prévio e escrito de sua autora acima declinada.
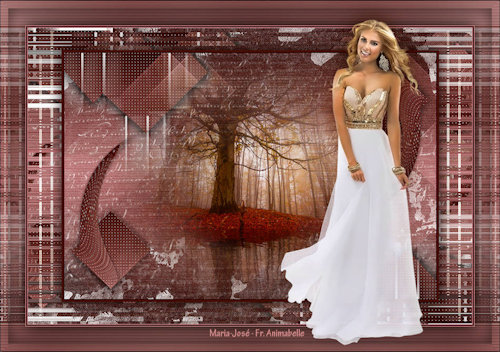
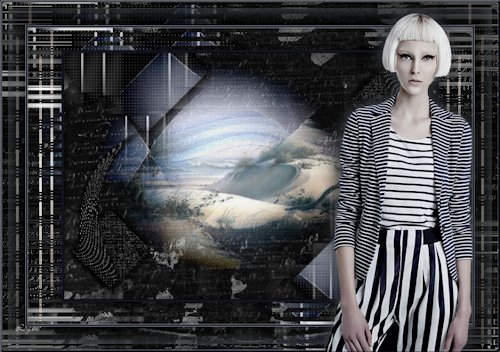
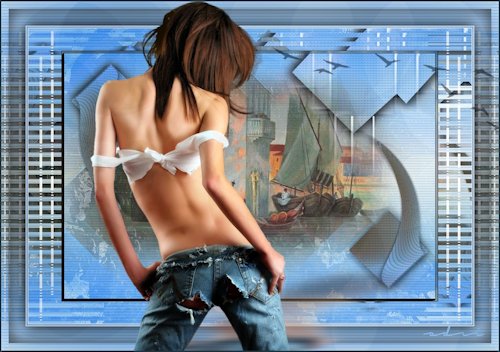
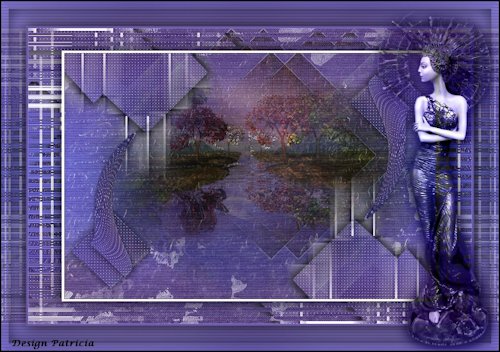
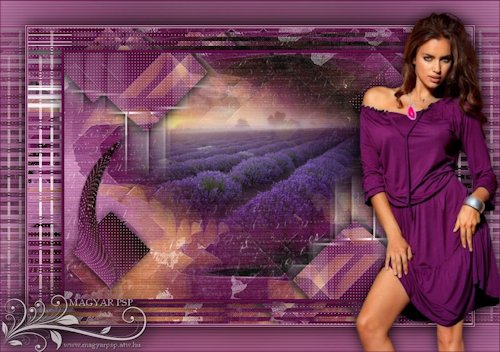
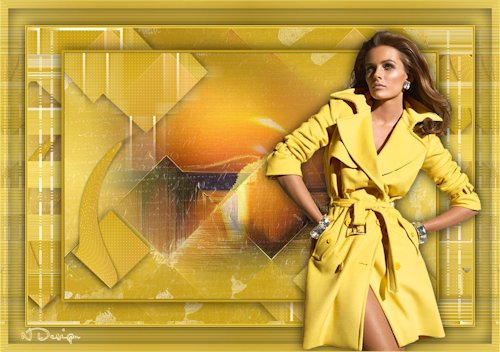
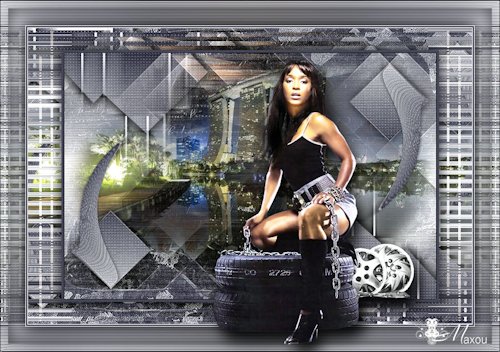
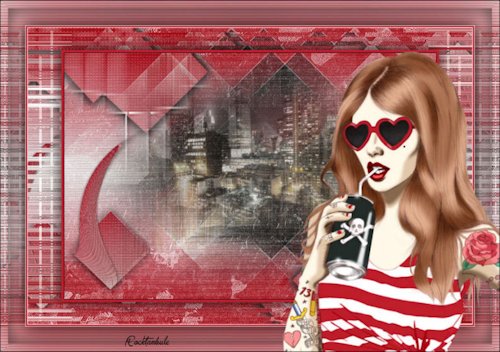
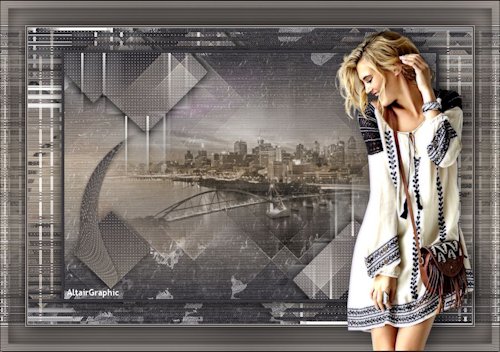
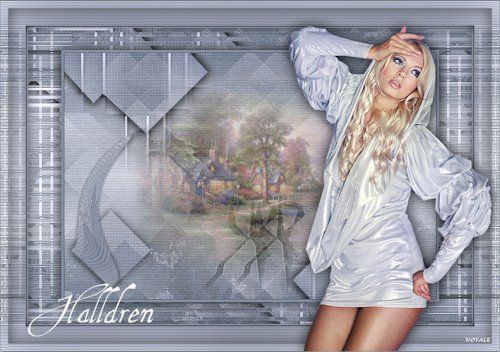
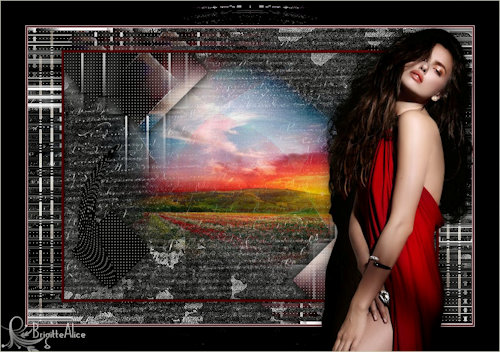
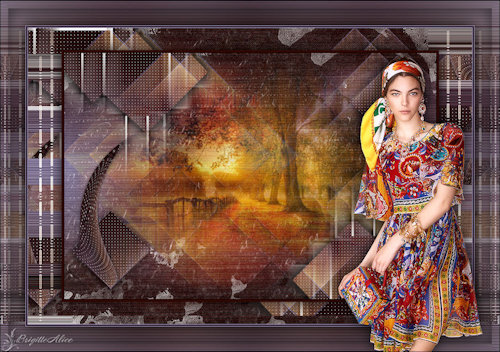
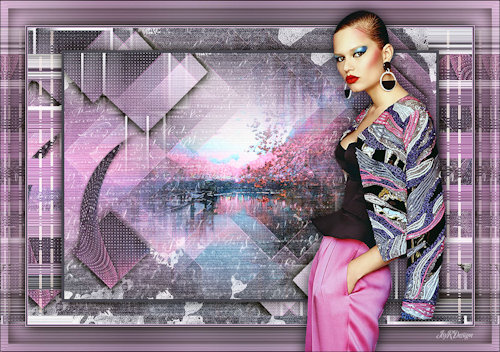
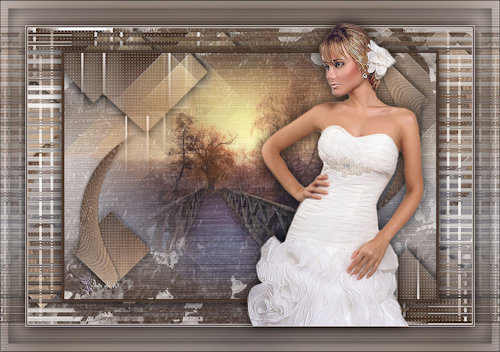
VARIANTES
|