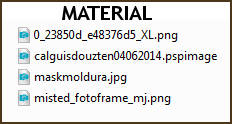
Tube feminino - Guismo, agradeço
PLUGINS
Mirror Rave
MuRa's Seamless
Graphics Plus
AAA Filters - Custom - OPCIONAL
Carolaine and Sensibility
______________________________________________________________________________________
Preparar Gradiente - SUNBURST - Angle 0 - Repeats 0 - cores a seu gosto
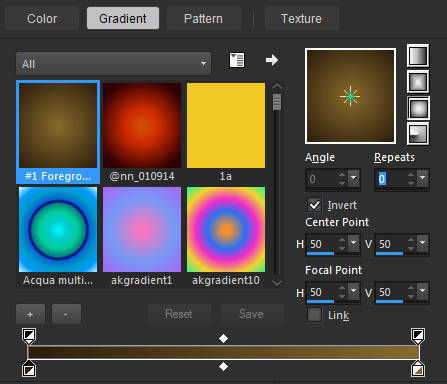
Cores deste tutorial - Foreground- - #2c1e0e - Background-
 - #876a2b
______________________________________________________________________________________
1.- Layers - New Raster Layer - Transparente -1000x700Px
* Selections - Select All
2.- Effects - 3D Effects - Buttonize - cor #c48b06
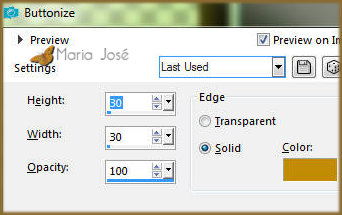
3.- Selections - Modify - Contract 20px - repetir o item Buttonize
SELECT NONE
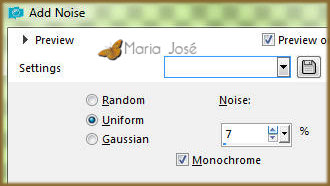
4.- Adjust - Add Noise - Uniform - 7% - Mono Clicado
5.- Adjust - Sharpness - Sharpen
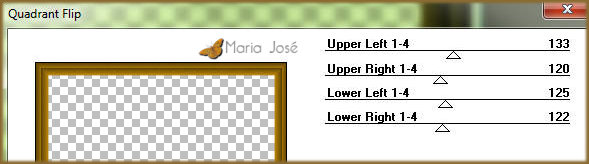
6.- Plugin - Mirror Rave - Quadrant Flip - DEFAULT
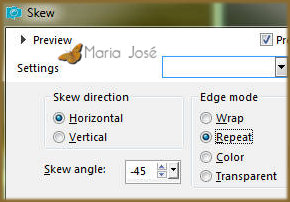
7.- Effects - Geometric Effects - Skew - Horizontal - Repeat - (-45)
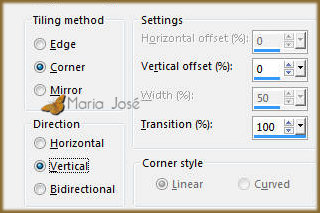
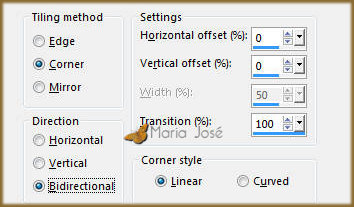
8.- Effects - Image Effects - Seamless Tiling - Corner Vertical - Transition 100
* Blend Mode Screen - opacidade +/- 67%
______________________________________________________________________________________
9.- Layers - Add New Layer - Preencher com a cor clara
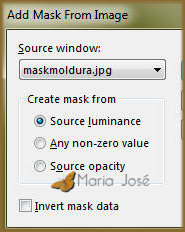
10.- Layers - New Mask Layer - from image - maskmoldura
* Layers - Merge Group
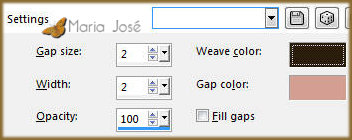
11.- Effects - Texture Effects - Weave - cor #000000
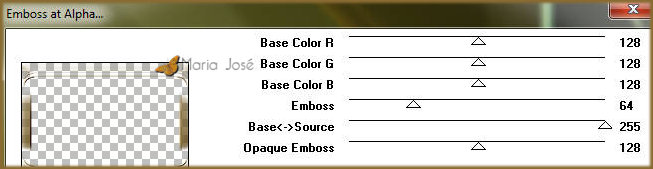
12.- Plugin - MuRa's Seamless - Emboss at Alpha - DEFAULT
13.- Plugin - Graphics Plus - Vertical Mirror - DEFAULT

* Blend Mode - Screen ou outro
______________________________________________________________________________________
14.- Edit - Copiar/Colar como nova layer o misted
* Layers -Arrange - move down 2 vezes
* Se necessário baixar a opacidade - Layers - Duplicate
15.- Effects - Image Effects - Seamless Tiling - DEFAULT - Transition 100
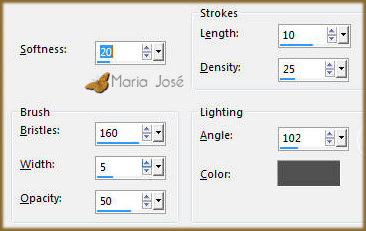
16.- Effects - Art Media Effects - Brush Strokes - DEFAULT
* Layers - Move Down
* Blend Mode - Hard Light - Opacidade +/- 75%
______________________________________________________________________________________
17.- Layers - Add New Layer - Layers Arrange - Send to Bottom
* Preencher com a gradiente
18.- Adjust - Add Noise - Uniform - 7% - Mono Clicado
* Adjust - Sharpness - Sharpen More
______________________________________________________________________________________
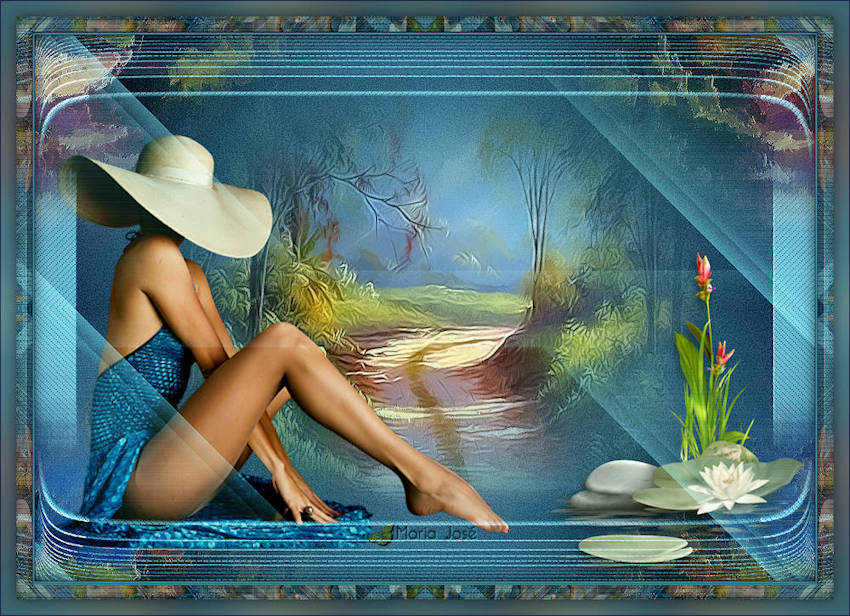
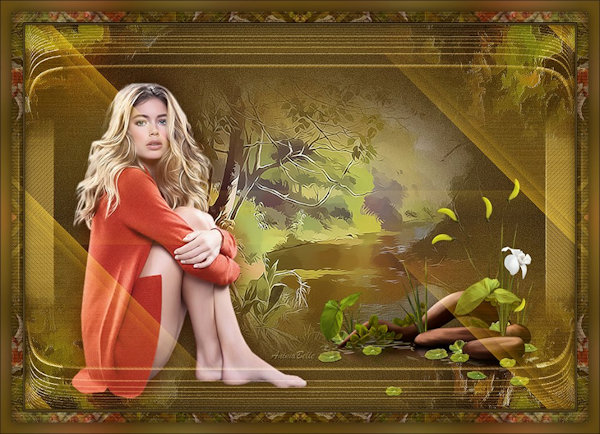
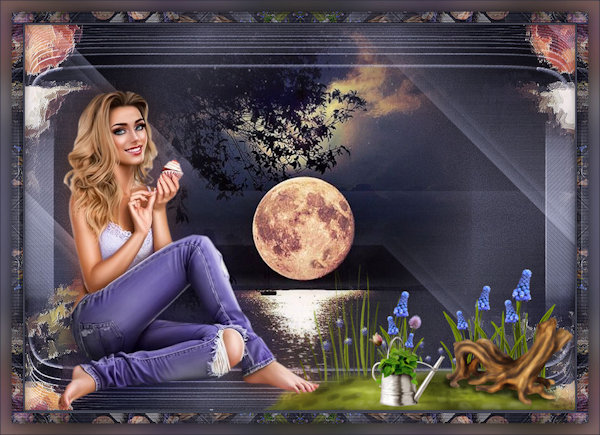
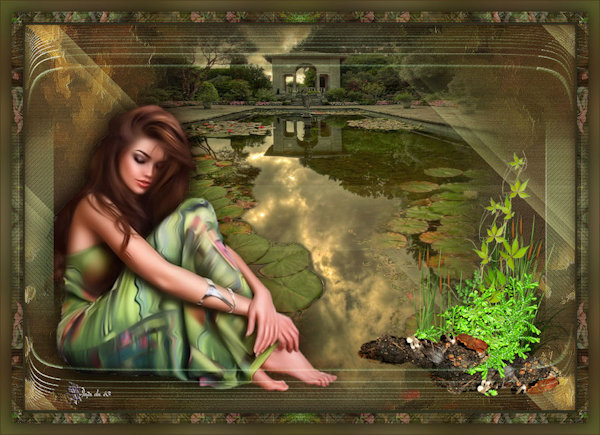
19.- Edit - Copiar/Colar o tube personagem - posicionar como no modelo
20.- Layers - Duplicate - Adjust - Blur - Gaussian Blur - Radius 20,00
* Layers - Move Down - Blend Mode - Multiply
21.- Edit - Copiar/Colar como nova layer - tube decorativo
* Posicionar - Ver modelo
______________________________________________________________________________________
LAYERS - Blend Mode e Opacidade - Livre Escolha

Layers - Merge Visible
22.- Effects - AAA Filters - Custom - Landscape - OPCIONAL
23.- Na Palette de Materiais - Configurada em Pattern - Current Pattern
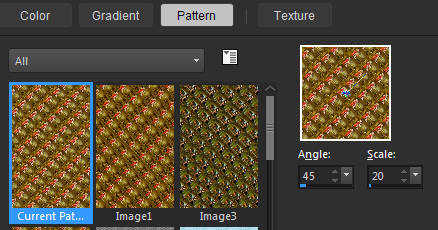
* Vamos usar no final
______________________________________________________________________________________
BORDERS
24.- Image - Add Borders - 1px - cor escura -
* Image - Add Borders - 2px - cor clara -
* Image - Add Borders - 1px - cor escura
SELECTIONS - SELECT ALL
25.- Image - Add Borders - 40px - branco
* Selections - Invert - Preencher com a pattern (item 22)
26.- Plugin - Carolaine and Sensibility - Hallowenn2 - DEFAULT

27.- Plugin - Graphics Plus - Vertical Mirror - DEFAULT
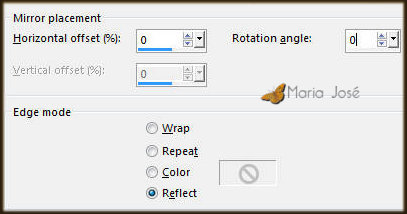
28.- Effects - Reflection Effects - Rotating Mirror - DEFAULT
29.- Adjust - Shapness - Sharpen
30.- Effects - 3D Effects - Drop Shadow - 0, 0, 60, 30, preto
* Selections - Invert - Repetir o Drop Shadow
______________________________________________________________________________________
31.- Selections - Select All - Modify - Contract 20
* Drop Shadow 0, 0, 60, 30, preto
32.- Selections - Invert - Blur - Gaussian Blur - Radius 30
33.- Effects - 3D Effects - Drop Shadow - 0, 0, 60, 30, preto
* Selections - Invert - Repetir o Drop Shadow
SELECT NONE
______________________________________________________________________________________
34.- Image - Add Borders - 1px - cor escura
35.- Assinar o seu trabalho - Layers - Merge All Flatten
36.- Image - Resize - Width 1000px - Salvar em .jpg
Espero que apreciem, obrigada.
______________________________________________________________________________________
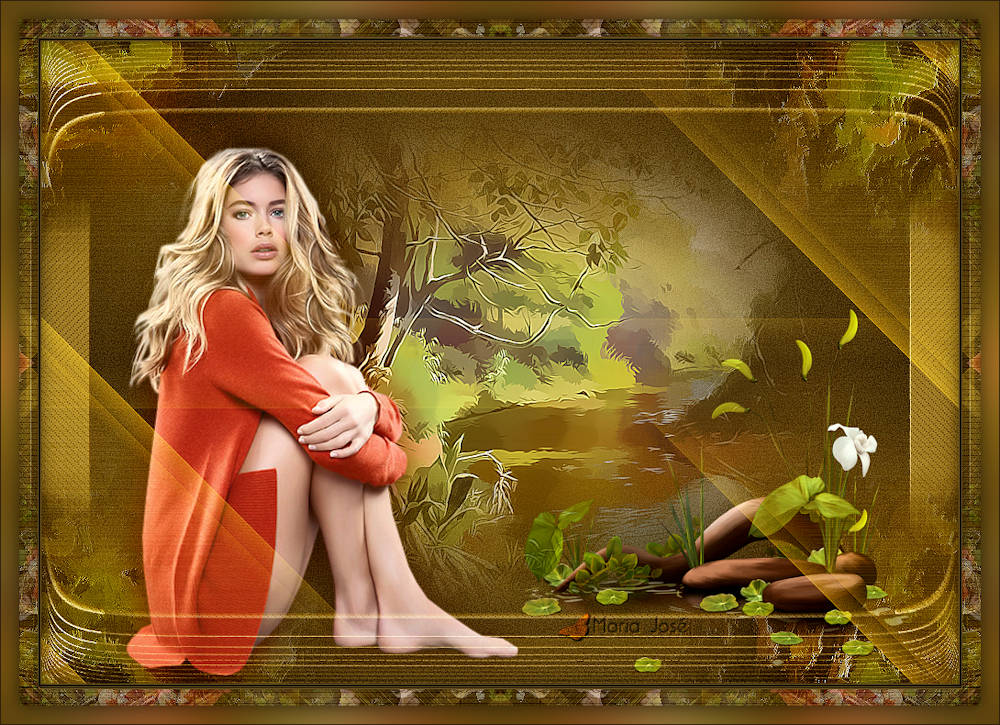
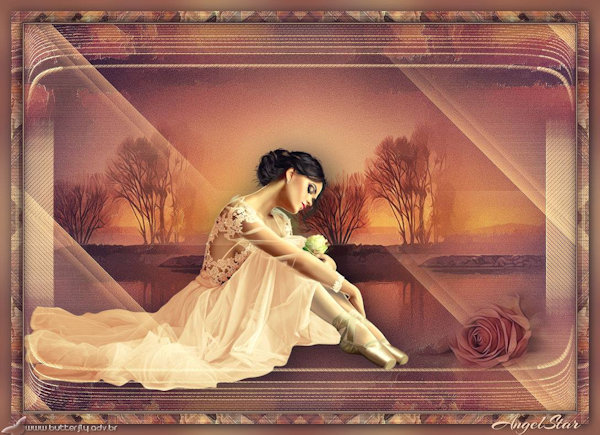
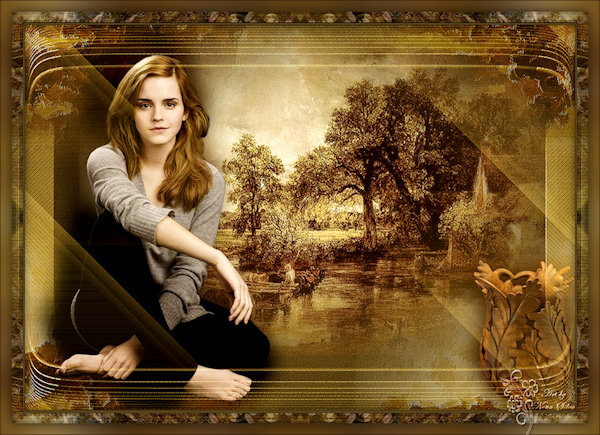
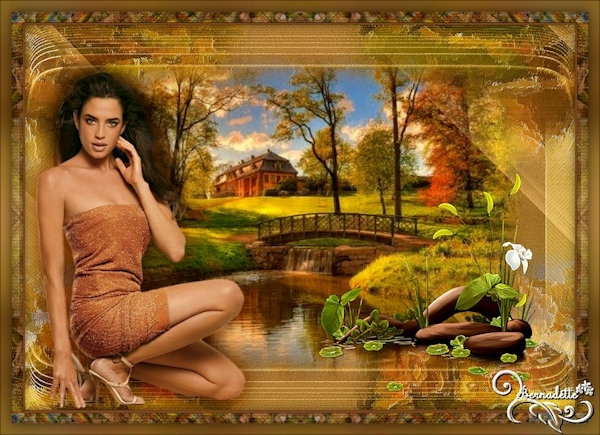
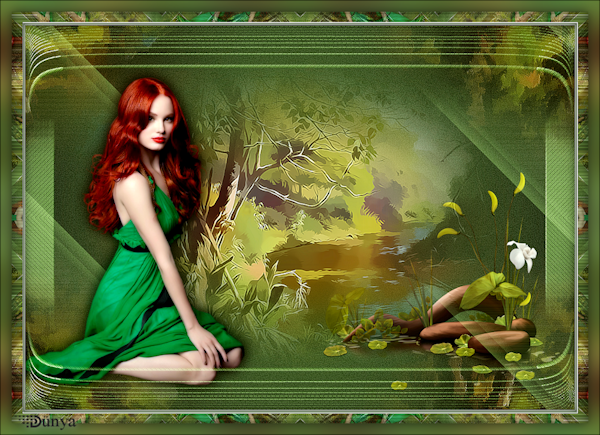
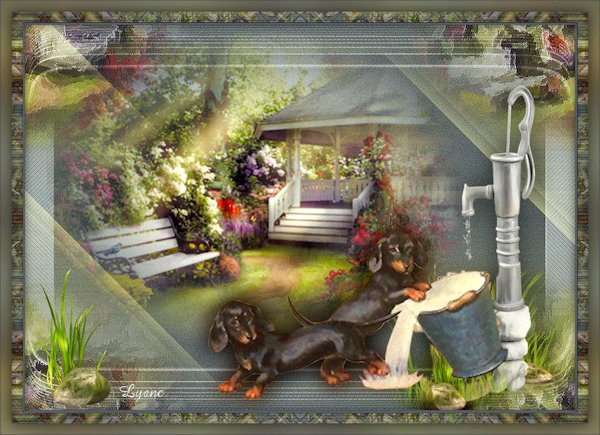
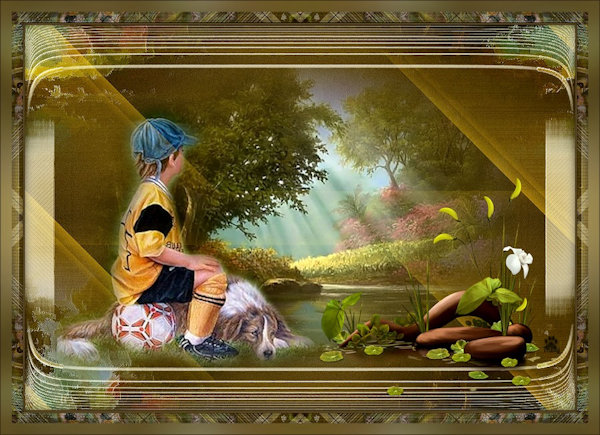
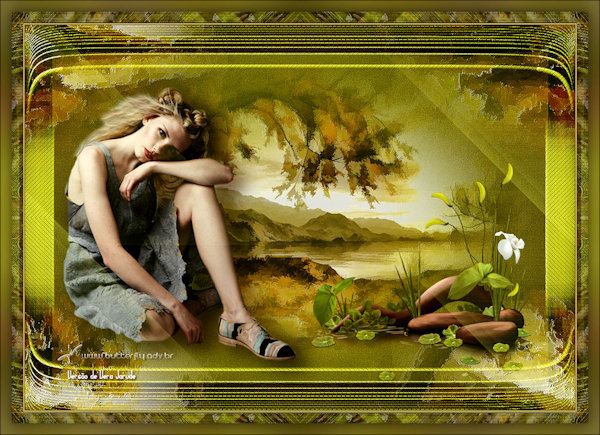
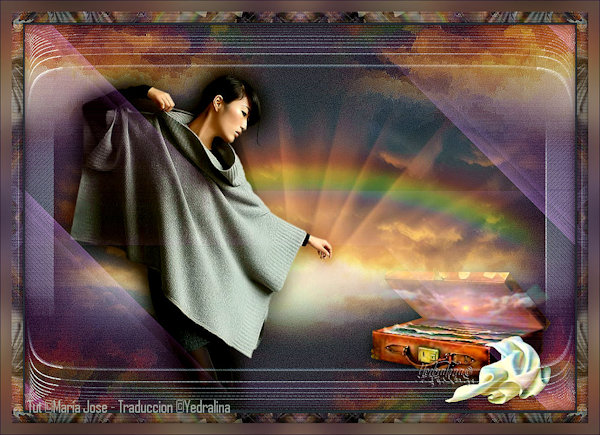
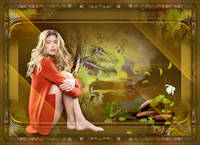
Outro Modelo