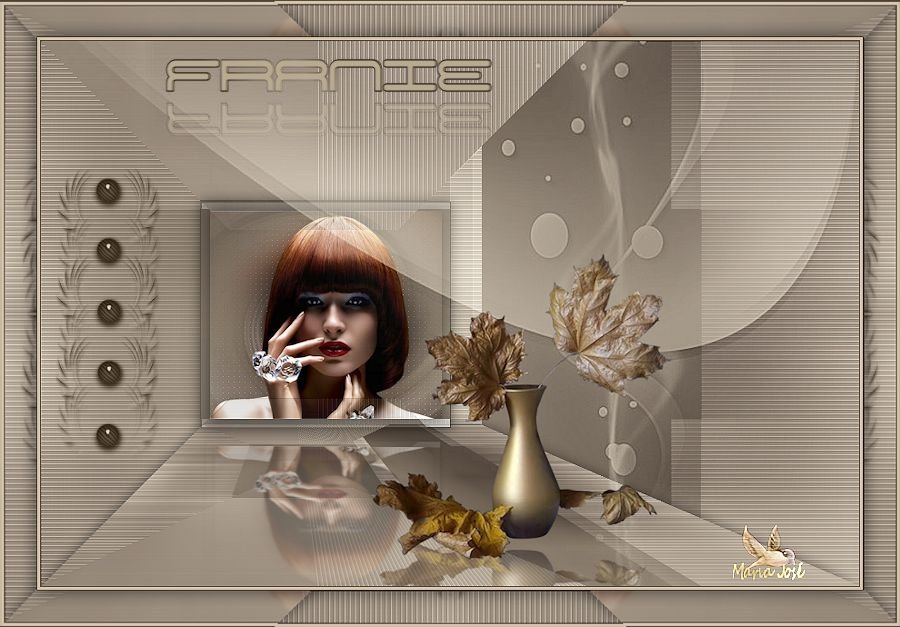
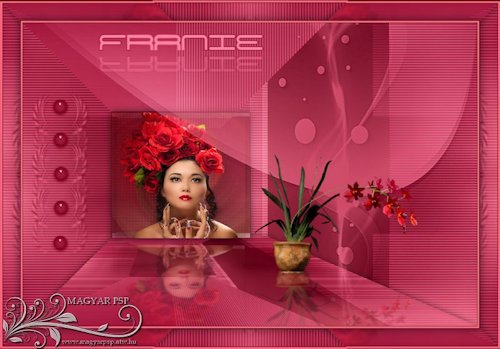
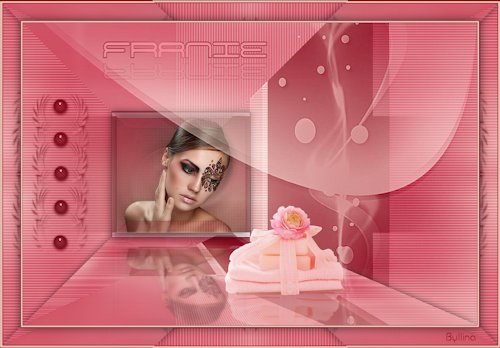
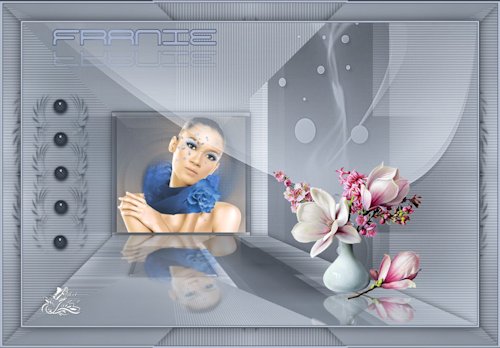
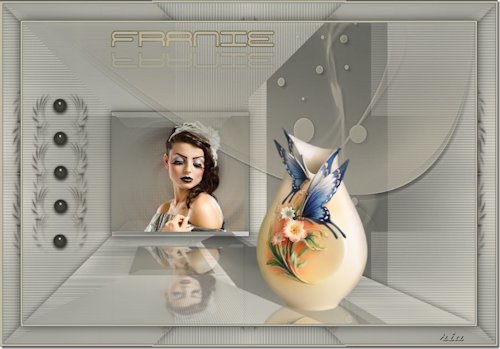
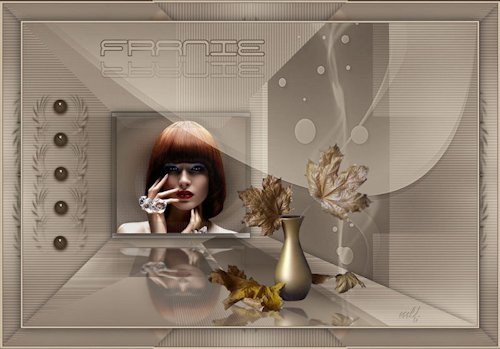
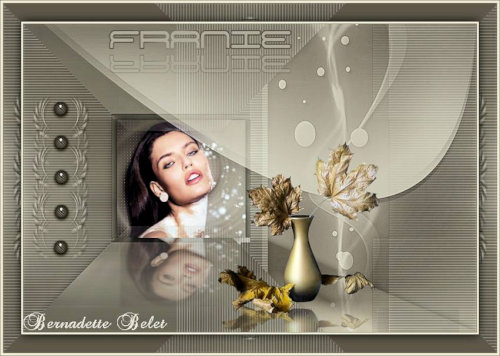
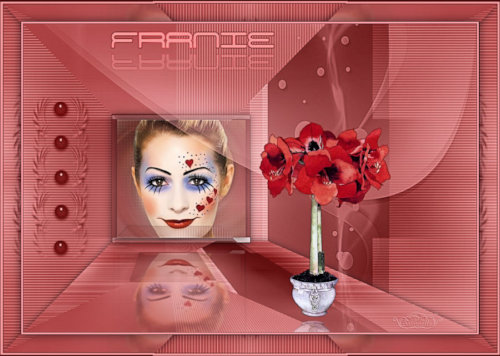
MATERIAL
Um tube (Karine Dreams e Grisi, agradeço)
Um tube decorativo (Thafs e Maxyran, agradeço)
Cores dete tutorial - Foreground #56493f - Background #d0c1a9
Demais, click abaixo

PLUGINS
VMDistortion
Mehdi
VM Experimental
Transparency
Carolaine & Sensibility
Simple
FMTools
AAAFrames
Geometric Effects
Eye Candy 5, Impact
************************************
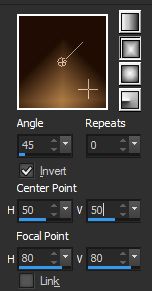
1.- Preparar gradiente como abaixo - Foreground cor escura - Background cor clara
2.- Abrir transparência 900x600px, preencher com a gradiente
3.- Plugin VMDistortion, Radiator II, DEFAULT
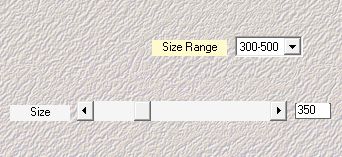
4.- Plugin Mehdi, Weaver, Size 350
5.- Layers, Duplicate, Plugin VM Experimental Guess What

6.- Plugin Transparency, Eliminate Black
7.- Mudar a Blend Mode para Screen
8.- Plugin, Carolaine & Sensibility, cs_texture DEFAULT
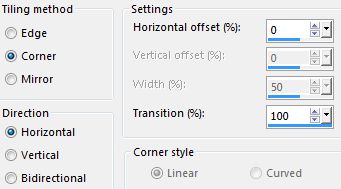
9.- Effects, Image Effects, Seamles Tiling, Corner, Horizontal, Transition 100
10.- Plugin, Simple, Pizza Slice Mirror
11.- Plugin FMTools, Blend Emboss, DEFAULT
12.- Nesta mesma layer - Selections, Load Selection from Disk, franie_mj
13.- Selections, Promote Selection to Layer
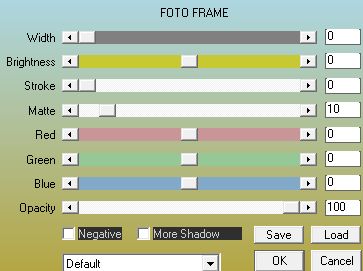
14.- Plugin AAAFrames, Foto Frame
Drop Shadow 0, 0, 50, 20, preto
15.- Selections, Modify, contract 10 - Repetir drop shadow
16.- Copiar o tube, colar como nova layer - ajustar
17.- Selections, Invert - Deletar - Selection Invert
Layers, Duplicate - Adjust Blur - Radial Blur
Plugin Carolaine & Sensibility, CS_LDots, DEFAULT
Adjust - Sharpness - Sharpen More
Layers, Move Down - Layers - Ativar a Layer Superior - Merge Down
Layers, Move Down - Ativar a layer Superior- Merge Down
Deselecionar tudo - Drop Shadow 0, 0, 50, 20, preto
18.- Tirar a visibilidade desta layer - Merge Visible as demais
19.- Layers, Duplicate - Effects - Geometric Effects
Perspective Vertical (-50) Transparent
20.- Com a Ferramenta Pick Teclar letra K - preset_majo_1 - Após Tecle M
21.- Effects, Drop Shadow 0, 0, 50, 20, preto
22.- Tornar visivel a layer superior e ativar - Quadro do Tube
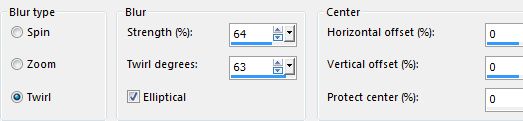
23.- Eye Candy 5, Impact, Perspective Shadow - Preset shadow_mariajose
24.- Layers, Merge Visible - Layers Add New Layer
25.- Preencher esta layer com a cor clara - Opacidade 80%
25.- Layers, New Layer Mask - mask_freine - Layers - Merge Group
26.- Adjust Sharpnes - Sharpen More
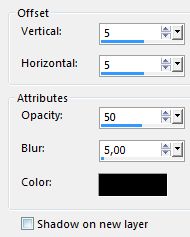
27.- Effects, Drop Shadow 5, 5, 50, 5, preto
28.- Mudar a Blend Mode para Screen - Baixar a opacidade para 80%
29.- Copiar e colar tube deco como no modelo - Repetir Eye Candy 5 - Perspective Shadow
(se necessário ajustar a altura do shadow)
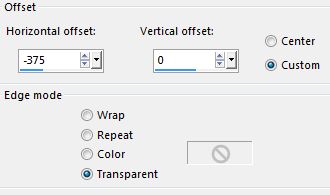
30.- Copiar e colar como nova layer - deco_franie_mj - Image offset
31.- Image Add Borders 1px cor escura
32.- Image Add Borders 3px cor clara
33.- Image Add Borders 1px cor escura
34.- Selections - Select all - Edit Copy
35.- Image Add Borders 40px cor branca
36.- Selections Invert - Colar dentro da seleção a imagem copiada
37.- Plugin Simple, Pizza Slice Mirror
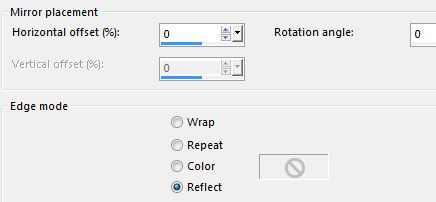
38.- Effects Reflection Effects - Rotating Mirror
39.- Selections Invert - Drop Shadow 0, 0, 60, 30, preto
40.- Deselecionar tudo - Copiar e colar o texto
41.- Image Resize 900px Width - Assinar - Salvar .jpg
Obrigada, espero que apreciem
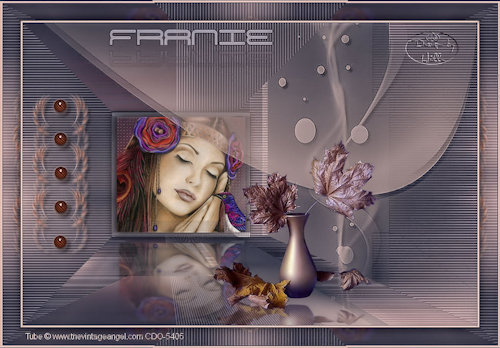
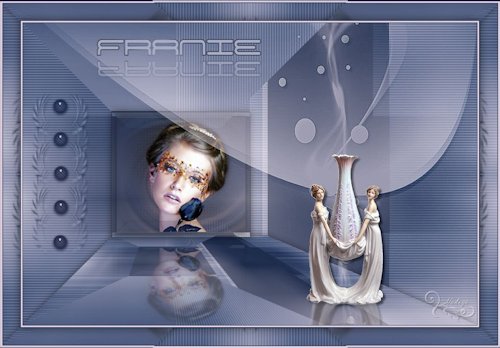
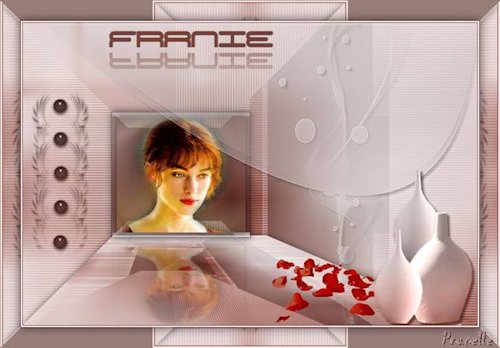
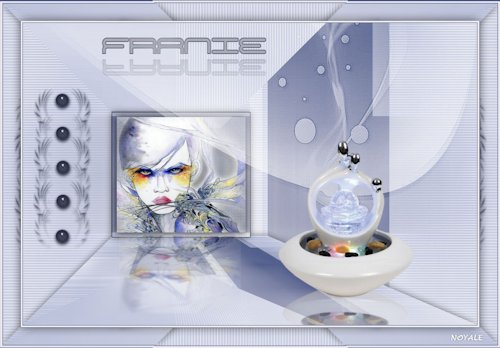
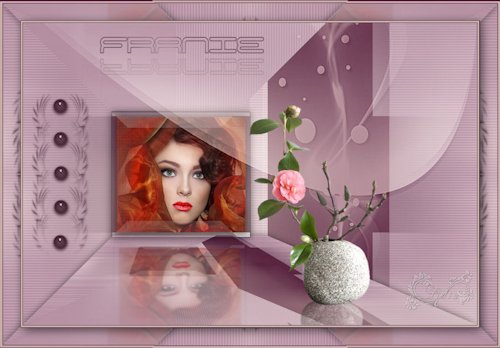
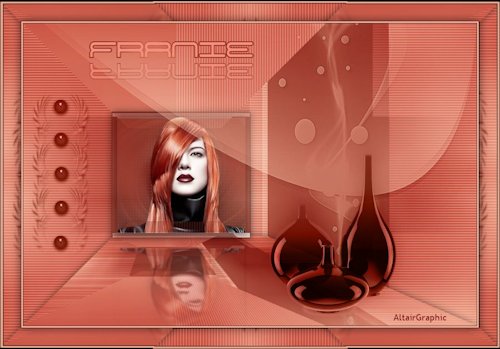
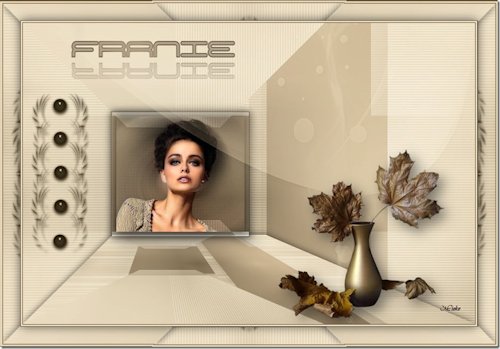
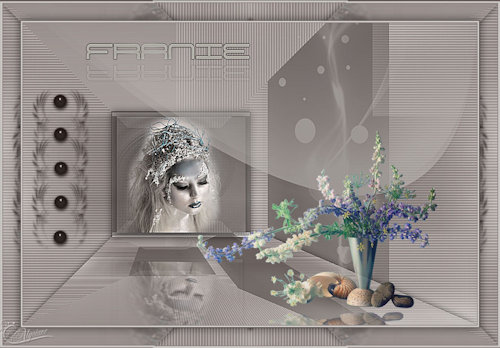
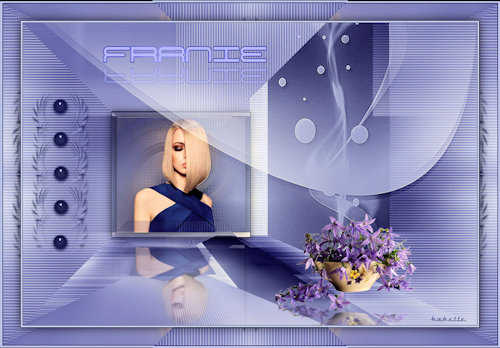
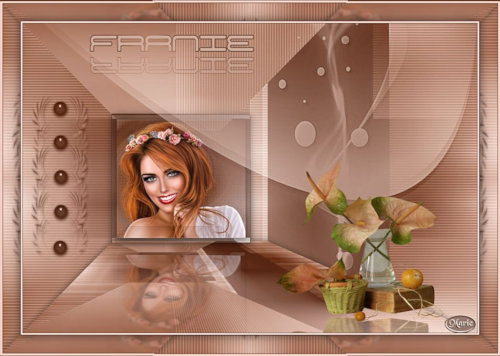
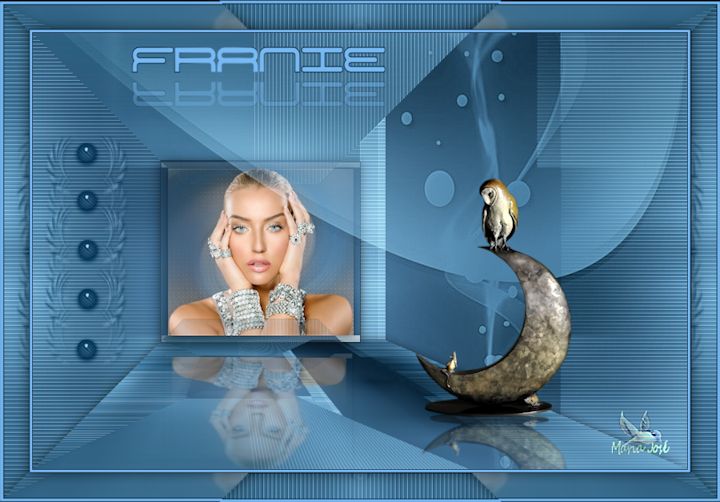
Outro Exemplo
Este tutorial foi criado e publicado em 05 de maio de 2015 por Maria José Prado. É protegido por lei de Copyright e não poderá ser copiado, retirado de seu lugar, traduzido ou utilizado em listas de discussão sem o consentimento prévio e escrito de sua autora acima declinada.
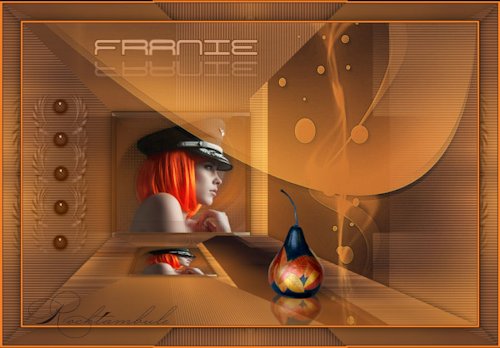
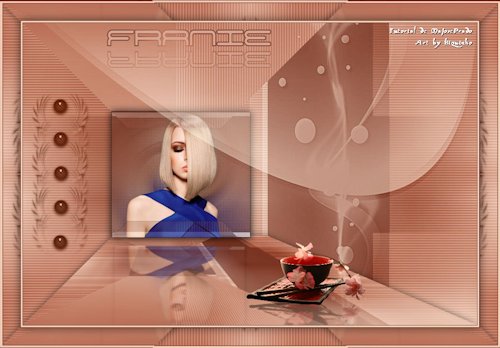
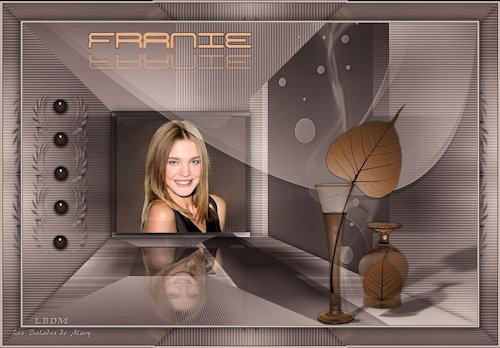
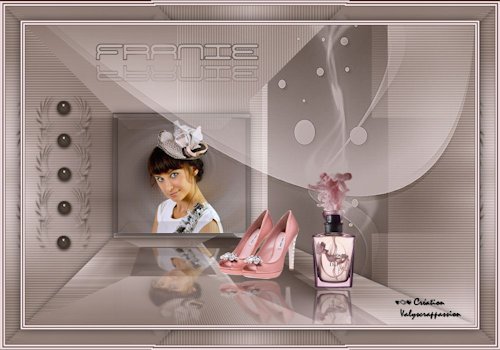
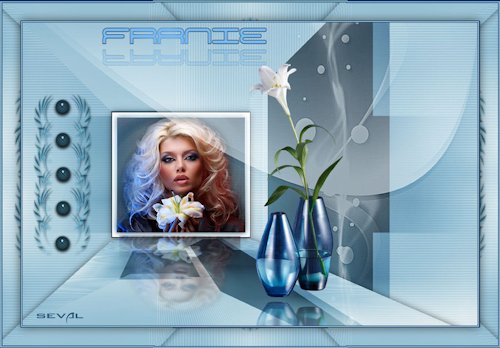
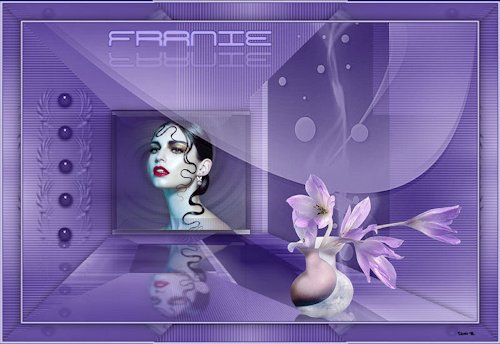
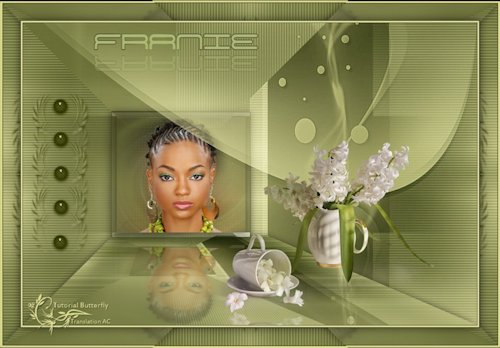
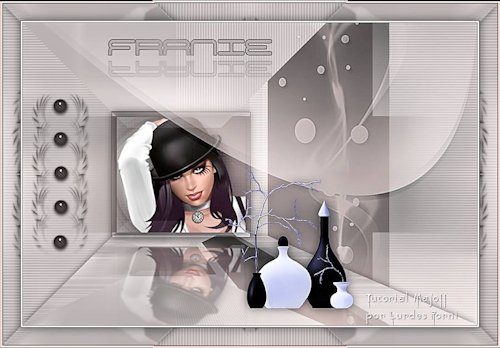
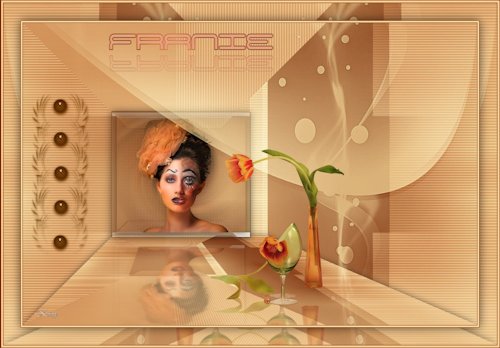
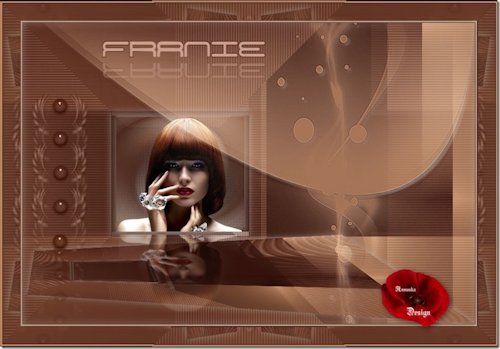
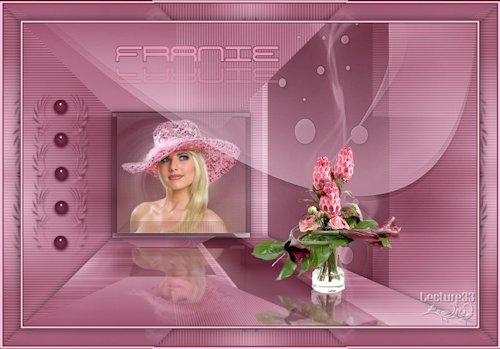
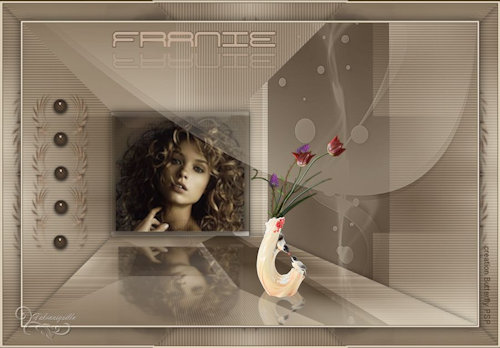
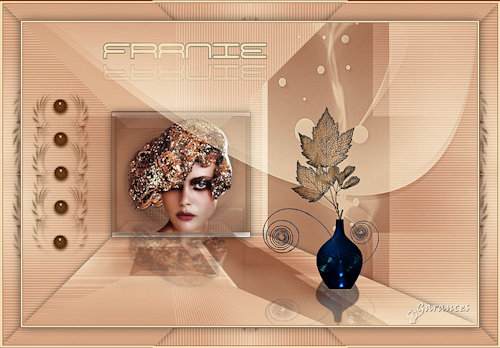
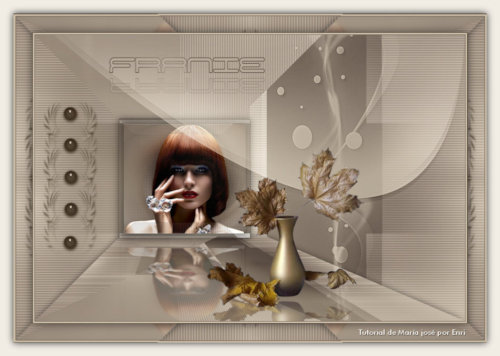
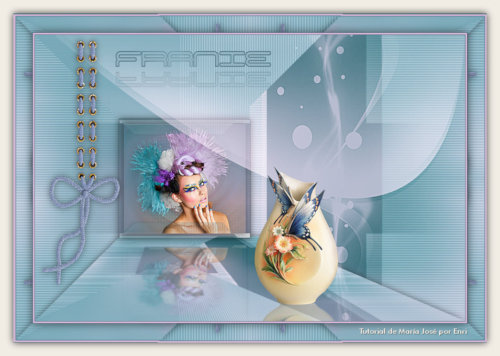
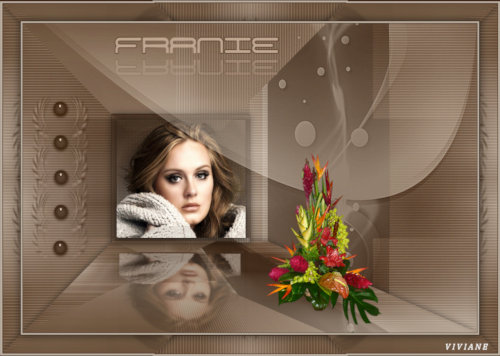
VARIANTES
|