MATERIAIS 
Um Tube - Katjoes-woman-241 - agradeço
Alphachannel
Deco - pessoal
Texto
Brush
****Salvar imagem - 1_mj e BrushTip_1_mj - dentro da pasta Brushes do PSP
Preset - Eye Candy
****Clicar duas vezes sobre o preset e ele se instalará
Preset - Pick
****Salvar na pasta Presets do PSP
__________________________________________________________________________________________________
PLUGINS
Mehdi
Carolaine and Sensibility
Eye Candy 5: Texture
Eye Candy 4000
Artistiques
__________________________________________________________________________________________________
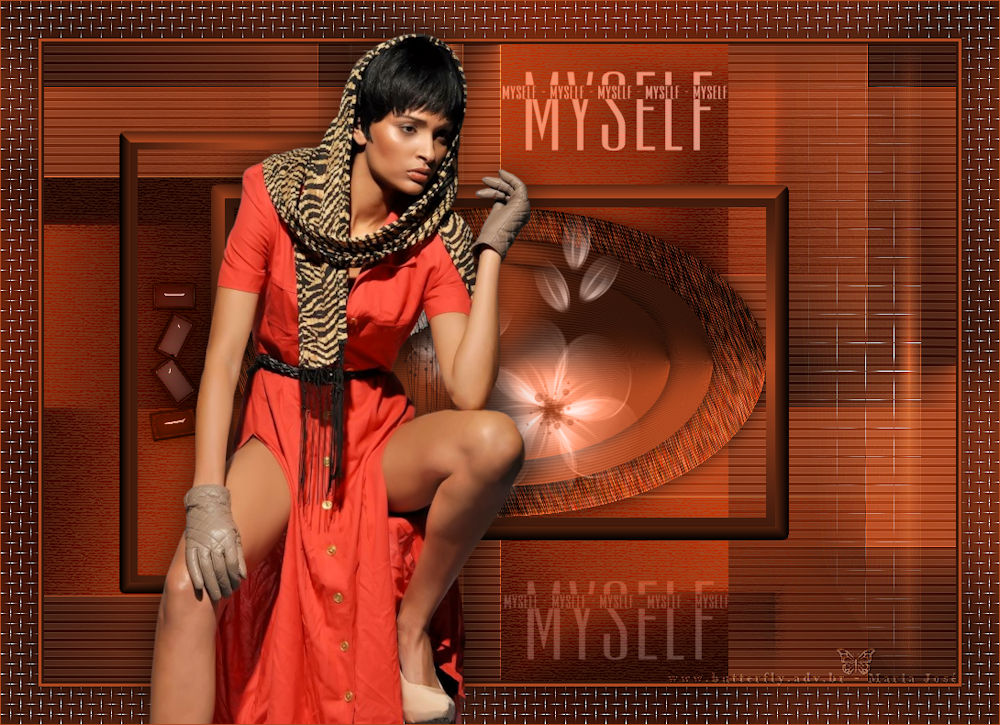
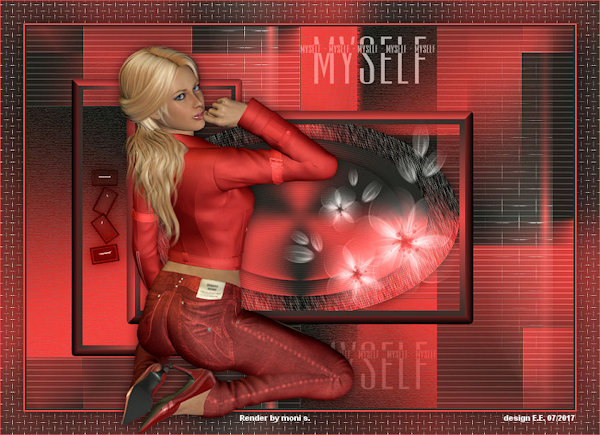
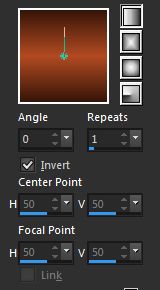
Escolher duas cores a seu gosto - Preparar Gradiente - LINEAR - ANGLE 0, REPEATS 1
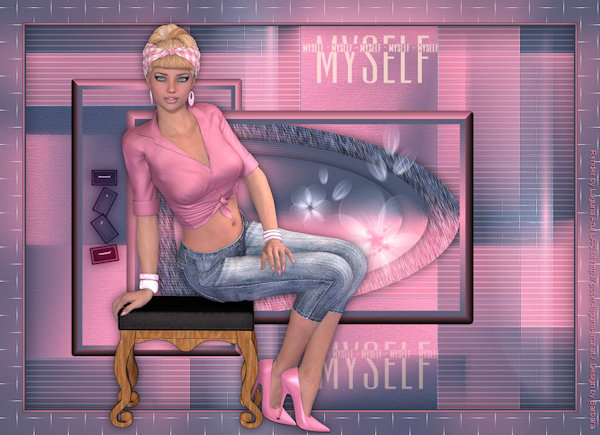
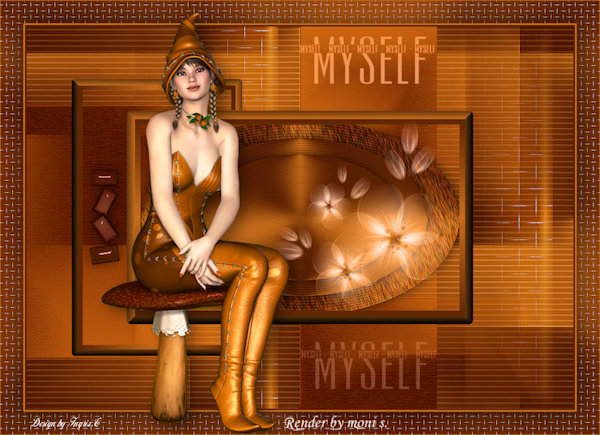
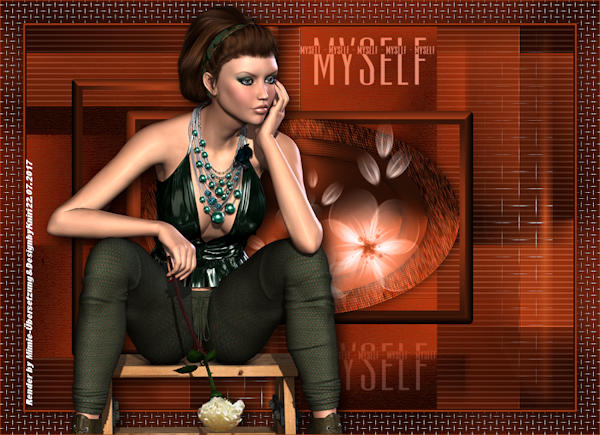
Cores deste tutorial - Foreground #b24a22 -  - Background #36160a -
__________________________________________________________________________________________________
1.- Abrir alphachannel_myself - fazer uma cópia - fechar o original
Vamos trabalhar na cópia
__________________________________________________________________________________________________
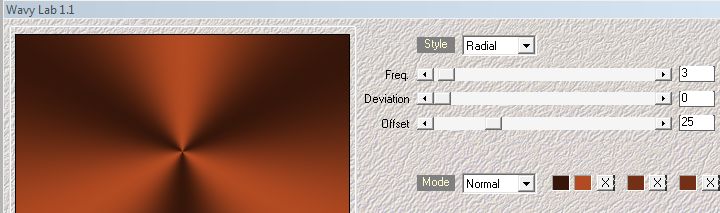
2.- Plugin - Mehdi - Wavy Lab 1.1
3.- Adjust - Blur - Gaussian Blur - Radius 30,00
_________________________________________________________________________________________________
4.- Selections - Load Selection From Alpha Channel - Selection #1
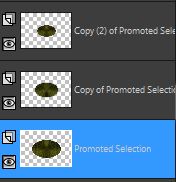
Promote Selection to Layer
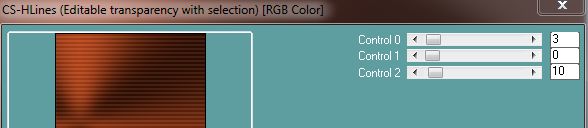
5.- Plugin - Carolaine and Sensibility - CS-HLines
DESELECIONAR - Tirar a Visiblidade desta layer
_________________________________________________________________________________________________
Ativar a Raster 1
6.- Plugin - Mehdi - Sorting Tiles

7.- Selections - Load Selection From Alpha Channel - Selection #2
Promote Selection to Layer
_________________________________________________________________________________________________
8.- Plugin - Carolaine and Sensibility - CS-HLines - mesma configuração
9.- Effects - Edge Effects - DILATE a seguir ENHANCE
DESELECIONAR
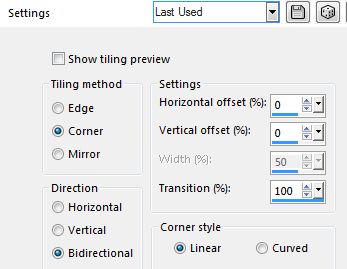
10.- Effects - Image Effects - Seamless Tiling
_________________________________________________________________________________________________
11.- Selections - Load Selection From Alpha Channel - Selection #3
12.- Layers - Add New Layer - preencher com a gradiente
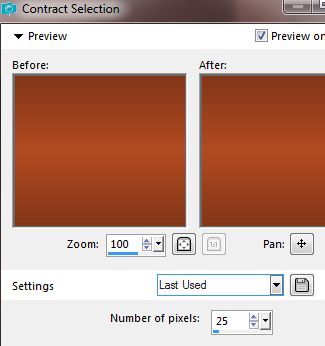
13.- Selections - Modify - Contract - 25 - DELETAR - DESELECIOANR
14.- Novamente - Selections - Load Selection From Alpha Channel - Selection #3
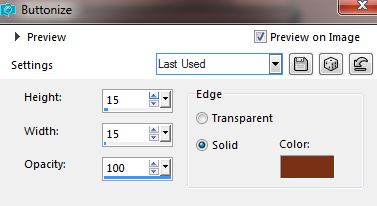
15.- Effects - 3DEffects - Buttonize
DESELECIONAR
_________________________________________________________________________________________________
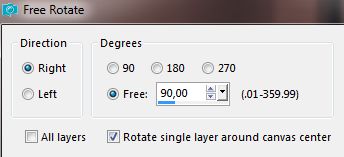
16.- Layers - Duplicate - Image Free Rotate
17.- Image - Resize 80% - All Layers Desclicado
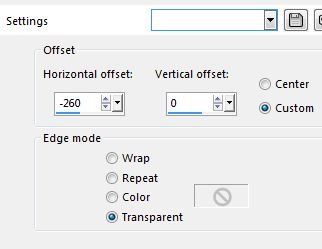
18.- Effects - Image Effects - Offset (-260) - 0
19.- Selections - Load Selection From Alpha Channel - Selection #4
DELETAR - DESELECIONAR - Layers - Move Down
_________________________________________________________________________________________________
20.- Tornar Visivel a Layer Superior (Promote Selection) - ATIVAR
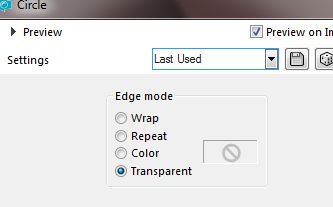
21.- Effects - Geomtric Effects - Circle - TRANSPARENT clicado
22.- Effects - Reflection Effects - Rotating Mirror (0)

23.- Ferramenta - Pick -  - tecle "K" - procurar o preset - myself_mj
Desativar a Ferramenta - tecle "M" - Layers - Move Down - 2 vezes
_________________________________________________________________________________________________
24.- Layers - Duplicate - Image Resize 80% - all layers DESCLICADO
25.- Effects - 3DEffects - Drop Shadow 0, 0, 60, 30, preto
26.- Layers - Duplicate - Image Resize 80% - all layers DESCLICADO
_________________________________________________________________________________________________
27.- Ativar a Promote Selection
28.- Eye Candy 5: Texture - Texture Noise - Preset mylself_mj
29.- Adjust - Sharpness - Sharpen - Drop Shadow mesma configuração
_________________________________________________________________________________________________
30.- Selections - Load Selection From Alpha Channel - Selection #5
31.- Layers - Add New Layer - Layers - Arrange - Bring To top
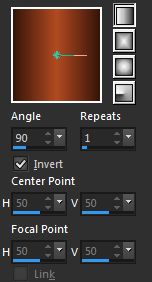
32.- Preencher com a Gradiente - ANGLE 90 - REPEATS 1 - DESELECIONAR
_________________________________________________________________________________________________
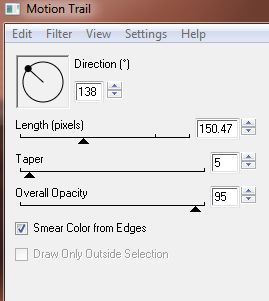
33.- Plugin - Eye Candy 4000 - Motion Trail
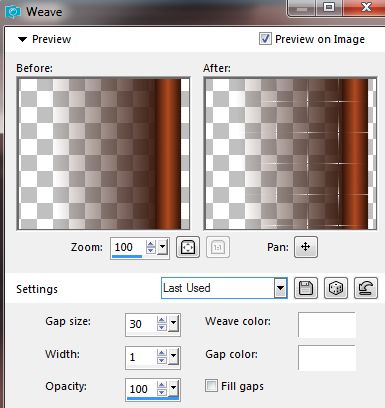
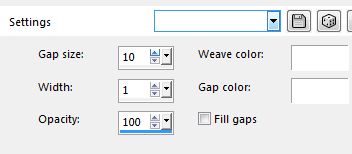
34.- Effects - Texture Effects - Weave
35.- Effects - Image Effects - Seamless Tiling - mesma configuração
36.- Effects - Edge Effects - Enhance More
Blend Mode - Screen
37.- Layers - Arrange - Move Down 5 vezes
_________________________________________________________________________________________________
38.- Edit - Copiar/Colar como nova layer - deco_myself
Layers - Arrange - Bring to Top - Blend Mode - Luminance (L)
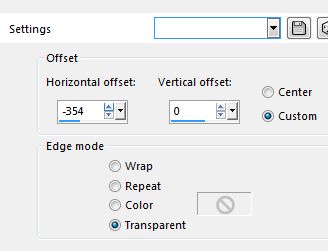
39.- Effects - Image Effects - Offset (-354) - 0
Drop Shadow - mesma configuração
_________________________________________________________________________________________________
40.- Edit - Copiar/Colar como nova layer - texto_myself
Ajustar como no modelo - Blend Mode Luminance (L)
_________________________________________________________________________________________________
41.- Mudar a cor do Background para branco
42.- Layers - Add New Layer
43.- Ferramenta Paint Brush -  - aplicar o brush (em anexo) ou outro de sua escolha

Blend Mode Luminance (L) ou outro
_________________________________________________________________________________________________
Ativar a Raster 1
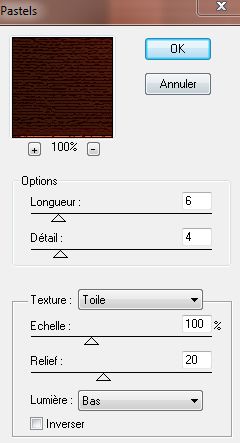
44.- Plugin - Artistiques - Pastels - DEFAULT
_________________________________________________________________________________________________
LAYERS
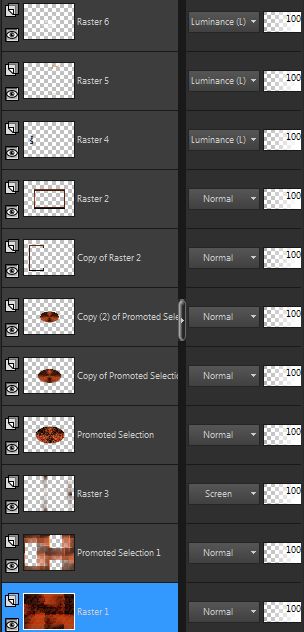
Layers - Merge Visible
_________________________________________________________________________________________________
BORDERS
45.- Layers - Add New Layer - Preencher com a cor escura
46.- Selections - Select All - Selections - Modify - Contract 3 - DELETAR - DESELECIONAR
_________________________________________________________________________________________________
47.- Image - Add Borders - 3px - cor clara
Image - Add Borders - 1px - cor escura
48.- Selections - Select All - EDIT COPY
49.- Image - Add Borders - 40px - branco
Selection - Invert
50.- Edit - Copiar/Colar dentro da seleção a image copiada (item 48)
51.- Adjust - Blur - Gaussian Blur - Radius 30,00
52.- Effects - Texture Effects Weave
Adjust - Sharpness - Sharpen More
Selection Invert
53.- Effects - 3DEffects - Drop Shadow - 0, 0, 60, 60, preto
DESELECIONAR
_________________________________________________________________________________________________
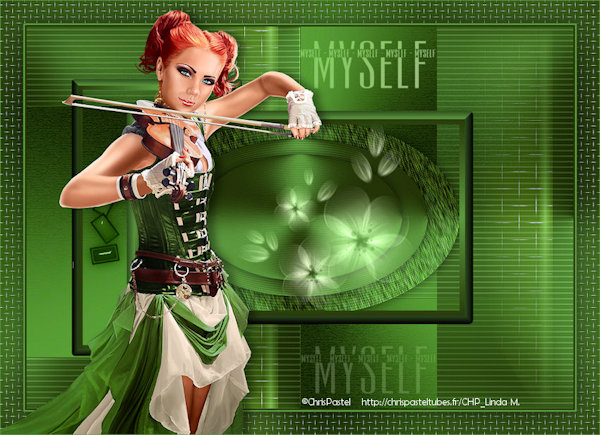
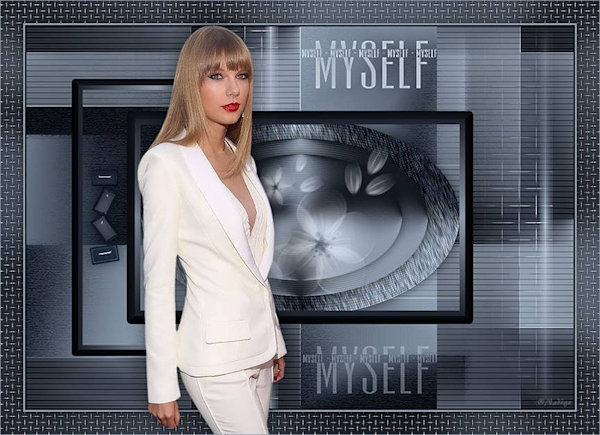
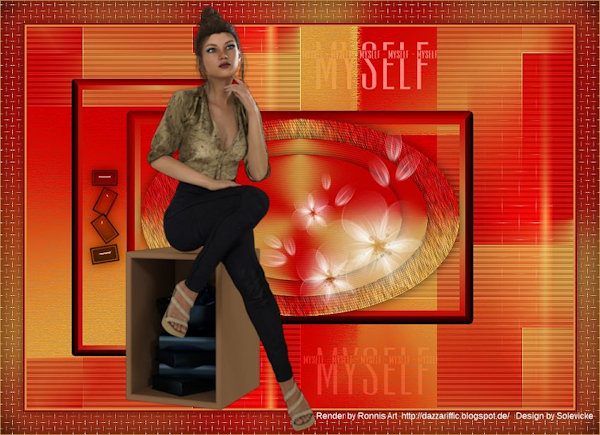
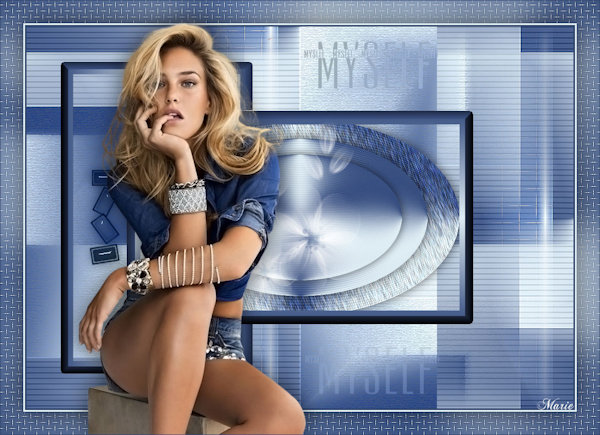
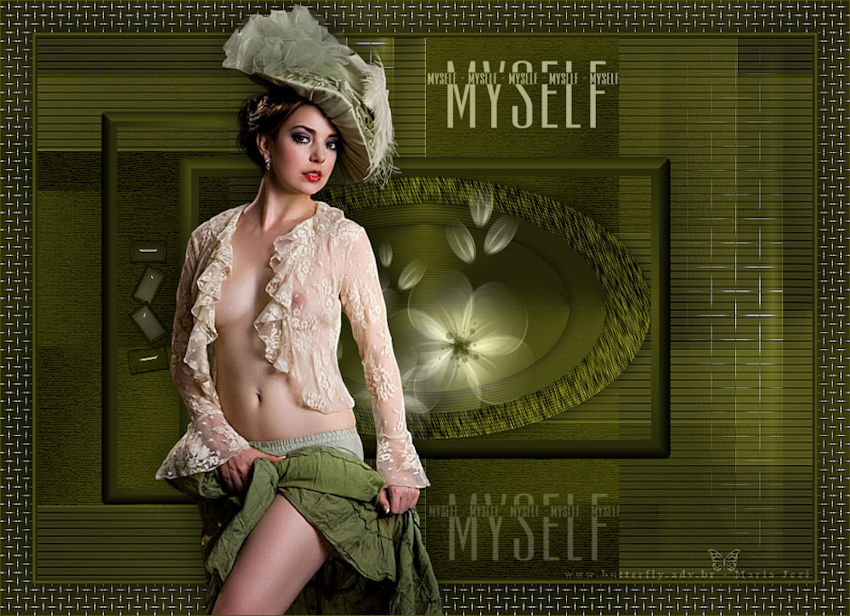
54.- Edit - Copiar/Colar o tube principal - ver modelo
Drop Shadow - critério pessoal
55.- Image - Add Border - 1px - cor clara
_________________________________________________________________________________________________
56.- Assinar o trabalho - Layers - Merge All Flatten
57.- Image Resize - 1000px - Width - Salvar em .jpg
Espero que apreciem, obrigada
_________________________________________________________________________________________________
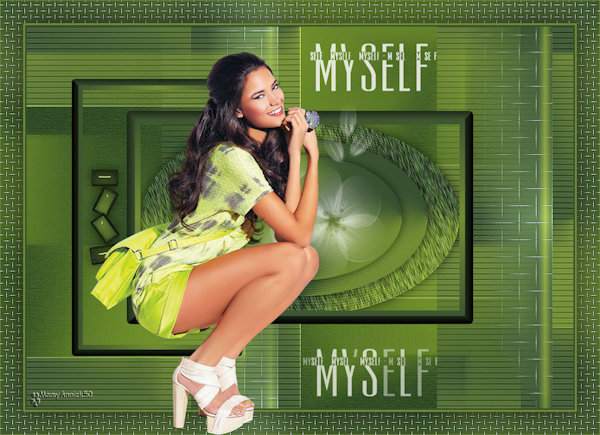
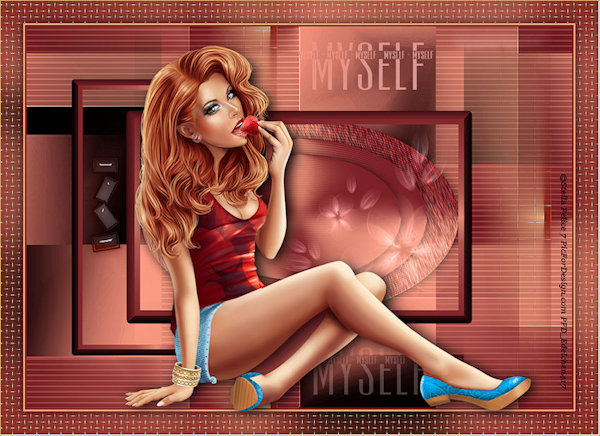
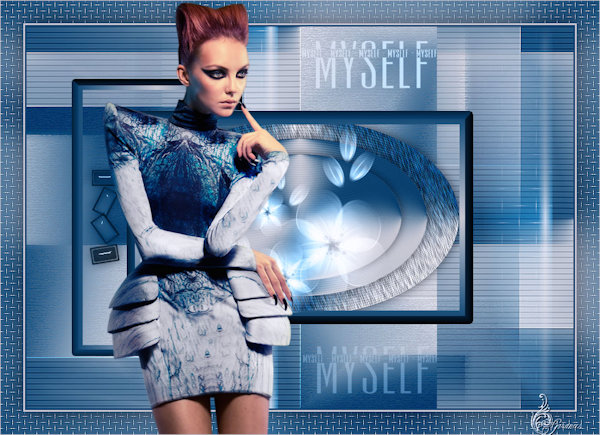
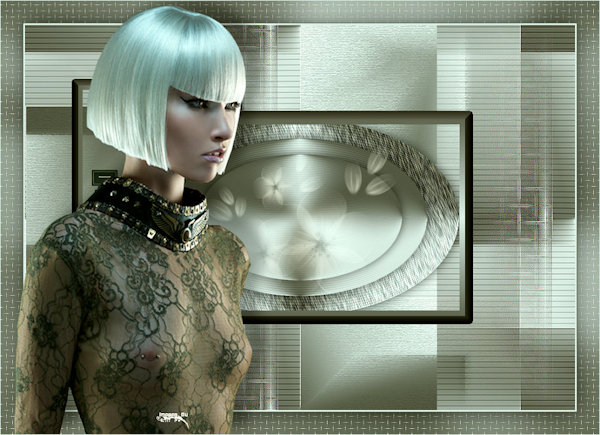
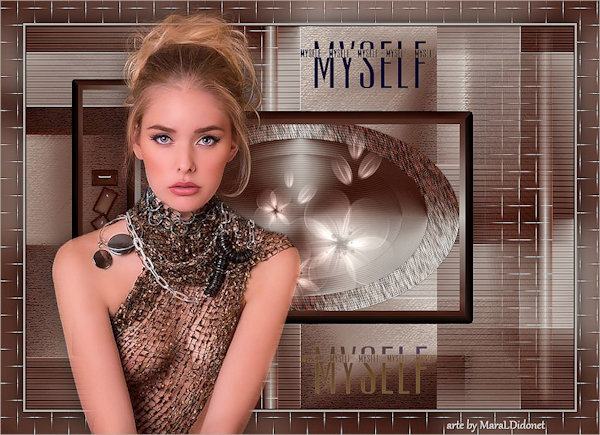
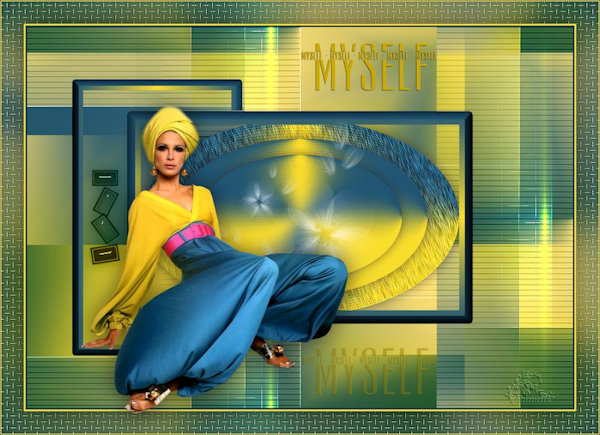
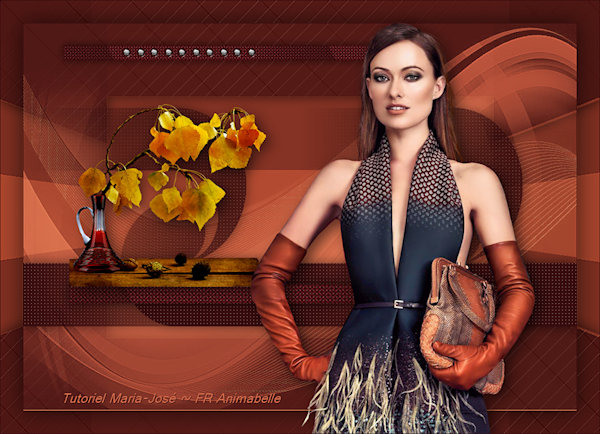
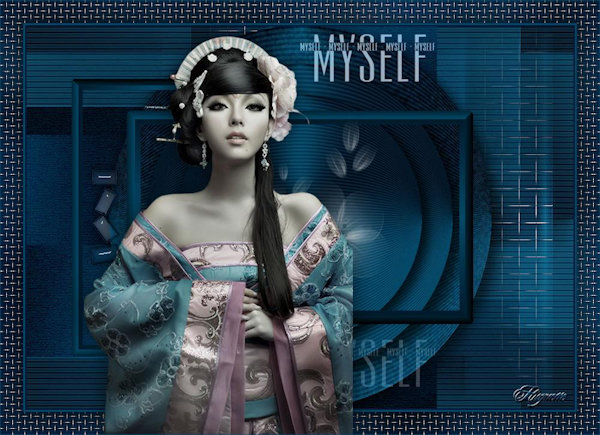
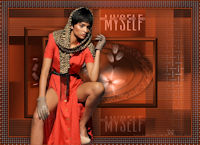
Outro Modelo - Tube Katjoes-woman-52

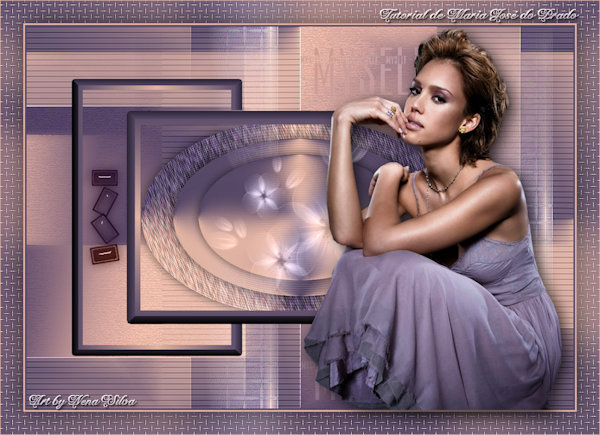
Este tutorial foi criado em 01 de julho de 2017 por Maria José Prado. É protegido por lei de Copyright e não poderá ser copiado, retirado de seu lugar, traduzido ou utilizado em listas de discussão sem o consentimento prévio e escrito de sua autora acima declinada.
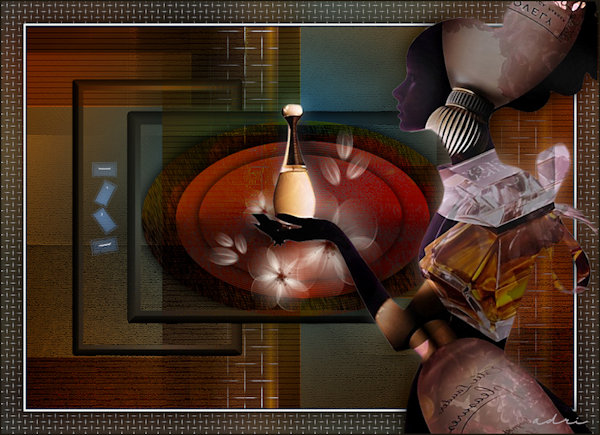
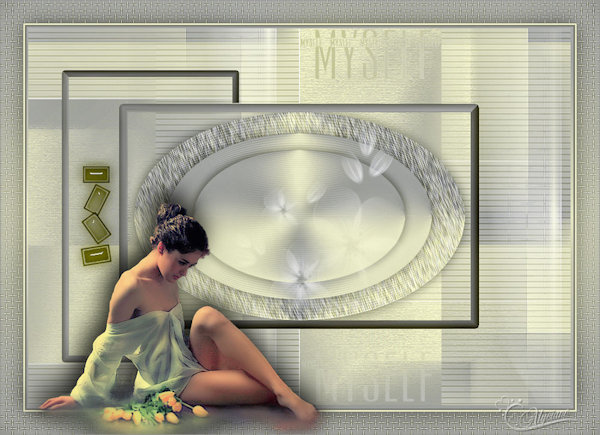
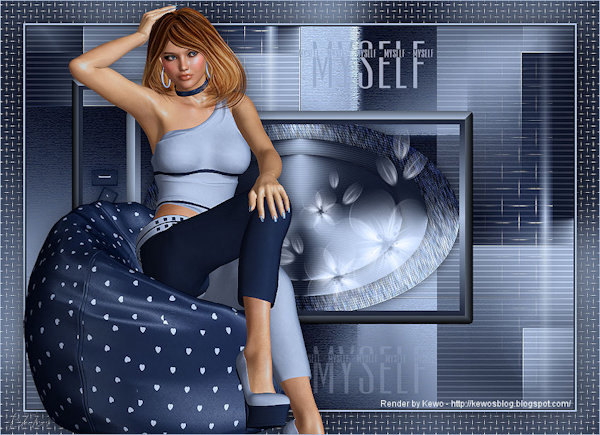
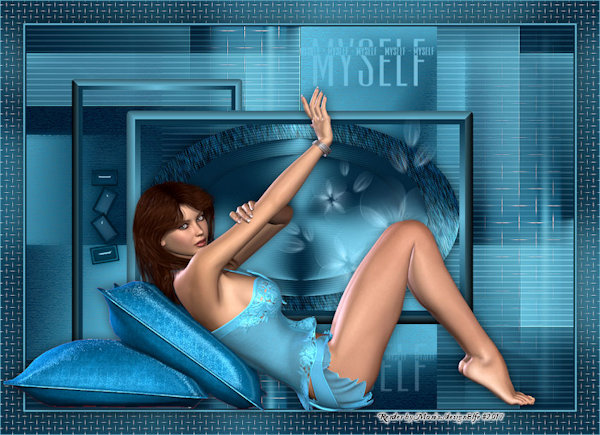
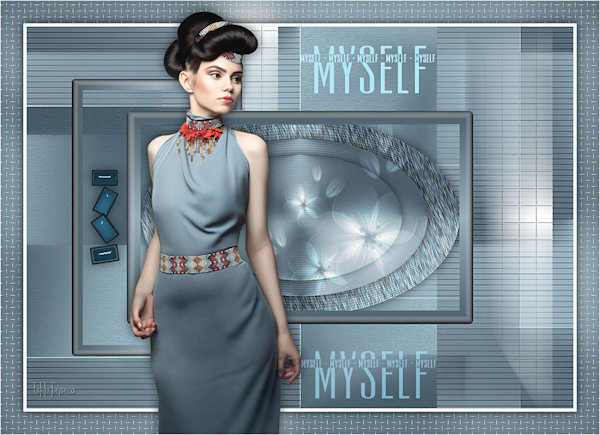
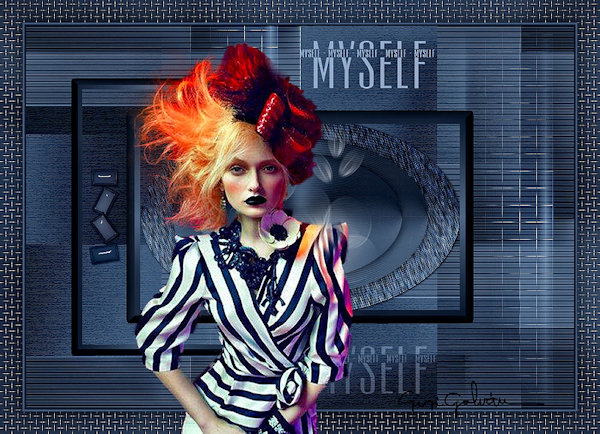
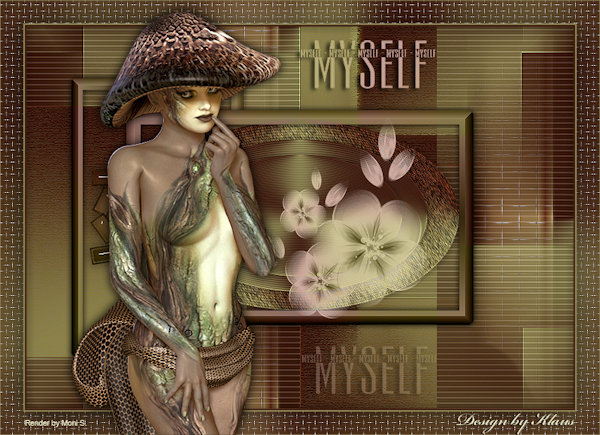
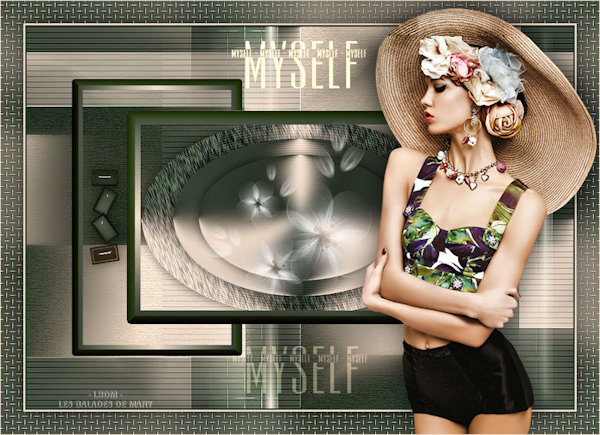
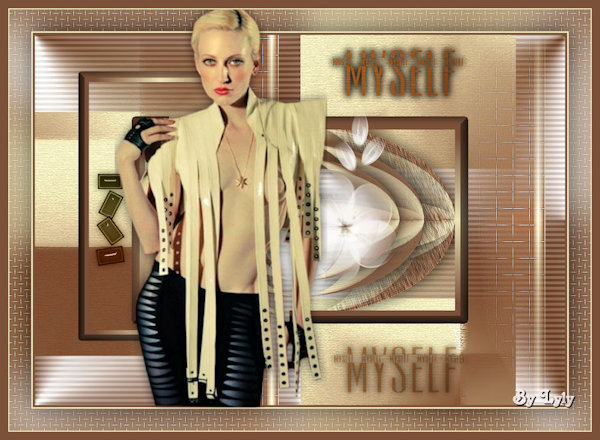
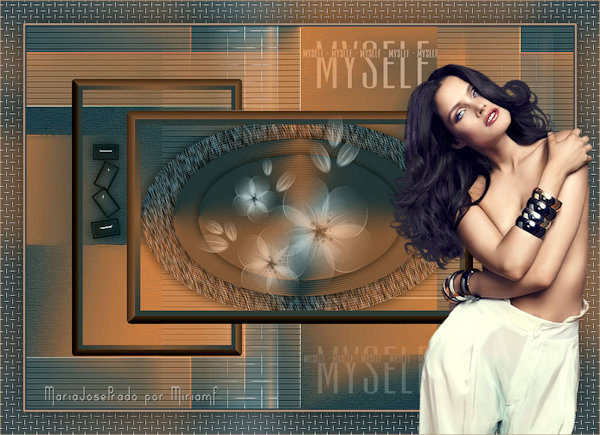
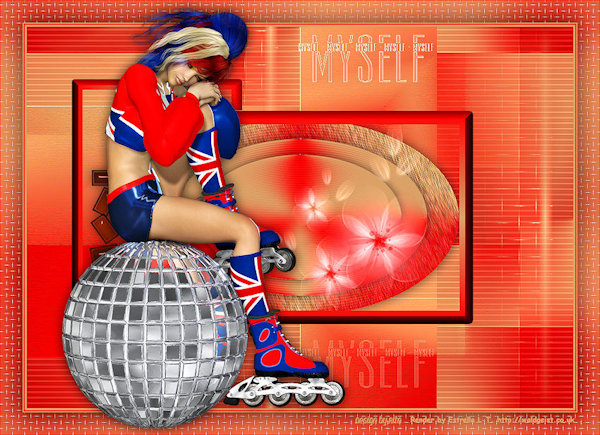
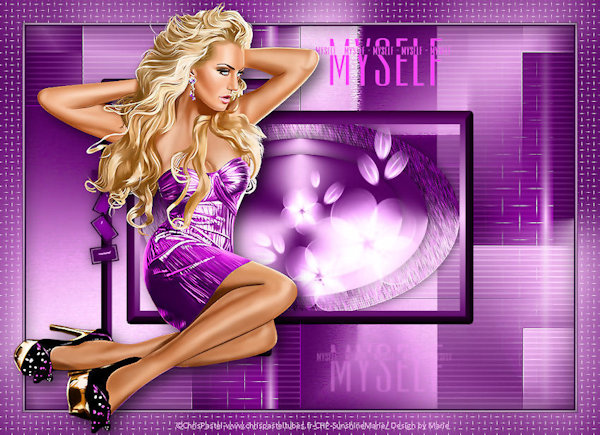
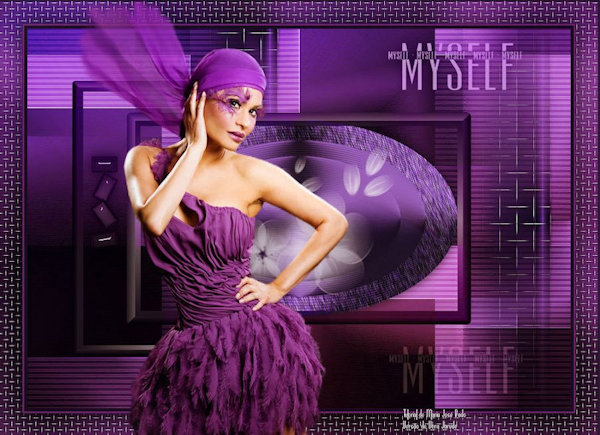
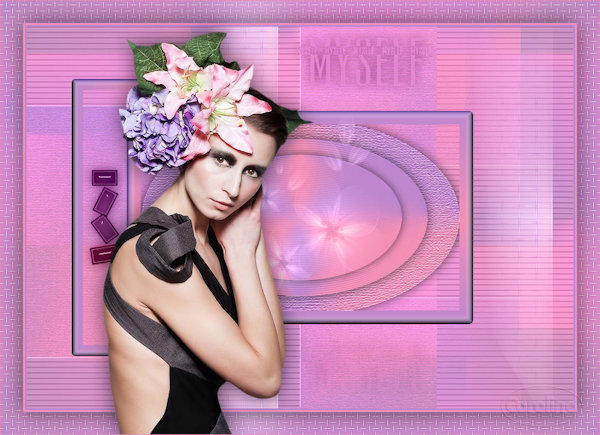
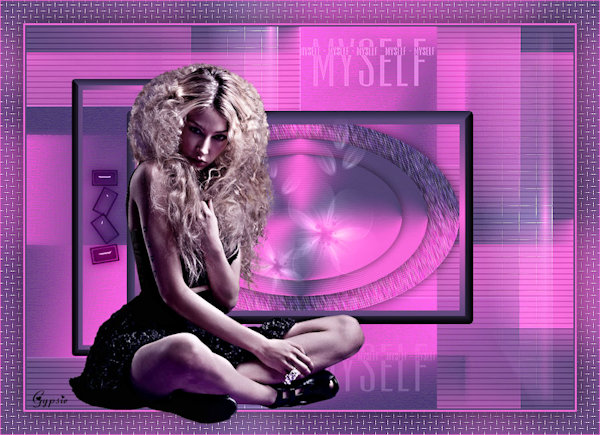
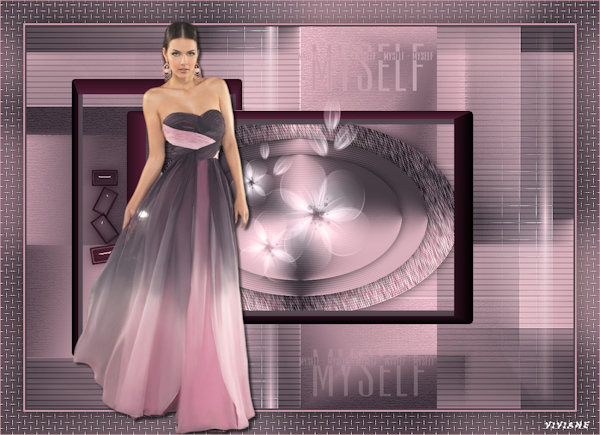
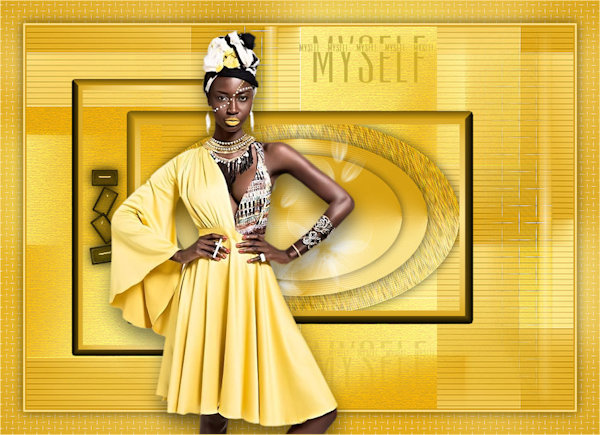
VARIANTES